Orbital Sanding Discs For Wood Model,General Finishes Gel Stain Instructions Inc,Woodcraft Stores 3d,Joinery Hinges 50 - Plans On 2021
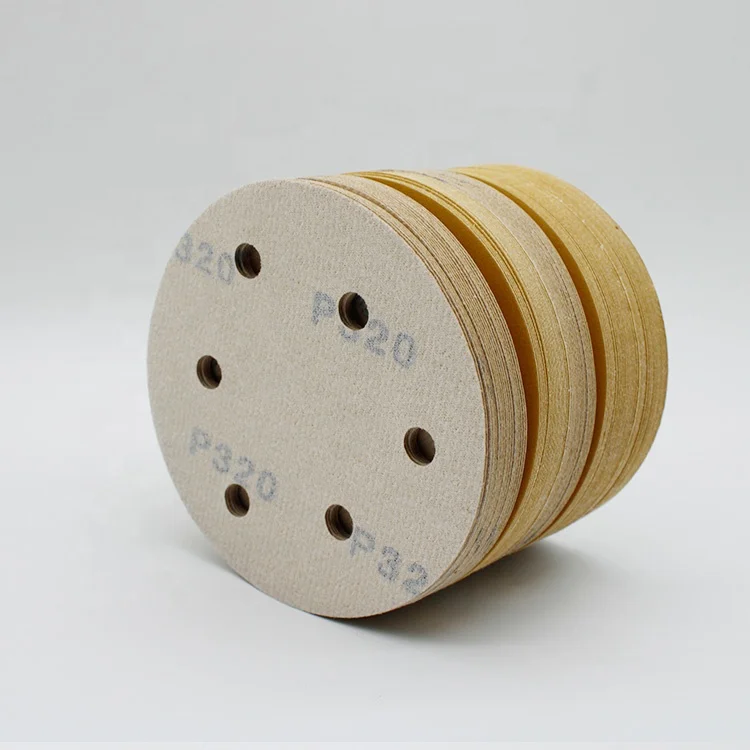
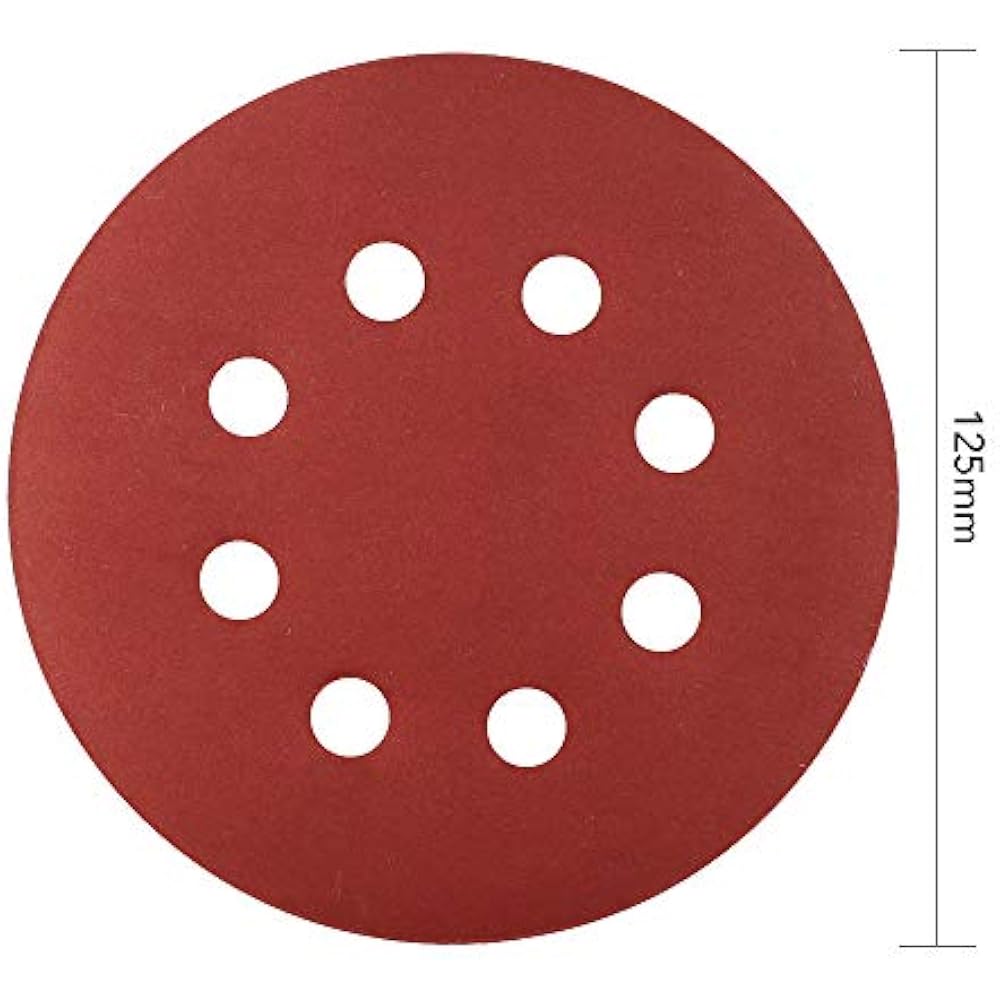
These are important to avoid any hazards that you may come across while working, such as airborne sawdust, and the loud noise of the motor of a power tool, or vibrations. These are additional precautionary actions you should take when using an orbital sander:. The sandpaper for a random orbital sander comes as a circular disc that should be attached to the machine.
There are two ways to attach the sandpaper discs: hook and loop fasteners, or an adhesive. The hook and loop fasteners Velcro are easier to use and faster for changing sandpaper discs. Several different abrasive materials are used in sandpaper, and not all are interchangeable.
Some types are not suitable for use on wood. Most manufacturers give instructions on the packaging, stating what materials the sandpaper can be used on, as well as its coarseness. You might need to use more than one type of sandpaper on the same wooden surface, as some are more suited for coarse sanding, and some are better for polishing. Keep in mind that you will need to select grit sizes as well.
You should always begin with coarse sanding, using sandpaper of a lower grit size. After sanding down the first layer of wood, gradually increase the grit size for fine sanding, until you finally polish the wood to your liking.
If you are sanding and polishing wood that does not need too much sanding, you should start with a medium fine or fine grit, and work your way up to extra fine grit. The important thing to remember is that as you repeat the sanding process, each consecutive grit size should be higher Orbital Sanding Discs For Wood 05 than the previous one.
Mark the wood using a lead pencil or chalk, using a zigzag line across the entire surface. This will ensure you cover the entire area, and only go through it only once per grit size. It acts as a clear visual guide for the parts that you have covered and the parts that still need to be sanded. Make a habit to put your sander on the wooden surface first, and only turn it on after securing it with a firm grip. This is not only a safety precaution, it helps prevent the sander from grabbing, as it could scratch the wood.
Fixing scratches is not always an easy process, but can easily be avoided with this tip. With the least pressure you can manage, start gliding the sander back and forth. Start coarse sanding using the lower grit size from one end of the surface, and work your way to the other end.
Use overlapping passes to ensure that you are getting every last inch of the surface. If the surface you are sanding is narrow, you may move the sander in a circular motion. Moving with the grain of your wooden surface is not crucial, but yields better results. The entire surface needs to be sanded in fact, all the wooden surfaces in your project , so be patient.
Do not rush the process, as you will need to keep your pace slow and steady. The usual recommendation is that you should be able to cover about a foot of wooden surface in ten seconds. If you move too fast, too slow, or at a changing pace, the result is likely to be uneven. Keep the sander flat against the wood at all times, to avoid gouging.
These holes-everywhere configurations allow fine sanding dust to migrate to the sander's vacuum holes through the hook-and-loop backing. We could see the dust path on the back of the discs after use. If you're particularly sensitive to dust, these discs may be worth the extra money.
Grit readability. If you forget which disc grit is on the sander, you should be able to peel it back and read the grit markings on the back.
On the Craftsman Professional and both Norton discs, dark print against a dark blue background photo made reading the disc label a challenge.
Discs with light-colored backs read easier, even dirty, than the black-on-blue printing found on a few of the discs. Klingspor's Stearate Orbital Sanding Discs For Wood Glass discs, with the most aggressive and durable abrasives in the test and the lowest cost per disc, proved the perfect storm of material removal.
But several other discs finished finer. So, for our money, we'd use Klingspor Stearate for initial sanding and then switch to one of the disc brands that left no visible scratches at grit: Bosch, Gator Power, Makita, Mirka Abranet, or Norton 3X or MultiAir. If you want to stick with one brand, Makita, Mirka Abranet, and Norton 3X do the job admirably from start to finish, but cost about twice as much per gram removed as Klingspor Stearate.
After I milled some custom oak molding, then stained and finished it to match the existing woodwork Skip to main content. Tool review: Sanding Discs.
We reduced 2 cubic feet of poplar to dust -- literally -- to find the top-performing abrasives for your random-orbit sander. The best abrasives start fast, then last and last Most hook-and-loop sanding discs look alike except for their color, so how can you tell which ones give the best value? Facebook Pinterest Twitter Text. Printer-friendly version. Read more about Sanding and Abrasives.
What do sandpaper grades mean? What's the best way to sand handle tapers? Can I run finished wood through my planer? The Nitty-Gritty of Sandpaper. For more related content, subscribe to our newsletter! What's the best way to cut acrylics and plastics? Introduction To Cold-Bend Hardwood. How To Mortise Box Hinges.

|
4x4 Woodworking Projects 100 Best Rap Songs Under 3 Minutes 30 Woodworking Machine Crossword Clue |

shahrukhkhan
22.01.2021 at 17:30:59
Gunewli_Balasi
22.01.2021 at 11:38:46
GENERAL333
22.01.2021 at 21:17:22