Making Wooden Boxes With A Router Voltage,Best Rap Baseball Walk Up Songs Mp4,Cabinet Drawer Bottom Slide Example - Videos Download
Once the boxes were nice and even, it was time to take them to the table saw and cut them open. After doing Making Wooden Boxes With A Router Zoom the first three cuts, I placed a wedge on one side so the box wouldn't pinch and you could cut all the way through. For hinges, I used a couple of different ones.
Quadrant hinges on two, as well as regular back facing hinges on two. To prepare for the quadrant hinges I used a jig and a router for a precise fit. To create a nice, round-ish look, we decided to route the sides of all the boxes, and then sand them smooth. In the next Instructable I will go over finishing these boxes, and creating leather inserts as well as closures and straps for them.
Unfortunately, when Wifey and I moved to a new house my box joint jig was someohow trashed. Your exquisite work has inspired me to build another. Question 2 years ago on Introduction. Can you pls verify? Question 3 years ago on Step 7. Where did you get the hinges? Answer 2 years ago. Here's the link if they allow me to add it. Nice work. I'd like to share a tip that was given to me that works very well and is safer to cut the box in half.
Then proceed to cut all four sides of the box. Once completed, make the final cut with a utility knife and the box will separate safely and cleanly. There is no need to use a wedge, etc. You may need to do a very light sand to get rid of any remaining material, but if you test the cut of the depth first you can really minimize that.
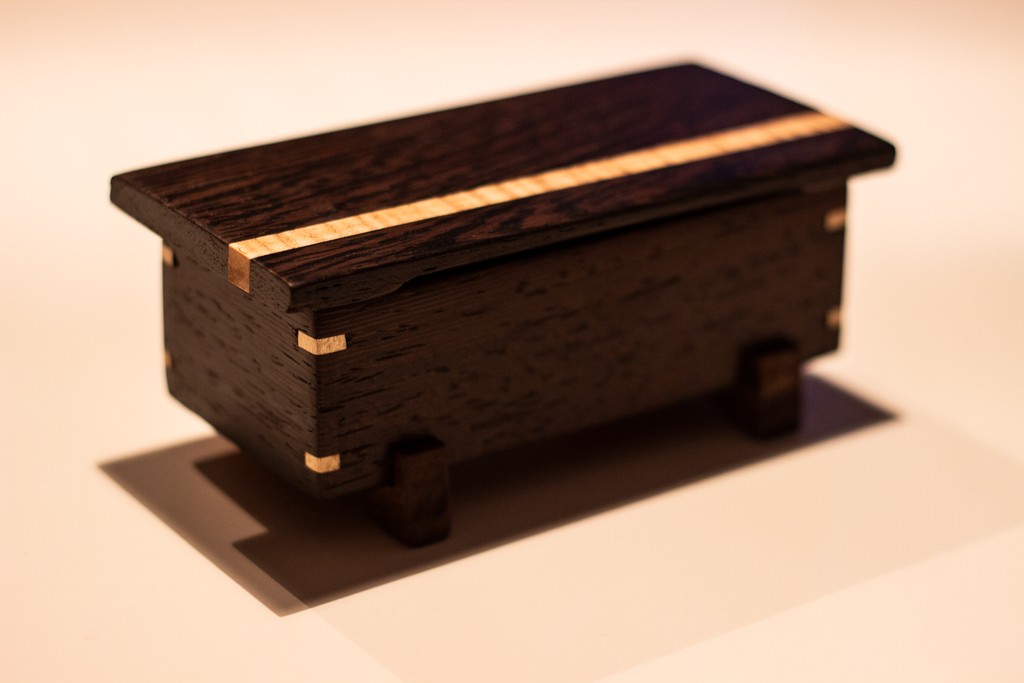
Glue up all sides, use a bit of hand pressure and fold the tape over the edges on all sides and that should be enough but checking for squareness is recommended. Making the Base If you are also going to make a base for the box, as shown in the video, you will need a 5 inch by 5 inch piece of wood that is three quarters of an inch thick. For this setup you will need an "Ogee" or "Roman Ogee" bit for your router.
To set the height of the bit, you may need to make some test cuts but the final cut should be one where the top of the base is rounded over and "flows" down the side of the base Once the sides of the base have been cut, the final cut is made by lowering the Ogee bit in the router table. This final cut is the cut that makes the base plate appear as though it has 4 separate legs. To make this cut you will need to measure a distance of about 1" on either side of the centre of the Ogee bit and mark the place on the fence with some temporary painters tape; These marks will be used as the start and stop points.
When making the final cut on the stand, it needs to be face up. Each of the 4 ends of the base need to be aligned with the stop line on the fence at a point where, when the router is turned on, the base can be eased into this point the routed from left to right as you should always do with a router in a router table and stopping the cut when the trailing edge of the base meets the stop line on the router fence.
This needs to be done on all for edges of the Making Wooden Boxes With Secret Compartments Win base. Finishing It is recommended that once the box glue is dry and hard, NOW is the ideal time to make some finishing touches. Many people like to round over the side and top edges of the box.
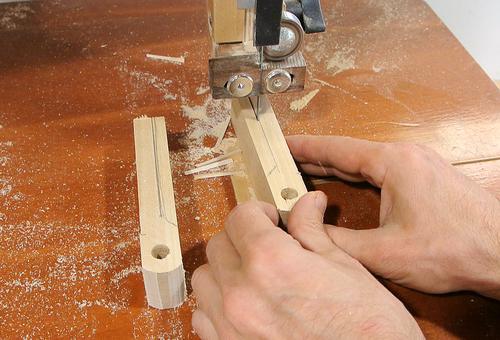
Once the lid is cut off it is harder to do a nice job of rounding corners and sanding. The distance between the spiral bit and the router fence needs to be equal to just below where the inside dado cuts are on the inside of the box. This is very important. BEFORE you begin the cut, you will also need "shims" that will need to be secured, with painters tape, after each cut you make.
This will help to ensure the box lid and bottom are secured for a nice clean cut. The shims should be 3 inches long and the same thickness as your spiral cutter or dado slot. Go ahead now and cut the top off the box and behold the magic of woodworking. And get the templates the correct size? Reply 4 years ago. This looks good Gary.
I have made several boxes to Tony Lydgate's design and would now like to try yours using some of our Australian timbers. Hopefully I will be able to send you some photos soon. If you email me a request, I will send you the latest PDF version of the book. Also, could you send me something about the Tony Lydgate design?
I would like to compare the two versions and hopefully improve upon my design. My email is: gdis46 at gmail dot com.
Use page 19 as the registration page. Print the page then measure these areas: 1. Did you make this project? Share it with us!


|
Best Electric Wood Carver Filter Woodworking Hand Saws 4d Under Drawer Ball Bearing Slides Zoom |

0f
27.05.2021 at 19:24:17
ALENDALON
27.05.2021 at 15:43:50