Make A Frame Using Paper 90,Watco Stain Color Chart Level,Rockler T Track Accessories Korea,Bed Frame Woodworking Plans Pdf Excel - Test Out

Stick your photo on top of the cardboard. Measure and cut paper into an open envelope shape. Fold the paper and insert your photo to turn it into a frame. Another pretty easy idea is wrapping the existing frame with some paper of your choice — just take a wooden or plastic frame, cut the paper into strips and wrap the frame.
If you are ready to spend some time for crafting, make an original woven paper frame. Attach the twisted paper strips to the frame and start weaving as you like.
After you finish weaving, you can paint the photo frame in your favorite colors. Draw pencil marks where the edges of the tubes are, remove the paper tubes, then place super sticky adhesive around the photo. Add the paper tubes. Add stickers and printed labels on the top left and bottom right corners of the frame as well as jewels and a printed word.
Stamp the date with black ink on the bottom right corner. DIY photo frame with corners via becoration.
DIY scrap paper easy frame via repiny. DIY volume paper picture frame via blog. This method assumes that your paper is patterned on one side and blank on the other. If your paper is blank on both sides, just pick a side to be the front. Mark the center on the front of the paper. You can do this by measuring the paper with a ruler or by folding it diagonally both ways to create an X-shaped crease. Creasing the paper won't affect the appearance of the final frame.
If you choose to fold the paper, be sure to flatten it back out so that it looks like a square again. Fold all 4 edges of the paper down by 1 in 2. Turn the paper so that the back is facing you.
Fold the top, bottom, and side edges down by 1 in 2. Run your fingernail along the creases to make them nice and sharp. If your paper is blank on both sides, pick a side to be the back. Your paper should already start looking like a frame: a white square surrounded by a patterned border. Flip the paper over and fold 3 of Make A Frame Photo Online Key the corners to the center. Turn the paper over so that the front, patterned side is facing you. It should look like solid square, and not a white square with a patterned frame.
Using your mark or crease as a guide, fold 3 of the corners down to the middle. Leave the fourth corner alone for now. You'll either turn it into a stand or use it to hang the frame. Tape or glue the corners down in the middle. Lift the corners up, place a drop of glue in the middle of the paper, then press them back down again.
Don't tape or glue the fourth corner down yet. You can also use white school glue or a strip of double-sided tape. If you used glue, wait for it to dry before moving on. This can take up to 15 to 20 minutes. Slide the corners of your photo behind the corner flaps on the frame. Turn the frame so that the front is visible. You should see a white square with patterned corners.
Take your photo, and slide each corner behind the colored patterned on your frame. Bend the fourth corner to make a stand. Bring the fourth corner towards the middle, then run your fingernail along the edge to make a crease. Unfold the corner by about 45 to 90 degrees, then use it to prop the frame up. If you prefer to hang the frame, leave the corner unfolded.
Instead, pin the corner to the wall so that the frame looks like a house. Method 2 of Cut a7 in 18 cm square sheet of patterned paper. Patterned scrapbooking paper, wrapping paper, and magazine pages are all great choices here.
Re-size and cut your photo as needed. Bring the corners to the middle, crease them, then unfold them. Find the center of your paper.
Next, fold all 4 corners towards the center. Run your fingernail along the folded edges, then unfold the corners. You should see a diamond shape in the middle of your paper.
Find the center by measuring it and marking it with a pencil, or by folding Woodworking Make Simple Picture Frame Uk the paper diagonally 2 times to make an X-shaped crease.
Flip the paper over, then fold the corners to the creases you just made. Next, turn it so that it looks like a diamond with a square-shaped crease in the middle. Fold each of the corners to the lines that make up the square. Do not fold the corners past the creases making up. You still need to use them as guides. Fold the corners again using the squares creases as a folding guide. Your corners are flattened because you folded the points.
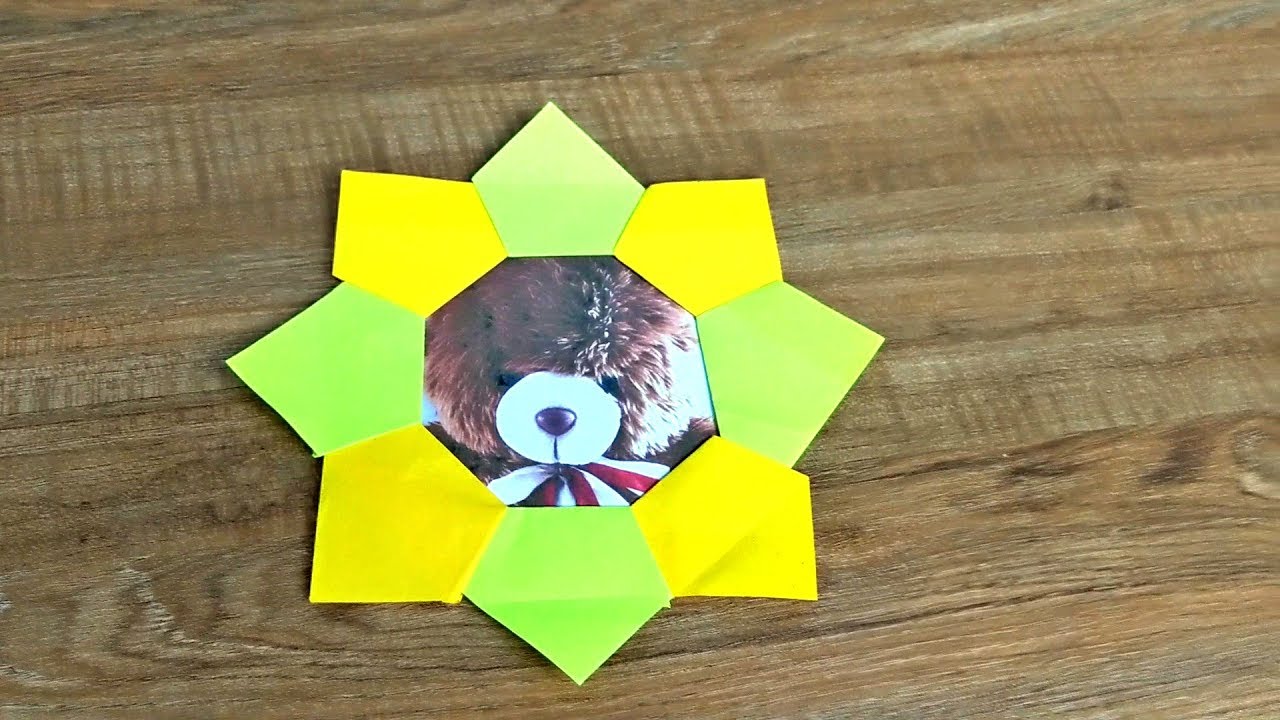
Do not fold these flattened corners to the middle of the paper. Instead, fold them along the square-shaped crease you made earlier. The flattened corners will not reach the middle of the paper. Instead, they will create a frame. Turn the paper over and fold the corners down by 1 in 2. Flip the paper over so that it looks like a square and not a frame with a blank square in the middle. Take each of the 4 corners and fold them by 1 in 2.
You'll end up with something that looks like an octagon. Sharpen the corners with your fingernail, then unfold them so that they are sticking out at degree angles. These corners will make the slots for the stand. Take a second square sheet of paper and fold the side edges to the middle. Cut another square sheet of 7 in 18 cm paper. Find the center, then fold the left and right edges down.
Run your nail along the edges to sharpen the creases. If your paper is patterned, you can work on the front or back. It all depends on which side you want to be visible! Find the center by folding the paper in half, then unfolding it. You can also do it by measuring it with a ruler. Do not unfold, rotate, or flip the paper. Run your nail along the creases a few times to make them nice and sharp.
Create a crease in the middle of the rectangle, then unfold it to make a V. Fold the rectangle in half widthwise by bringing the narrow edges together and flattening the crease.
Run your nail across the crease a few times, then allow the paper to unfold naturally to a V-shape. This completes your stand. Now, you just have to secure it onto the back of the frame. Glue the tabs on the stand to the corner flaps on the back of the frame. Turn your frame over so that the back with the folded corners is facing you. Glue the top-left and top-right corners to the top tab on your stand.
Next, glue the bottom-left and bottom-right corners to the bottom tab on your stand. You can slide the corners of the stand's tabs into these slots. Slide your photo into the frame. The easiest way to do this would be to slide one corner at a time into the corners on the front of your frame. If the frame loosens a bit, simple fold it back into place. Method 3 of Sketch a 11 by 6 cm 4.
Use a ruler and pencil to draw the rectangle in the middle of your paper; this way, you'll have room to add the rest of the frame. If your paper has a patterned front and solid back, make sure that you're drawing on the solid back. This will eventually be folded in to create a clean, inside edge. If you want an even simpler frame, just sketch a 13 by 8 cm 5.
Use a pencil and a ruler to make marks 1 centimetre 0. Next, connect these marks with your pencil and ruler. You will eventually fold this 1 centimetre 0. It will give it a nicer finish. Make more marks 4 centimetres 1. Connect these marks to complete the frame. You'll be folding the outside edges in, so the frame will be only 2 centimetres 0. If you want a simpler frame, just draw a 2 cm 0.
Cut the frame out, including the 11 by 6 cm 4. Cut the 21 by 16 cm 8. Next, cut the 11 by 6 cm 4. Leave the 1 cm 0.


|
Door Pivot Hinge Set Zone Woodworking Projects Out Of Pallets Guide |

Ilqar_Vasmoylu
27.07.2020 at 11:28:16
PRIZRAK
27.07.2020 at 10:42:50
sadELovh22
27.07.2020 at 17:28:47
UQONSHIK
27.07.2020 at 22:38:39