How To Make A Frame Mat 60,Bench Vise Uses Problems,Jet2holidays Planes Limited - Try Out
Step 1: Attach your artwork to that center piece of foam board you cut out. I glued my print because it was printed on very sturdy canvas paper. However, if you have an oil painting or watercolor…etc. And all artists everywhere said…amen. Step 2: Glue your mat onto the back of your DIY frame. In my opinion, this was the most difficult step. You must make sure your mat is centered and level inside the frame. I glued mine directly from the excess mat to the wood and the first time around it was crooked.
This step in the process is easiest if you have two people. One to position the mat from the back and the other to see from the front whether or not it is straight. At this point, you can see where my mat overhangs the frame. Step 3: Add your artwork! I used the white space from my print to glue it directly onto the back of the mat.
Then, I added a piece of wood to the back of the frame by simple screwing it in top and bottom. This accomplished two things: First, it added rigidity to my frame. Second, it held my artwork tight to the mat. Final step!
Add the hanging hardware of your choice and pop it on the wall! These oversized picture frames are also good for propping if you have an area out of reach from kids and pets. I hope this tutorial was helpful to you!
See how I transformed this entire playroom! I love a good DIY! Visit my DIY page for more inspiration and follow along with me on Instagram for daily projects!
More Posts from this Category. Your email address will not be published. The most readily available and least expensive option is a standard razor blade or box cutter with a fixed handle. You can also purchase a specialty sliding mat cutter tool, but these tend to be more costly and require more of a learning curve to use without making mistakes. Razor blades, X-Acto knives and box cutters all make use of extremely sharp exposed blades.
Be very cautious when handling these tools. Mat cutting kits can be purchased at most art stores and make it easier to measure, align and cut mats in a single station, but will run you considerably more money. Acquire a ruler or T-square. The ruled edge will be used to measure the mat to fit the picture and frame and to assist in cutting straight edges.
The T-square has the added benefit of enabling you to measure precise angles. You'll also need the ruler or T-square to keep the width of all sides of the mat consistent.
Heavy metal rulers will work better, as they provide some weight to hold the mat steady beneath them and you won't have to worry about damaging them with your cutting tool. Part 2 of Measure the picture you want to frame.
Use the ruler to measure the height and width of the picture you'll be cutting the mat to fit. Both of the mats you cut should match the dimension of the picture exactly; the inner area of the second window frame mat will need to be cut at least a half inch smaller than the picture itself to hold it in place.
Write down the picture's dimensions and set it aside for now. During this step How To Make A Frame Clutch Bag You you can decide how wide you want to cut your window mat to go on top of the picture. If only a portion of the picture needs to be visible, a wider mat will fill in the non-focal area around the edges and let you center the picture exactly where you want it.
Measure the frame. If you have a frame picked out that you want to use, remove the glass or plastic from the front and extract the backing board. The backing board is what you will be using for reference as the mats will be measured and cut to fit the inner part of the frame where the picture sits.
Copy down the dimensions of the frame, making sure to differentiate what the various measurements are for. Disregard this measurement and take your own.
Since it's imperative that the mat you cut be able to fit the frame, it's better not to take chances with sizing. Choose a size for the window mat. With the dimensions of the picture or artwork in mind, decide what size will work best for cutting the window mat.
The window mat will be placed around the edges of the front side of the picture and will usually overlap the picture slightly, so settle on a window mat size that doesn't obscure too much of the picture.
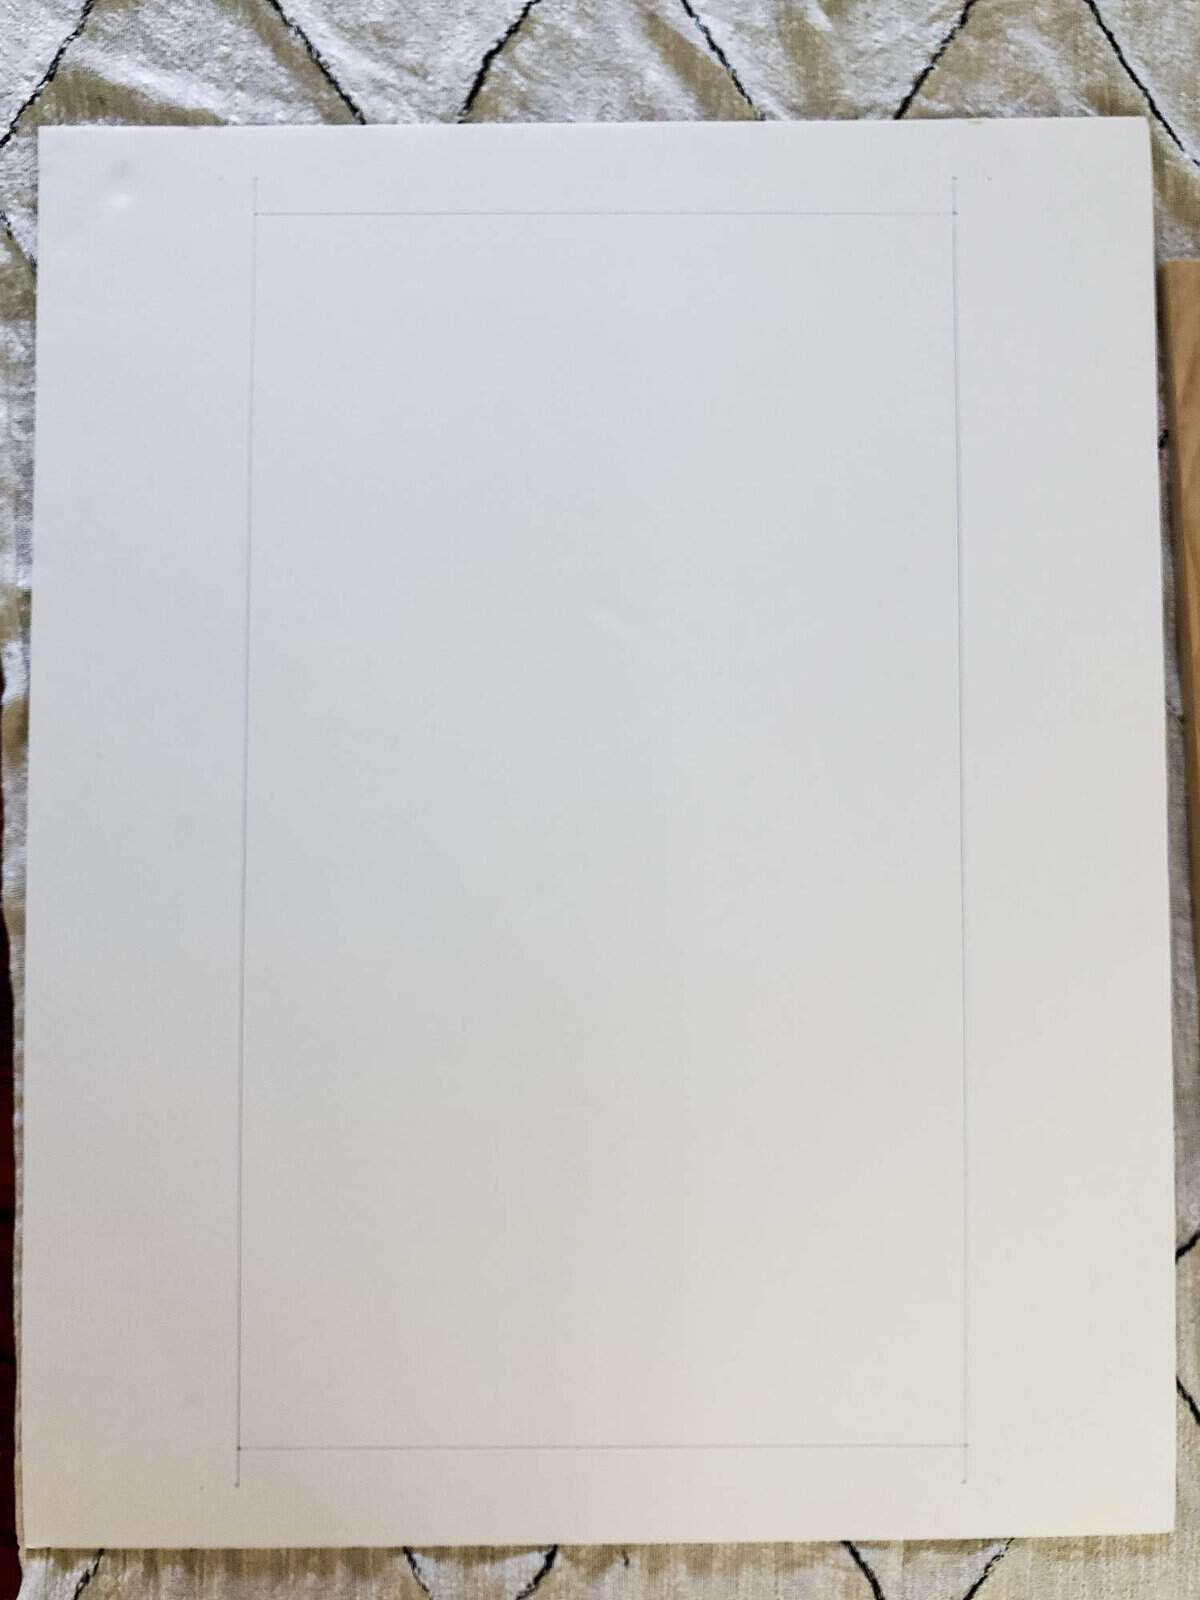
On the back of the second mat board, trace the measurements of the picture where you plan to cut the window frame. Part 3 of Mark the first mat where it is to be cut. Refer back to the dimensions of the frame backing board you measured earlier. Using these measurements, place the ruler or T-square along the first edge of the mat and mark with a pencil on the back side of the mat where the cutting edge is to be.
Start at the top edge of the mat and make a small notch every few inches. This will give you a dotted line to follow as you cut, and How To Make A Frame Mat Down can help you realign the cutting trajectory if the ruler is to slip at any point.
Always mark and cut from the back side of the mat. That way, none of your marks or cutting imperfections will be visible on the finished mat surface. Cut the first backing mat.
Take the razor, box cutter or mat cutter tool and line it up with the edge of the ruler. Make sure the cutting edge is flush with the ruler; if you're using a mat cutter tool, it will be a sliding attachment with its own ruled edge to ensure that the cutter doesn't slip.
When cutting manually, be sure to press firmly against the ruler or T-square to keep it from moving as you cut. Cut the mat with a slow, steady motion, applying equal pressure throughout the whole movement.
Repeat the cutting process on the remaining three sides of the mat, checking again that the length and width are accurate and that you're cutting the right amount. It's best to go all the way through on the first pass to keep the cut clean and straight, but if that's not possible then make several lighter passes, watching for crooked cuts.
To continue a cut that is only partially complete, push down vertically with your blade until you go all the way through, adjust the angle of the blade, and resume cutting. Remember: safety first. Severe injury can result from improper use of cutting tools.
Cut slowly and keep all appendages out of the path of the blade. Cut the second window frame mat. Cut the second mat board to the exact specifications of the first. You'll be using this mat as the window frame for the front of the picture. If you've selected a mat of a fanciful color or design, it should be the one you use for the window mat, as it will be front and center in the frame and complement the aesthetic of the picture. Once again, let the ruler edge guide you as you carefully cut out the four sides of the window frame.
The outer dimensions of the window frame should be the same of the backing mat, as they will be fitted together. The inner dimensions are a matter of preference, but generally a. Create layered mats. If you want to create a more complex layered look, cut multiple window frame mats, each approximately. Arrange the mats concentrically around the picture. When using layered mats, you can alternate various colors or designs, making the space around the picture deeper and more ornate.
I just couldn't decide what to do one one wall in her room, so it's been a weird mixture of RANDOM things that was driving me crazy.
So, I knew I wanted to create a sweet photo gallery for her and I finally did it! I hunted around for some picture mats that would work, to no avail. And having them custom cut wasn't an option because I didn't want to spend a fortune on this project. Read on to learn how to make your own DIY picture mats.
Her heart wants what it wants. She's a pink girl. Thank you to Cricut for sponsoring this post. This post contains some affiliate links for your convenience which means if you make a purchase after clicking a link I will earn a small commission but it won't cost you a penny more!
Click here to read my full disclosure policy. So you may need to trim it down to size before you use it. I used Cricut Design Space and you can access my cut file by clicking here.
I made 8. Huge impact, low price. Gotta love it.


|
Buy Drawer Slides Js Opensuse 132 Hardware Year |

ETISH
08.12.2020 at 14:15:30
NeznakomeC_23
08.12.2020 at 21:45:48