Finger Joint Jig Router Table Not Working,Wood Lounge Chair Plan Meaning,Cnc Woodcraft St Catharines Sale,Sign Router Machine Queue - Try Out

Here I am will tell you an easy technique for making finger joints. A step-by-step guide for making a finger joint with the router bit is:. Place the router bit in the router table.
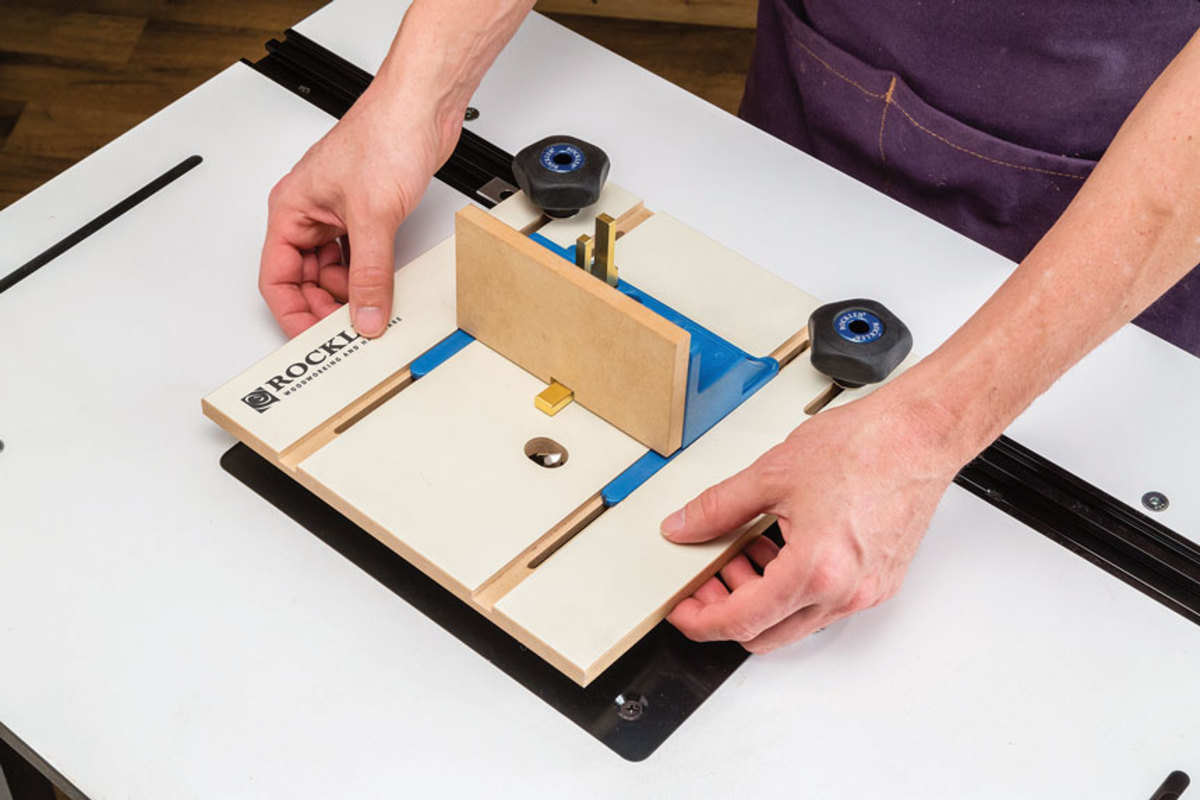
Set up according to your need. Finger joint router bit has 6 blades, five is thinner and the one is thicker. If your working piece is large then you can use all of the blades but if your working wood is thinner then you can change the blades and adjust according to the wood.
Take two pieces of wood, a pencil, and a marking gauge. Mark on the edges of both pieces of wood you want to make fingers. Set the height of the router bit and tighten it in the table. Move the fence forward and tight its both end. Now ready for routing. Push the first piece of wood along the finger joint router bit with the help of supporter and start routing.
Do the same thing as you did with the first piece of wood. Place the second marking piece on the table and push along the router bit. This is the easy way to do. Now glue both pieces to combine. Finger joints are ready. If you wanted to make a box then use four pieces of wood. Your email address will not be published. Necessary cookies are absolutely essential for the website to function properly. This category only includes cookies that ensures basic functionalities and security features of the website.
These cookies do not store any personal information. Any cookies that may not be particularly necessary for the website to function and is used specifically to collect user personal data via analytics, ads, other embedded contents are termed as non-necessary cookies.
It is mandatory to procure user consent prior to running these cookies on your website. Skip to content Finger joints can be cut in multiple ways like with the handheld or router table but in this article, I will discuss how to make a finger joint with a router? A more attractive thing is that you can make corners of boxes instead of using dovetail joints.
What We Have Covered. Woodhutt guide you how to make a finger joint with a router. As I said that you need a specific router bit and cutter for doing the task. In this context, there is a simple technique for making finger joints. The difference is 14", and half of that is 7". So, I come 7" in from one end of the board and mark it with the carpenter square for now, just do one end. Glue one of your rails down to the side of the line closest to the end of the board.
Use your square to straighten it up. In the first picture, I obviously did not use a carpenter's combination square. I suggest always using a combination square, as my jig did come out a bit off angle. If you're too impatient to let the glue dry, predrill a few holes and screw it in place.
This doesn't have to be pretty, so I screwed them in tightly so as to countersink them below the surface of the rail. This will prevent the screw head from rubbing on the table. Since you know your width between your rails, measure out the width from the edge of the fixed rail closest to the center, mark your next line, and set the next rail in the same way. While the glue is wet, take a second to fit the jig in your table saw to make sure you got the width correct.
It's important that the guard rails line up to the table saw grooves, moreso than lining up to the ends. To make sure your guide rails work, test for squareness of the rails, and to get clear on where the middle of the board is, cut through your base about halfway and check it with the square.
Go find that 4" rip cut you made in step 3. Go ahead, I'll wait. OK Got it? Use your square to draw out a line perpendicular to the end of the board you squared up in the previous step about two inches from the back of your base. Double-check that line is perpendicular to the saw cut in the middle. It's more important that you are perpendicular to the saw cut than to the end of the board anyway, so having both there is a good way to make sure you're square all around.
Set your backplane in with glue and screws. Put two screws on each side from underneath. Also, make sure to give several inches of clearance from the center cut. Support this board with the 2x4 scrap. Put it in place behind the backplane and screw it down from the bottom and through the backplane.
OK, time to get interesting Move the rip fence out of the way. Set the height appropriate for the board you used for your base. Set one of the sticks down flush to one side of the groove. Glue one side of the other stick and butt it up against the other piece and the backplane.
Remove the first piece without moving the glued-on piece. Let this piece dry. Don't bother trying to screw this one in place, it's too small.
Your jig is finished! The small piece is still necessary, so don't get rid of it. I didn't have a companion with me to video record the first use of the jig, but I took plenty of photos here. Set your dado bit above the jig base high enough to cut a groove as wide as the alternate board for your corner joint e. Start with one board, butting it up to the spacer in front of the backplane. The free spacer is there to offset the boards so the grooves actually mate each other rather than meet each other.
The mate for the joint will be started without the spacer, and your boards will line up perfectly. Pass the dado bit through your material. Remove the loose spacer and set aside. Butt your material up to the fixed spacer and make your next cut. Now, set the groove you just cut over the spacer and make the next pass.
Repeat until you've made cuts through to the end. For the partner to this joint, start your first pass without the loose spacer and repeat the same above steps to cut grooves through to the end. Once you have two boards cut to mate each other for a joint, you can fit them together and the tops andbottoms should align.
You've got a jig! Now go make something awesome with it! To create this instruct able, you'll need the following parts: - Wood scraps - ideally some 1x12 and 2x4 scraps - length will depend on your table saw, but two feet long should be plenty. Too long and you will have too much resistance, and you could potentially hit something on the other side of your table. Too short and the guide rails will not do their job. Before moving on, take a minute to slide your guardrails back and forth and side to side.
Square up at least one end of this board on the mitre saw that is, make sure it is perpendicular to the sides. Therefore, I come 7" in from one end of the board and mark it with the carpenter square for now, just do one end.
That gave me 8 inches of steel, 4 for the tongue and 4 for a spacer. I find it works a lot better than the wood as it doesn't snag or chip. Also, the spare piece allows me to set my blade height VERY quickly. I just used a drill press to drill through and then countersunk the screw.
We found the instructions easy to follow and it works well. We are starting the drawers for our bathroom cabinets ASAP!
Cool jig. Easy to make and works pretty well. I countersunk magnets into the first spacer so I don't lose it.
Reply 6 years ago on Introduction. Awesome instructable. Just what I've been looking for to make a case for my next projects.
Thanks a bunch for sharing.


|
Pocket Hole Jig Guatemala Inc Rt0701cx7 Dust Collector Not 10 Table Saw Blade Harbor Freight Tool |

INTELEGENT
09.07.2021 at 16:23:29
Ramiz
09.07.2021 at 19:40:58