Do It Yourself Wood Ceiling Detection,Best Hinges Kitchen Cabinets 8th,Pocket Hole Jig Bit 5000 - PDF Books
You can make a bigger mess by improper remediation than you had when you started the project. Because the local mold inspectors frequently miss sources of mold. If you want a full mold inspection done at your home, you are going to have to step up to the plate. You and I, working together, can do a more in-depth job than most mold professionals.
It will cost you a lot less, too. If mold is found, I show the homeowner on my computer monitor what it looks like. If independent third party confirmation is needed, a fresh sample is mailed off to a microbiological laboratory. You get the best of both worlds, the on-site workhorse microscope for immediate answers and the option for laboratory confirmation where needed. This is not to detract from the talents and experience that many mold inspectors bring to the job…you just want a thorough job to be done.
I understand that. You get my drift? Ida saw spots of what look like black mold on her bathroom ceiling and on the diffuser vent cover of an air-conditioning duct. She was concerned whether mold might have spread throughout her home.
With two small children, her concerns were heightened. She found her way to my website, www. After all, what she was looking at looked like mold. When she got home, she gathered a piece of paper, pen, a small Ziploc bag, a step-stool, and her tape. The instructions said to take a 3-inch piece of tape, hold it by the two ends, and touch only the middle section to the surface she wanted to test.
The first-place she stopped was in the bathroom. She got up on the step-stool to reach the black discolorations on the ceiling. With one hand she held onto the step-stool, and with the other hand she held a 3 inch piece of tape with one hand, with one end of the tape on her thumb and the other end of the tape on her next finger. She pressed the tape firmly against one of the black spots. When she held the tape up to the light, she could see some sort of black material on the tape.
She suspected, probably correctly, that this black material was mold. Carefully she got down from the step-stool, bent back one end of the tape to make a little tab, and placed the tape on the outside of the small Ziploc bag.
Bathroom ceiling, black spots. Next, she proceeded to the air conditioning diffuser. She repeated this process with the tape, and again, upon holding the tape up to the light, she could see black material on it.
This became sample 2. AC diffuser. After doing that, she decided to check the bedrooms. Tape 5 was used for the walls in the master bedroom. Tape 7 was used on the carpeting in the basement playroom.
Now she was ready to mail off the eight samples to me at EnviroHealth Consulting, Inc. When I received the samples, I looked at them one by one under the microscope. I put a drop of pink fuchsin stain on the microscope slide and smoothed out the tape over the liquid. The stain was absorbed by mold, making it easier to distinguish mold from debris. I looked at the first slide from the bathroom, and as I expected, there was the black mold, Cladosporium.
Cladosporium likes to grow in areas of condensation. In my experience, it is a fairly well behaved mold in these locations, i. Just wipe it off with Borax or BonAmi sprinkled on a damp sponge.
A dark stain may remain, which is the melanin that protects the mold from UV C. Spray with Concrobium Mold Stain Remover and then re-paint. When Cladosporium grows on a bathroom ceiling, ventilation needs to be improved. If there is an exhaust fan, it needs to be used during or after showering.
Tip: Some exhaust fans are pretty ineffective. To check yours out, take two squares of toilet tissue and, standing on a step-stool, hold the squares right up to the exhaust fan. Next I looked at the second tape from the air conditioning diffuser. Again as I suspected, the AC diffuser also had Cladosporium on it.
Because of the mix of warm and cold air at the diffuser, condensation is common, and Cladosporium is common. Next, I examined the remaining six tapes, and all were negative. However, I was not comfortable with these negative readings. Ida had sampled six areas that would be far down my list for where to check.
I questioned whether her remaining samples would deliver any useful information. Be clear on what the first objective of sampling is: to find the sources of mold growth. Finding the sources is really pretty much common sense.
Again, mold grows around leak areas and in damp areas, so you look for areas with water, leakage, or higher relative humidity than other areas such as basements and crawlspaces. Inside half-bath sink cabinet, as above 5. Deep inside an AC vent after taking off the vent cover 6. Ceiling joists and subflooring the support for the first floor in basement or crawlspace 7. Underside of bottom wood step in basement 8. Assorted contents in basement, such as unfinished wood surfaces of furniture, upholstered furniture, etc.
Check the attic, too, for signs of discoloration or mold. Just pro-rate the amount for additional tapes. Sometimes I can reach behind a finished wall from an unfinished area, and then I try to tape sample at the bottom of drywall and on lower studs and sill plate. Another approach is to wrap a 3 inch piece of tape around a blunt kitchen knife, and to try to slide the tape under base molding. If there is mold in the wall cavity, it will often show up under the base molding as well. This broadens my database of investigation.
Follow this process by wiping the surface with a cloth to remove the resulting dust. You will then be in a position to apply the stain. This should be undertaken with a paintbrush rather than a roller as the latter can cause too much of the liquid to gather in one place. Before starting the application process, vigorously shake the receptacle that contains the stain. This will ensure that it is thoroughly combined and that no particles have been allowed to settle. Avoid drip marks by not overloading the paintbrush.
Start at one end of the ceiling and gradually work your way across, making sure that you do not overlap. If a deeper color is required you may need to apply a second coat, which should only be begun once the first coat is completely dry. We welcome your comments and suggestions. All information is provided "AS IS. All rights reserved. You may freely link to this site, and use it for non-commercial use subject to our terms of use. View our Privacy Policy here.
Toggle navigation subscribe. How to Stain a Wood Ceiling. Written by Doityourself Staff. What You'll Need. Wood stain. Wood filler. Putty knife. Dusting brush. Protective goggles. Step ladder. Step 1 — Inspection Begin the process of staining the wood ceiling by inspecting it to get an idea of the type of wood you are dealing with, which will help you determine what stain is suitable.
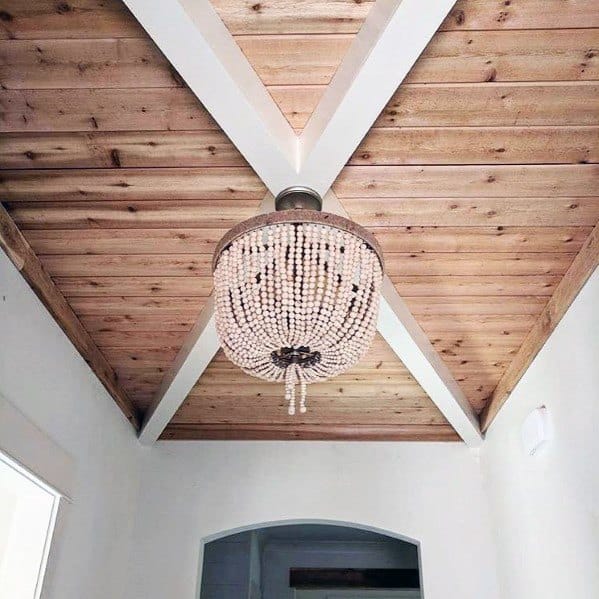
How to Budget a Painting Project. Solving 3 Interior Color Dilemmas. Related Posts Question on type of wood for ceiling. I am absolutly in love with the attached photo of a wood ceiling. I was won Read More. Stain for Cedar Gazebo? Porch Beadboard ceiling.

|
Best Wood Router Under 200 200k Best Cnc Router Table For Wood Panel Cool Ideas For Scrap Wood Key |

Vertual
29.01.2021 at 15:13:56
AQSIN_FATEH
29.01.2021 at 22:19:27
barawka
29.01.2021 at 19:33:48