Do It Yourself Sharpen Garden Tools,Wood Shop Heater Vessel,Grizzly Woodworking Dust Collection Systems Llc,Mr Sawdust Radial Arm Saw Table Plans Ltd - PDF Review

Double cut files remove the metal fast. Unfortunately, they leave a rough cutting edge. Avoid using these unless you have incredibly damaged or dull blades. One of the Do It Yourself Garden Curbing Number best tools to use is a bench vise. When you hold your shears in place, you have both of your, hands-free which gives you more strength, control, and precision.
Also Do It Yourself Garden Screens System known as a wire edge, a burr lets you know that you have sharpened the shears to the cutting edge. The burr is a small fold of metal that forms on the opposite side of the edge you are filing.
To have a smooth cutting edge, you have to remove the burr. To do it, place the file on the opposite side of the blade. With the file flat against the shears, pull it back towards yourself with light pressure. You can also use grit sandpaper and sand the back sides of the blades. For ideal results, keep the blades flat and sand in a circular motion. Even if your shears are blunt, be cautious as you can easily get cut when handling them.
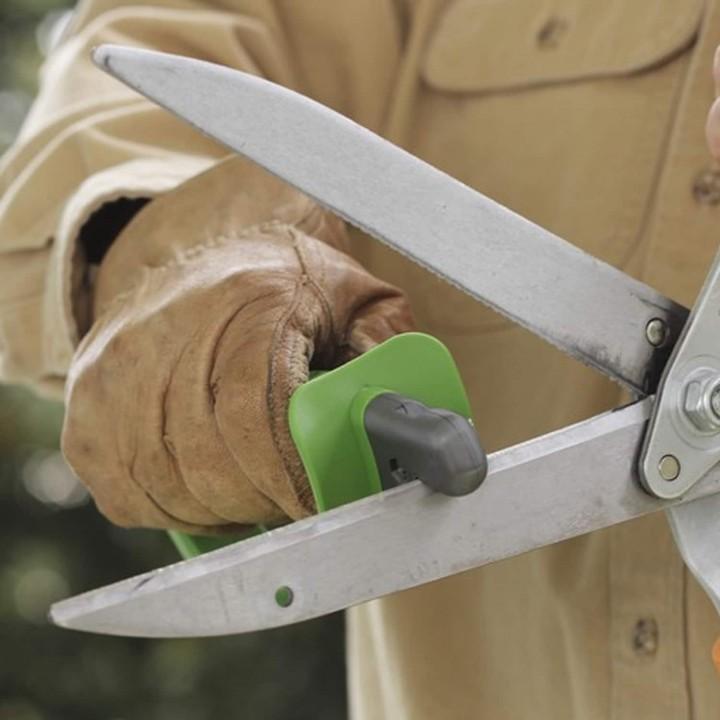
Before you begin the sharpening, put on a pair of protective gloves that will protect you from scratches, slices, and nicks. Other than protecting your hands, you also should protect your eyes from shards of metal or rust. You can easily do this by wearing a pair of safety glasses. Wrap around, or goggle type safety glasses are the best as they prevent the particles from reaching your eyes regardless of the direction they are coming from. Remember that even with the protective gear on, an accident can happen, and you cut yourself.
When this happens, and the cut is large, stop sharpening your shears and seek medical attention immediately. Other than sharpening the tools, there are plenty of other things you can do to give them a long life. Some of these things include:. Clean the shears after each use : Once you are done with pruning, remove leaves, soil, or any other debris using a hosepipe.
You can also sap off the shears with a clean rag. After cleaning and drying the tools, bring them under the cover. You can put the shears in the garage or shed. You can also put the shears in a bucket filled with clean sand. Lightly dampen the sand with multipurpose oil then place the bucket in a sheltered area.
After cleaning, stick the shears into the sand. The sand grains will keep the blades sharp while the oil will prevent the blades from rusting. Pay attention to the garden handles : Do your shears have wooden handles? Regularly inspect them for splittering.
If necessary, sand them smooth then use a clean rag to apply finishing oil. Now at 32, I have a small garden and every day I'm out trying different plants and seeing how they grow. I grow guavas, peaches, onions, and many others. Check and oil the straight blade and reattach it to the curved blade. We welcome your comments and suggestions. All information is provided "AS IS. All rights reserved. You may freely link to this site, and use it for non-commercial use subject to our terms of use.
View our Privacy Policy here. Toggle navigation subscribe. How to Safely Sharpen Garden Shears. Written by Carol S. To ensure our content is always up-to-date with current information, best practices, and professional advice, articles are routinely reviewed by industry experts with years of hands-on experience.
Gabriel Connor Salter. What You'll Need. Box socket wrench set. Stiff nylon bristle brush. Vise grip fastened to a workbench. Dry soft cloths. Low-density 'light" lubricating oil. Leather work gloves.
Safety goggles. Adequate overhead lighting. To Sharpen Hedge Shears and Grass Clippers Step 1 - Check the Pivot Nut If this fastening nut joining the blades to the handles is loose, tighten it with a correctly-sized box socket wrench.
Tips for Removing Exhaust Manifold Studs. Make Your Own Wood Shingles. Troubleshooting a Metal Working Lathe. How to Deal With Overgrown Shrubs. Once done, prepare a mix of soap and water to rinse the blades with. Instead of soap, an alkaline-based detergent would be a better choice. Now, take the metal part into the solution and immerse it for 15 minutes to 1 hour. Based on the amount of dirt, this period has to be decided.
After the grimes and oily grease is loosening up enough, take the tool from the solution and use a brush to scrub on the dirt. The more you scrub the grimes, the better results you will be getting. And in some other cases, plastic made handles are also available instead wooden garden tool handle.
In the case of wood, take a grit paper or sandpaper to clean the dirt. It would take just a few minutes of gentle scrubbing.
Being too much rude with scrubbing might bring on negative results, especially with tools that have long handles. So, beware of that. The hardest kind of dirt that you have to deal with throughout the process of cleaning is the rust. Because of humidity exposure or water splashes, this stubborn dirt takes place on the bare metal surfaces.
However, based on the amount of rust that your tool has caught up, the remedy will vary. For simple layers, a grit paper would be enough.
By now, we should have a garden tool which is free of all sorts of dirt, grimes and rust. Now, take a few hours to dry the entire tool. You can assemble the parts back before or after this drying segment. But make sure to not let any water contaminants get in touch with the tool over again. This manner will somehow protect the tool from catching up any further rust build-up.
When it comes to garden tools like sharpening tools, pruning tools , mowing tools, weeding tools, pruning saws — everything requires sharpening. On broad sense, any gardening tools that have cutting edges, require sharpening after a certain period of usage. Although, the sharpening process is not one hundred percent same from tools to tools. But we can set a general guideline to follow. And going through those set of steps is imperative to proceed with sharpening tools.
So, we expect that you have a clean, dirt-free garden tool in hand. To take care of the cutting edge, you need to make it completely Lathe Tools Sharpening Jig 600 exposed. Sometimes, there are obstacles like rust buildup on the cutting edge.
Based on the metal type of your tool, the sandpaper grit might vary a lot.


|
Vintage Stanley Hand Planes For Sale Wood Shaping Tools Crossword Expiration Old Cabinet Hinges For Sale Lyrics Solid Brass Small Box Hardware 5g |

ToMeKK
08.11.2020 at 22:39:15
Angel_Xranitel
08.11.2020 at 18:24:52
Podpolniy
08.11.2020 at 23:51:14
Sex_manyak
08.11.2020 at 10:44:35
5555555
08.11.2020 at 15:58:48