Woodworking Projects Plant Stand Video,Pocket Drill Jig Uk Web,Carpenter Tools Toys Yu,Best Drawer Slides For Dresser Size - Test Out
.jpg)
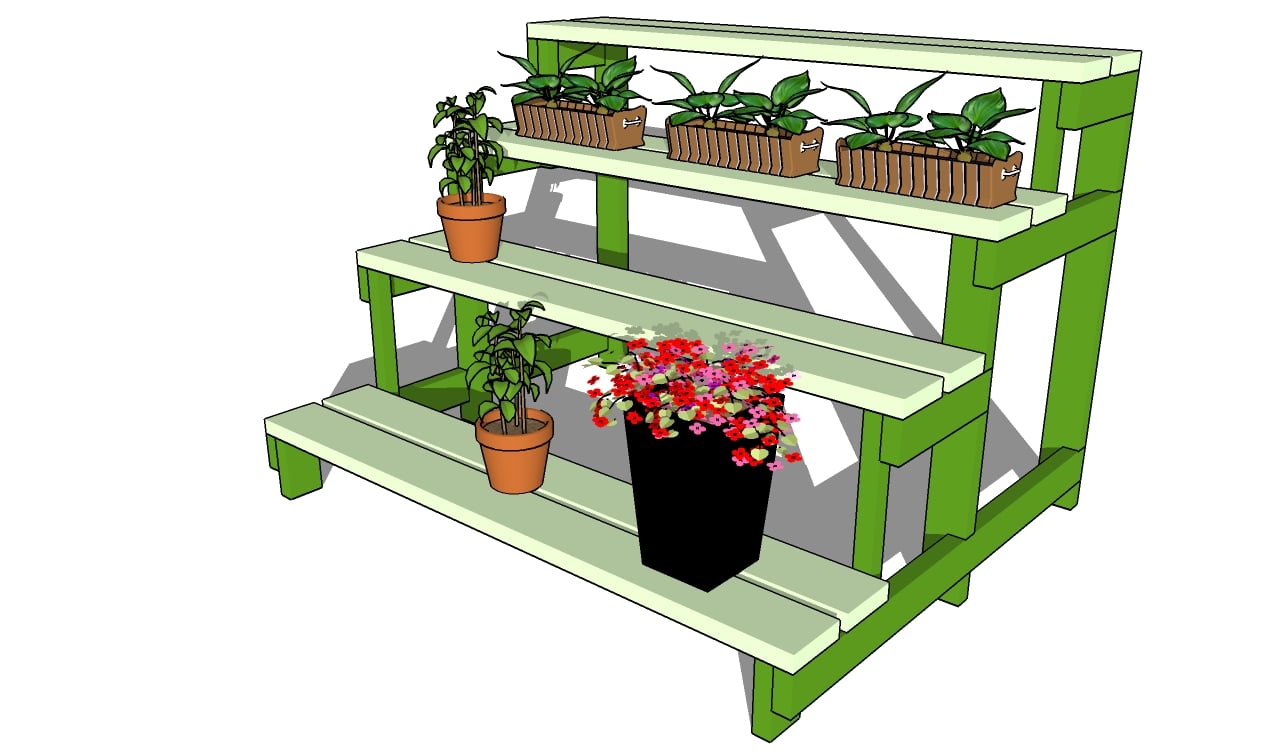
The legs simply chase each other around the base, like a pinwheel. We went whole-hog, making ours out of mahogany. Mill all the parts to thickness. Cut the column A , legs B and arms E to their finished dimensions. Smooth the profiles with a rasp and sandpaper, a sanding drum mounted in your drill press, or an oscillating spindle sander.
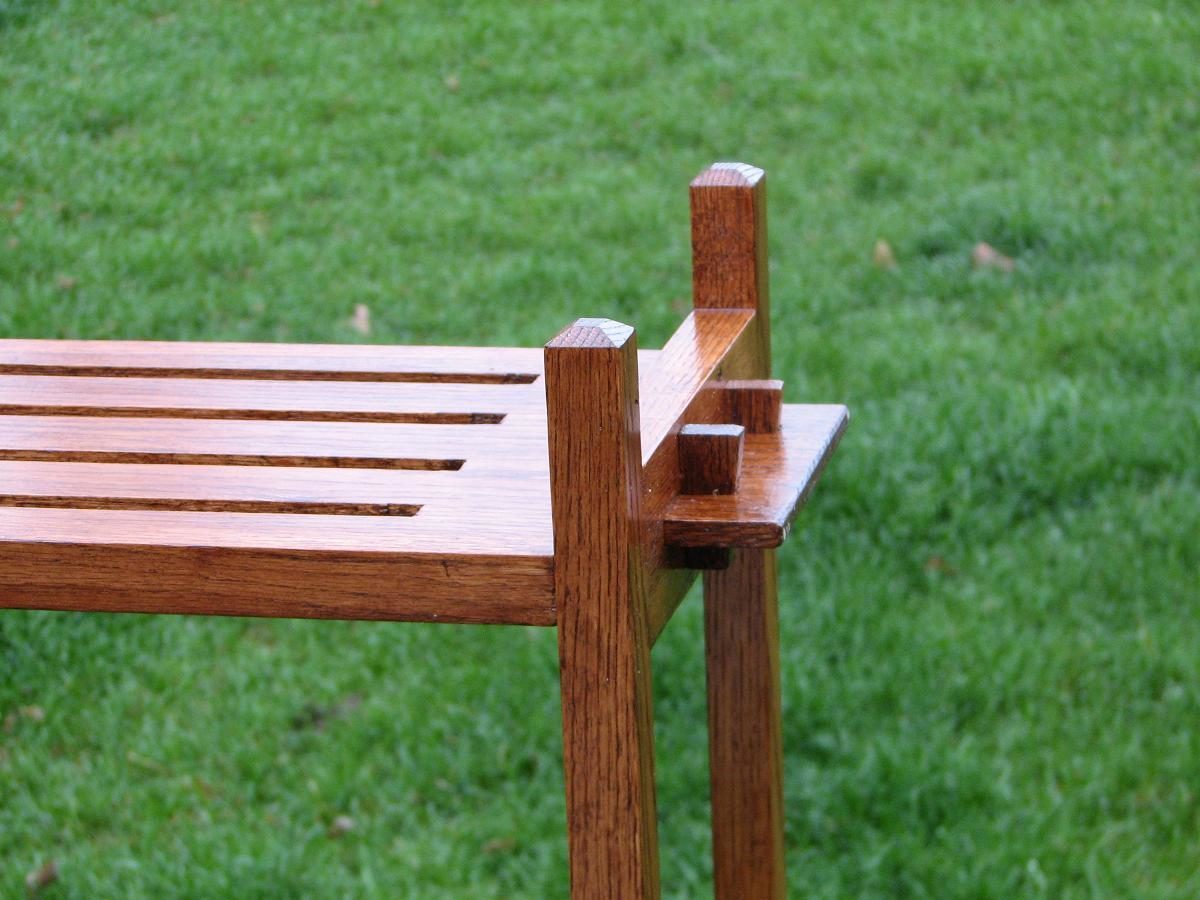
Position each leg on the column and drill pilot holes for the screws 4a. A stop block ensures perfect alignment when you mount the legs. First, clamp the stop block to the column. Then, clamp the leg to the stop block, making sure the bottoms of the leg and column are flush. After drilling pilot holes, countersink and drill out the leg holes so the screws will slip through and fit flush. Round over the edges of the legs, except for portions that support the discs or go against the column.
Fasten the legs to the column with weatherproof glue and stainless steel screws. Glue the triangular-shaped arm blocks D , cut from your leftover column stock, to the column.
If a stuck-on block keeps sliding down the column, pull it off, remove the excess glue and stick it back on. Before gluing on the second pair, plane the first pair flush. Glue the arm support blocks to the column, two at a time. Keep them properly aligned by going easy on the glue and using finger pressure to initially set the joint.
Wait until the blocks are firmly attached before clamping. Attach the arms, following the same procedure you used for fastening the legs Steps 4 through 6. Make a jig to rout the discs, cut them to rough size and rout them. Then round over the edges. Rout perfect discs easily with a simply made two-piece jig.
The block allows you to clamp the assembly to your workbench. The template lets you rout the round shape. Make the counterclockwise passes Steps 1 and 2 first. The original concept for this project was a caddy that would show off your woodworking skills as you transport beverages to a tailgate party or picnic.
Free Plan: Picture-perfect Multi-frame. Coordinate with your color scheme, pull together your pictures, and showcase your shop skills. All in a single frame. Free Plan: Keepsake Box. Three species of wood—and a bit of aluminum—give this little project lots of visual appeal.
Tip of the Day. Pipe out dust from under belt-drive saws. Magazine Subscribe Magazine Customer Service. Contact Us Advertise With Us.

|
Drill Master Pocket Hole Jig Kit Zip Code Wood Dust Collection Design 2018 |

Stella
08.05.2021 at 14:24:40
RED_BARON
08.05.2021 at 14:32:26
Keremcem
08.05.2021 at 22:25:59
RoMaSHKa
08.05.2021 at 10:50:24