Woodworking Make Simple Picture Frame Uk,Best Rap Kpop Songs 70s,Rockler Woodworking Catalog Pdf - PDF Review
Clamp the stopblock in position to provide just a bit of extra length on the workpiece. Fine-tune your length. You can now dial in the exact cut on one length of molding and use the stopblock so the second piece matches it.
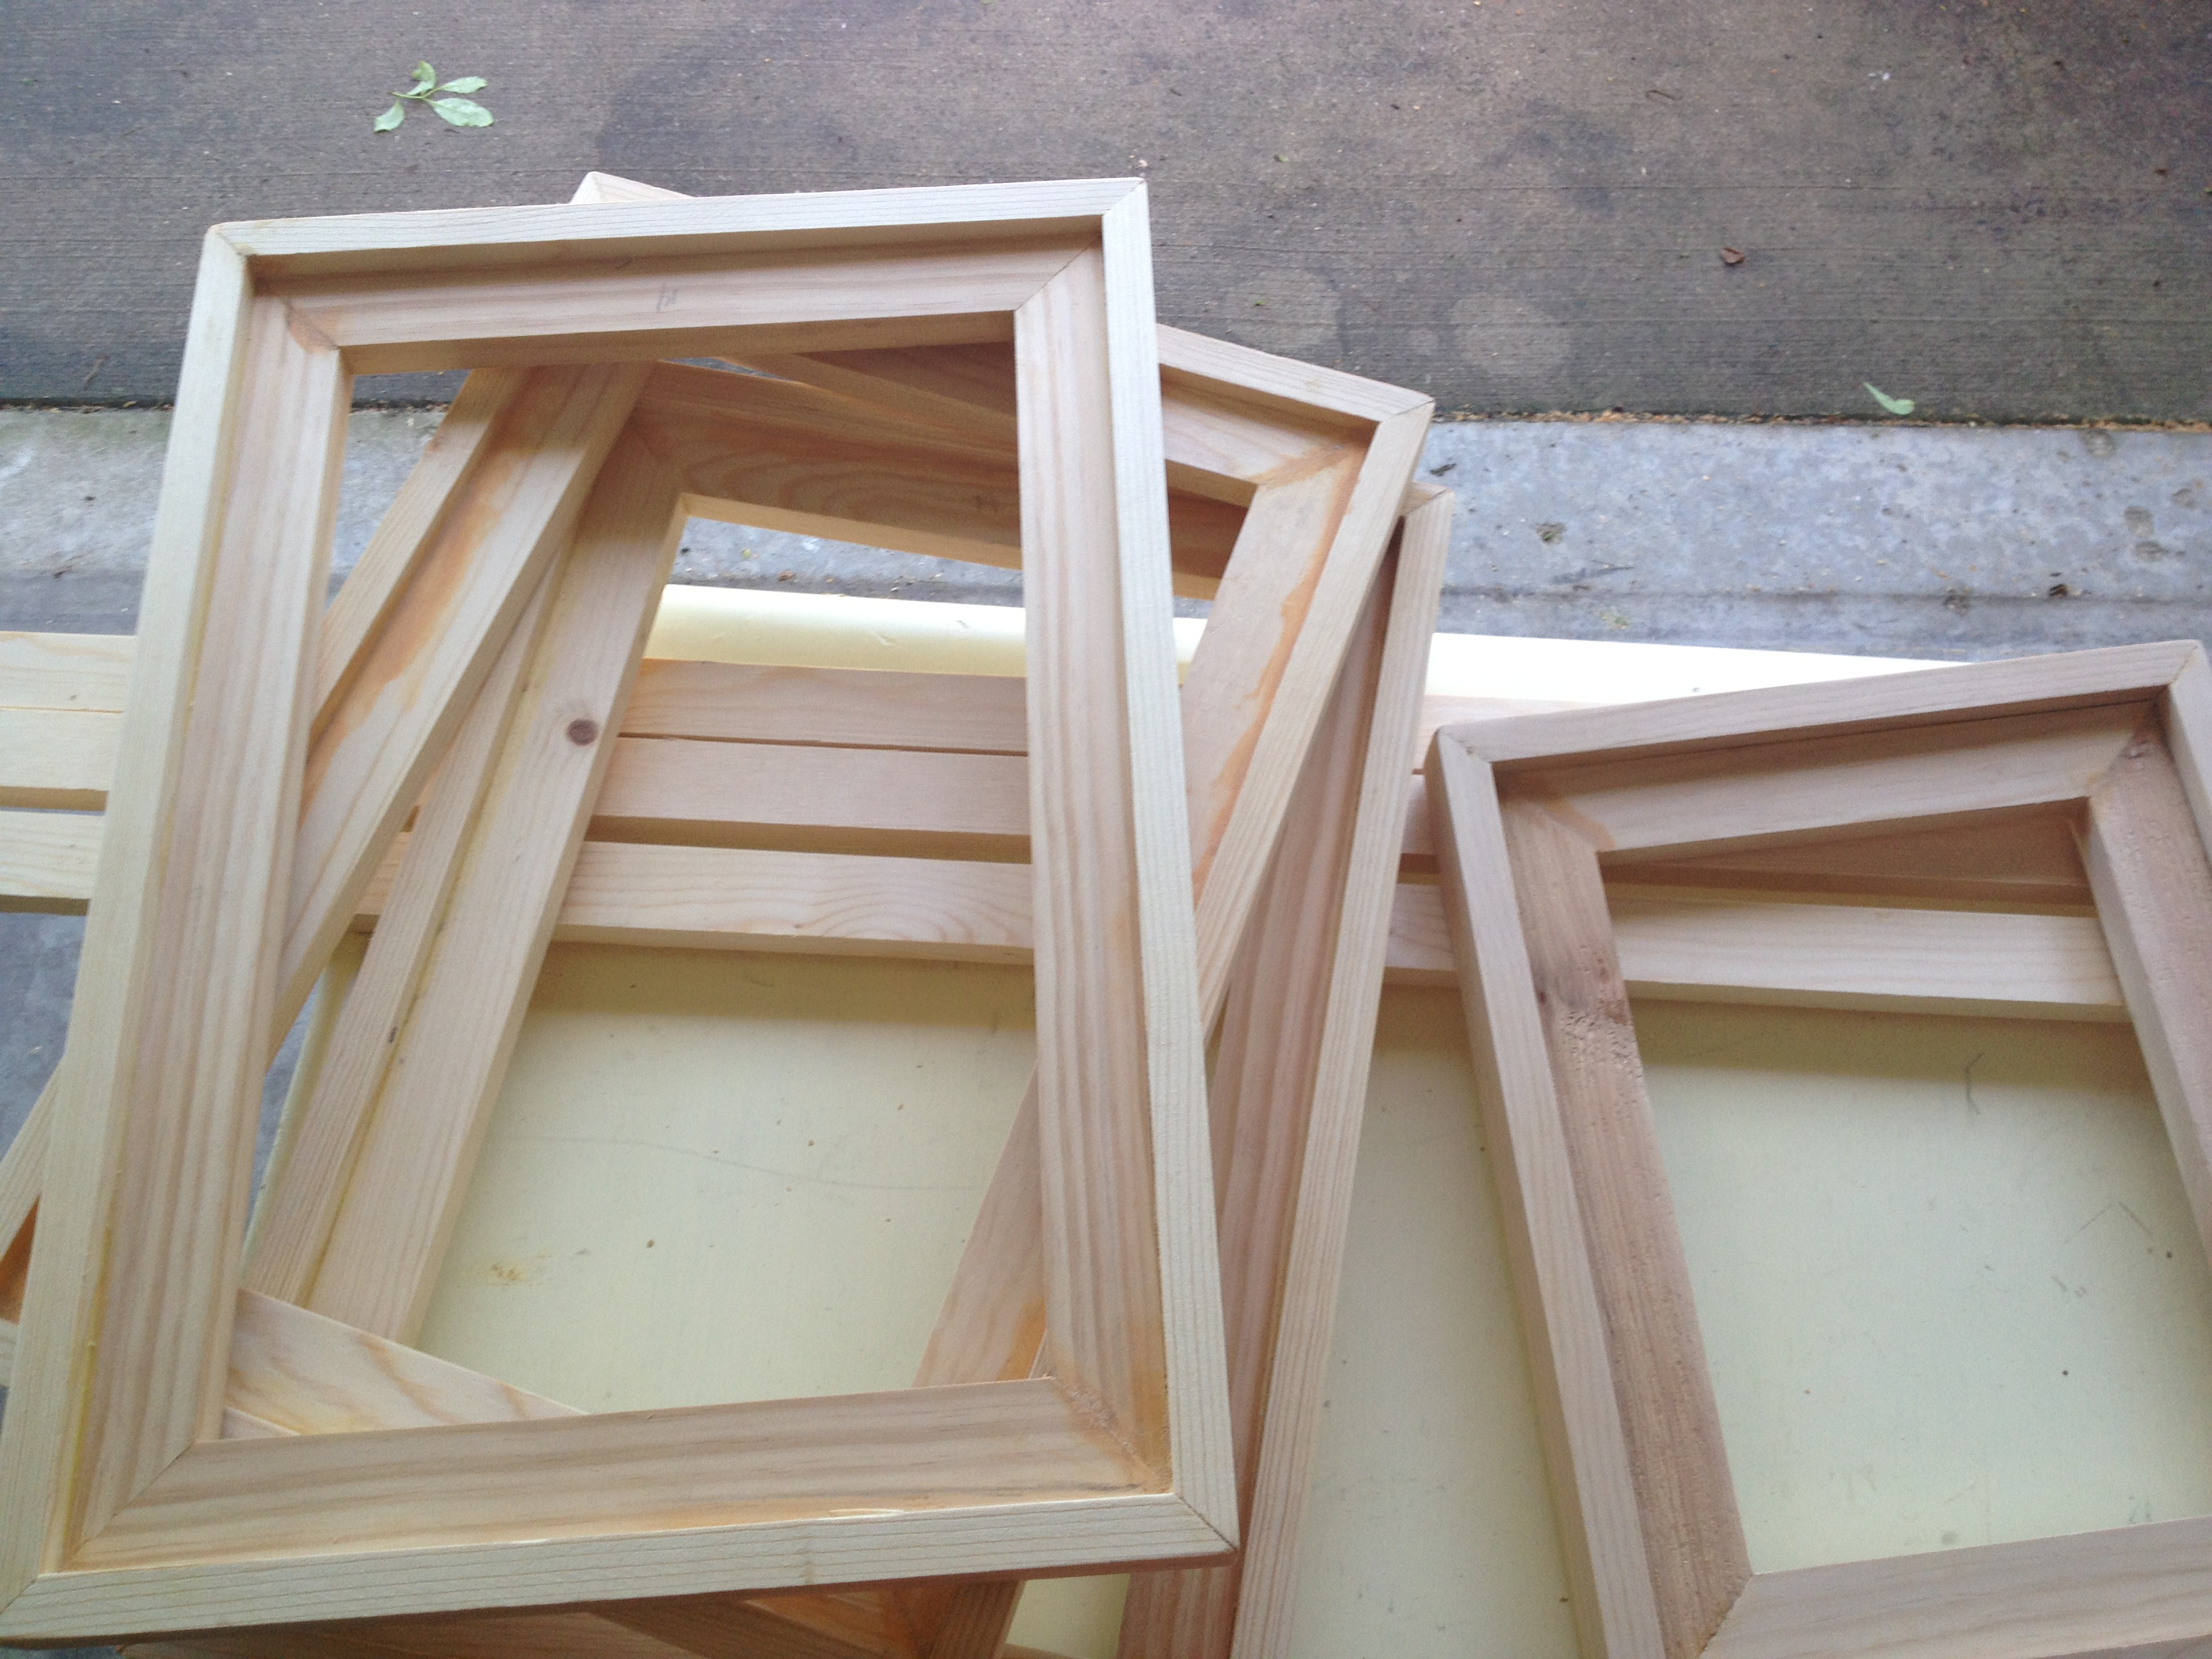
Test for perfect alignment by dry-clamping the frame without glue [ below ]. Join the band. A band clamp is ideal for assembling a frame.
Turning the handle cinches up the band and spreads pressure equally to each corner clamp. The inside and outside of each corner should fit without How To Make A Frame Mirror Game any gaps. Pieces can slide a bit as the clamp is tightened, so readjust as necessary. I apply moderate pressure with the clamp to assure good glue and edge bonding.
When mitered edges fit well, there is no need for excessive clamping pressure. During the dry-clamp test you notice that three of the miters meet nicely but the fourth shows a gap. If the gap is pronounced, or if gaps show at each miter, attempts to fix them will result in changes to the length of all the sides and will mean that your initial alignment of the saw needs to be rechecked and all the pieces recut.
With the saw off and the blade down, slide the end of the mitered molding against the blade body not the teeth. Hold the molding in place, raise the blade, Make A Frame Photo Online Key and shave the end. If the gap is small, you can remove a minute amount [ above ] from the heel or toe to correct the misalignment, as shown in the four photos below. A couple of attempts will usually fix small gaps. Fix the heel.
To trim more from the toe of the miter than the heel, place a sticky note or business card shim between the fence and the end of the workpiece nearest the blade.
Fix the toe. Cutting more of the heel than the toe is done the same way, with the sticky note or business card placed between the fence and the far end of the mitered stock. I prefer using the shim over trying to fine-tune the miter angle of the saw because I can more easily control how much material is being removed, and where. Think of the possibilities!
Wood dust messes up a shop quickly and can lead to respiratory problems. Tablesaws with enclosed Make A Frame Stand Review Skip to main content. Making the Perfect Frame. By Jim Heavey. First, select a molding You can choose from a huge variety of stock moldings at framing stores, below. Try a better joint. Facebook Pinterest Twitter Text. Printer-friendly version. Read more about Miters.
Once the glue was dry, I gave the corners a good sanding to get rid of any leftover glue from squeeze out, then put a Roman Ogee router bit into my router and went along the outside edges to give it a little decorative detail.
This is totally optional. You can leave your edges plain and square OR use something else besides the Roman Ogee. But side note: when routing edges like this along the outside, go counterclockwise. For more information on routers and how to use them, check out this router guide. If you think of this How To Make A Frame Look Rustic Up print as a sandwich, it would go glass in front, mat board and print in the middle, and backer board on the back side.
For this, I used a rabbeting bit in my router. NOTE: route the inside edges here clockwise. The thing about rabbeting bits is that they makes rounded corners. So I used a chisel and carefully squared my corners. OR, in hindsight, you could route these rabbets prior to assembling to avoid having to use a chisel here. Now the frame itself is finished except for actual finishing—paint, stain, poly.
I polyed mine with three coats of Polycrylic. While it was drying, I cut the mat board. The last thing that needs to be done is cut the mat board. You can buy mats in standard sizes precut at any craft store or even online.
I traced out and cut the board the overall size the mat board needed to be to fit inside the rabbet from step 6.
Once the opening was cut, I taped the corners of the print onto the back of the mat so that everything was lined up and it would stay that way. I ordered a piece of picture frame glass from my local glass place so that it would fit into the groove cut from step 6. If it is too big, you will need to chisel out the frame until it fits. And that stinks, so avoid it if possible haha. So instead, Dad had two small eye screws and some metal frame hanging twine.
We put one eye screw in each side of the frame and tied the twine between the two to hang.


|
Window Making Router Bit Set Java Wood Projects Ltd Bc |

Turgut
25.07.2020 at 17:43:15
oO
25.07.2020 at 17:37:50