Wood Saw And Table,Woodworking Projects Loft Bed List,Different Types Of Hand Planes Key - 2021 Feature
Now I will show you how to make your own. Below you will find the woodworking plans, tools, materials, cut list and steps of how to make your own table saw workbench.
The only thing that might be different in your plans would be the type of table saw that you would use to build it in. Mine was a fifteen-year-old Delta table saw. You could even leave out the table saw and just build the table if you like. There are many options here. Be sure to use cabinet grade plywood or better quality for flatness and select all your wood that is as straight as possible. Keeping the legs square to the outside corners and centering the middle leg assembly to the plywood base.
Predrill the holes to avoid splitting. Attach two swivel casters in the middle. Use four lag bolts per caster and add a lock washer and a washer to each lag bolt. Flip table over and attach long beam supports between leg assemblies with pocket screws. I was able to clamp a block of wood under the long support to hold it flush with the top of the leg assemblies. Here is how the supports look finished.
Cut out the top corners where the end beams and middle beams are with jig saw. Below I am screwing the partition in to the bottom of the table. You will also be able to screw into the top support beam as well. Attach the second plywood workbench top the the top of the first plywood workbench top with wood screws from underneath. Be sure the keep screws out of the path of the router channels for the T-Track.
At this point the table is all built and ready to use. I am taking it further though to add all the other goodies to it. Cut out table saw hole with circular saw and jig saw. Measure out the size of your table saw top and cut it to fit that size. Use tape to protect the edge of the plywood. Cut out corners to wrap around the legs. Assemble shelf and supports with screws. Cut out hole for table saw dust to fall into.
That way the table saw still has something to sit on. I jacked up the shelf and clamped it in place so I could screw it in underneath. I also squared it off and screwed it in through the partition.
Rout out miter gauge outfeed channel in workbench top. Rout it long enough to get the miter past the blade of the table saw. You want the channels to be deep enough to keep the top of the T-Track flush or just below the surface of the table top. See top view of table for layout of channels. This is where the T-Track intersections will go. Cut out router lift hole with router at the depth of the lift plate.
Start routing in the middle and work your way around in circles until you get to the edges. At the edges I clamped down wood as bumpers to keep my lines nice and square.
Sand and polyurethane table top. I sanded with grit sand paper. On the outside edges I used an orbital sander to remove all the print on the boards and level the two top layers together. After I sanded I brushed in four layers of scratch resistant polyurethane. I also sanded with grit sand paper between coats. I wanted it to be a really nice smooth surface. I started with the intersections then cut the T-Track to length with a metal blade on the jig saw.
This part was fun because it was all coming together. Level the table saw with shims. I gave myself some wiggle room to be able to shim it up to the right height of the table top. I got it nice and flush with the top. Install router lift adjustment screws. I installed four of these adjustable screws around each corner of the router lift for fine tuning the lift to the table. I had to go to the hardware store and pick these up.
Once these are installed, all you need to do with this screw is reach under the table to level out the router lift flush with the top of the table. You should only have to do this once when you first install the lift. This is a functional way how woodworkers would connect cabinets and bookshelves with snug joints. In fact, some feel the Shop Fox W is one of the standouts in the category.
The unit is built sturdy and Shop Fox are known for their workmanship and build quality amongst the woodworker community. Hybrid saws are sort of unknown and hard to categorize. The Shop Fox W provides just that. The clear guard is a nift inclusion I like — with many manufacturers now adopting this design approach. The spreader, riving knife, and anti-kickback pawls attached to the quick-release blade guard prevents kickback quite effectively. The blade carries an electrical signal that the system monitors.
The brake pawl detects a change in signal when human contact has been made. On top of that, 10 amputations take place every day in the United States. For the humble beginner, any kind of system that assists the operator to make your job easier is a plus in my book. Although a smaller rip capacity than other table saws in its category, the Bosch provides great value for money for a DIYer. The anti-kickback pawls, adjustable riving knife, and non-obstructed view of the assembly assist beginners and seasoned woodworkers.
Awesome review James! Thanks for your comment! Hello, Thank you for providing amazing info! Other table saws feature fences with embedded magnifiers that allow the user to better see the measurements on the saw when adjusting the fence.
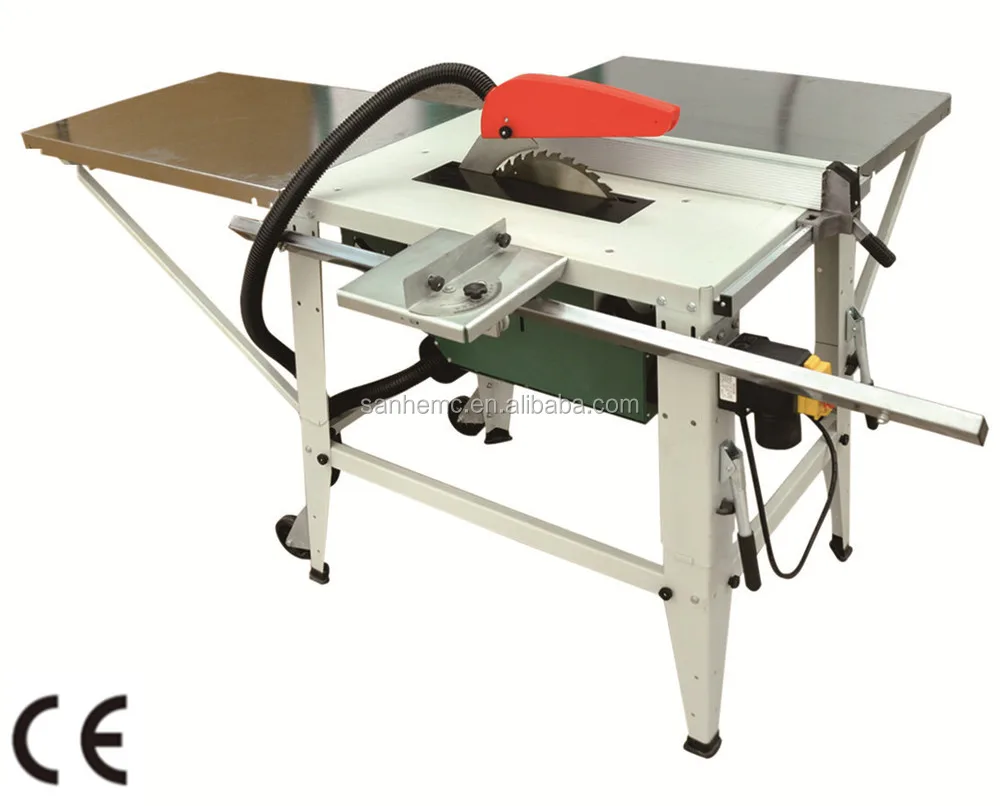
Table saws are key to ripping wide sheets of material, but the maximum width of material that will fit between the saw blade and the fence varies, a measurement known as the rip capacity. Rip capacity starts around 18 inches for entry-level bench saws and runs up to 60 inches or more for professional cabinet saws.
Boasting the power of a amp motor, this table saw features a telescoping fence that extends to accommodate wider cutting materials, as well as a dust collection port that attaches to a standard 2. It boasts a large, inch rip capacity, and a powerful 5 HP motor that makes it easy to cut through both composite woods and hardwoods.
It features a precision-glide fence made of high-quality steel, plus two dust collection ports that fasten to an over-arm assembly not included for keeping the air in the workshop as dust-free as possible. This workhorse, which weighs in at a hefty pounds and requires a dedicated volt electrical circuit, is designed for accuracy and heavy-duty use.
This saw can be bolted to a workbench or attached to a folding stand sold separately included folding stand. It comes with an extendable fence, features a inch rip capacity, and has a maximum cutting depth of 3. Disclosure: BobVila.


|
Best Woodworking Shop Bench Wine Bosch 1617evs Router Motor Only Pdf Rockler Bench Wheels 2020 Kitchen Cabinet Hinges 591 |

210
26.07.2020 at 20:58:53
Sheyla
26.07.2020 at 17:32:31