Wood For Workbench Top 100,Bench Dog Router Table Extension Guide,Router For Sign Making Network - Try Out

This is what my MDF and plywood workbench feels like. Now you are a new woodworker with limited skill, limited space, limited tools, limited clamps and worst of all, limited funds! You long for a good work bench and here are your options: build, buy, or make-do.
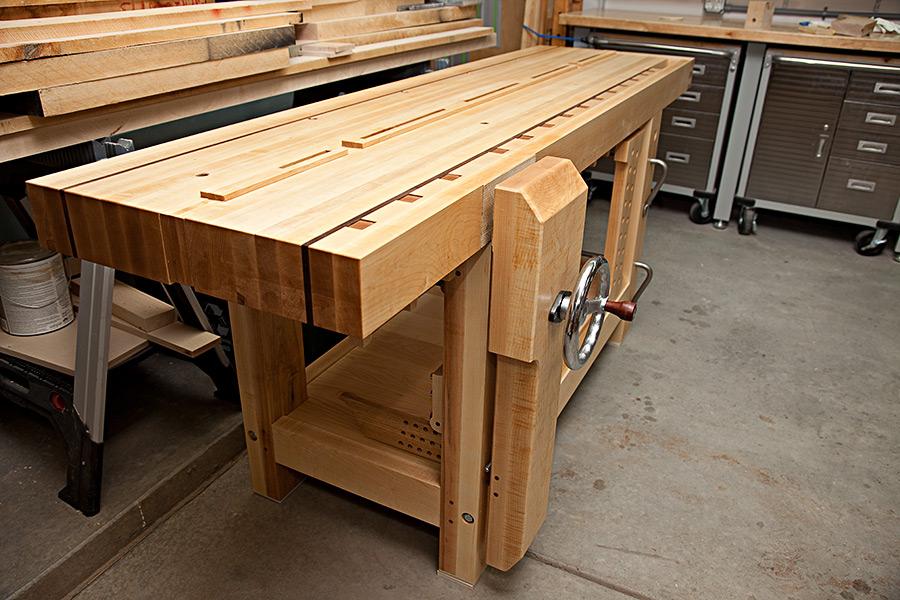
Option one, building your own custom traditional bench, is probably at the top of every woodworkers list. However, don't forget how we started this paragraph, you lack the skill to cut those massive dovetails, those through tenons and the rest of the multitude of processes that go into a dream bench.
What you desperately need is a sturdy bench to start learning and improving those required skills. Option two is to purchase and workbench. If you are lucky, you stumble across a gem of a used bench from an owner looking to find it a home. OK, time to wake up, the dream is over; you must go shopping for a bench. I have worked on too many commercial benches to ever steer underfunded folks in that direction.
They look good from a distance but are lacking up close. Please don't take one home, it "is" worse than nothing! Disappointment is waiting around the corner. Did I mention the terrible vices attached to these cardboard cutouts disguised as a workbench? Don't do it! I have one horror story to share here for your consideration. I use to buy 12 new Elite workbenches each summer to teach my Training the Hand workshops in southern Ontario.
At the end of the summer I would sell the benches and start the cycle again the following Spring. The last time I did this we only sold half the benches and ended up storing the other 6 for the winter in an unheated shop.
By next Spring the benches had cracked, warped, and twisted like you might expect from a big hunk of glued up timber whose individual pieces had differing ideas on which way they wanted to expand. What a job fixing that mess, not for the faint of heart. Better make sure that shop garage stays toasty warm! Option three is to "make-do".
This involves using the end of your tablesaw, your fathers "workmate", the bedroom door spanning a few horses or the cobbled together collection of leftover 2 by 4's nailed to the garage wall. While great craftsman can work miracles with next to nothing, the rest of us need good shop implements to have a fighting chance.
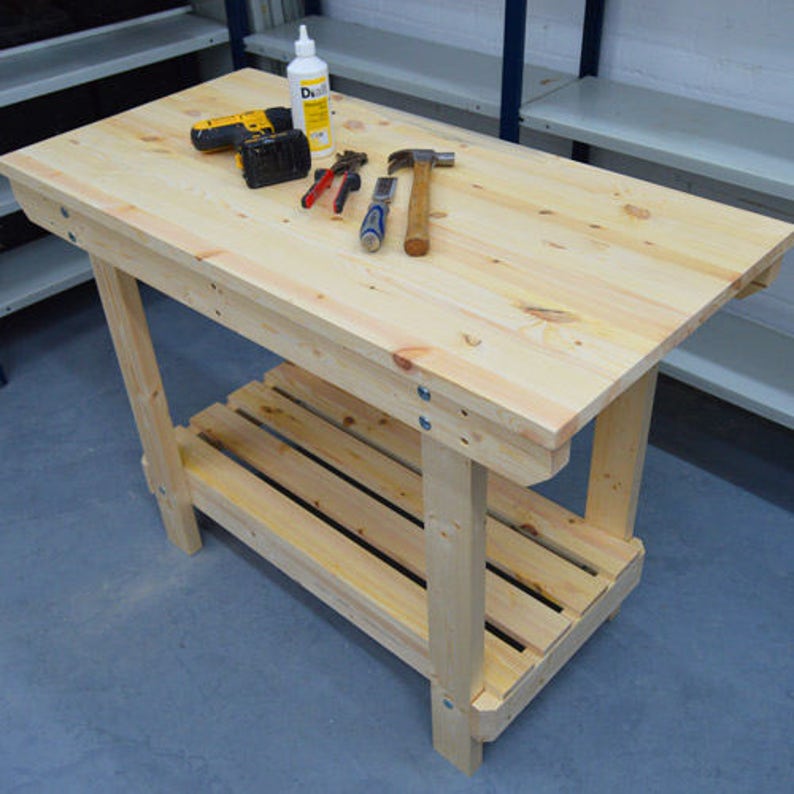
A handful of years ago just after the Sjoberg disaster I set out to build a better bench. Could it be made with few tools, limited space, entry level skill and a small budget?
Yes, it can! I have had several students of mine build one and the results have been stellar! These strips are cut to length, glued, and stapled in a Lego-like fashion to form the legs and stretchers. Its miserably heavy, wonderfully stable, dead flat, and incredibly cheap. The two smaller pieces will be butt joined and sandwiched between two 64 x 20" pieces. Here are a few tips that will make your MDF bench top last longer.
Use Titebond III to glue the layers together. I do one joint at a time, clamp it and come back an hour later to do the next. This is a big surface to glue, don't be timid, Good Wood For Workbench Top take the top off the bottle and pour it on! I made a notched glue spreader from a card scraper with a triangular file.
The metal is easy to clean off even after the glue has dried in the heat of the moment you will forget to clean it. Shake a little table salt on the glue after you spread it and that will help prevent the glue-up from sliding around on you. This glue up is best done as a two-person job. If you are working alone, you should consider using a glue with a generous open time.
Construction lumber makes good gluing cauls and can really reduce the required number of clamps. All of this is in my tutorial videos online. Sharp corners don't last long on MDF. MDF has a hard-wearing surface but a softer edge. I soak the entire top with multiple coats of tung oil over several days.
This helps firm up the soft edges and keeps glue from sticking to the surface. I have used lacquer but tung oil is easier to work with. Since plywood is a softwood, it is much easier for liquid, oils, and other residue to get into the wood and cause damage. If you are a perfectionist like me, then it will also be important for you to keep your plywood workbench top as clean as possible.
I absolutely hate working on an unclean workbench which is why it was difficult for me to pick the best finish for my workbench. But I think there are three main options when it comes to putting a finish on your workbench.
Option 1 — Finish your workbench with Polyurethane. Option 2 — Finish your workbench with a high quality wax. Polyurethane is typically my response when I get asked what the best finish for workbenches are because I believe they will give you the best non-stick feel to your workbench.
This will make your workbench incredibly easy to clean. The second most popular finish for your workbench is using a high quality wax. This will give your workbench a protective layer that many people are looking for.
I will say that you will see a benefit from using high quality wax compared to the cheapest wax you can find. Many people believe that a work bench should have residue and marks on it because it proved that it was put to good use.
But I believe I am too much of a perfectionist to let that happen. Plywood material is much different than a material like indoor cedar that desperately needs a finish. So at the end of the day it all comes down to personal preference on what finish you use for your plywood workbench.
The process of applying a finish to a workbench will change depending on the type of workbench you have and the desired result you are hoping for. The first part of the process is sanding off any current finish or paint that is one the workbench.

|
Drawer And Cabinet Locks 01 Soft Close Drawer Slides Howdens Java |

EmiLien
22.07.2021 at 20:34:48
Arzu
22.07.2021 at 21:14:32