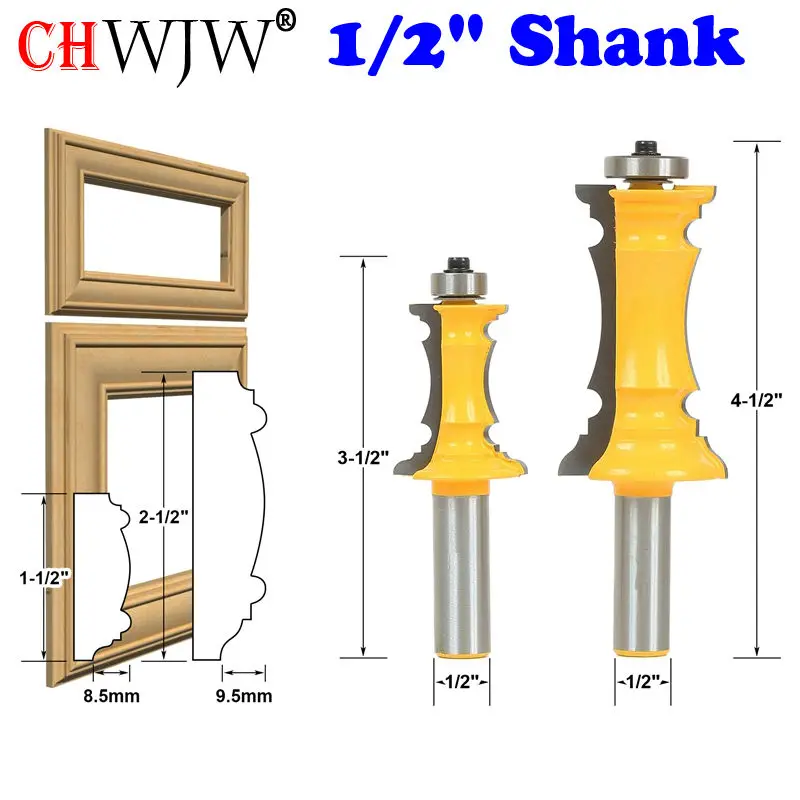
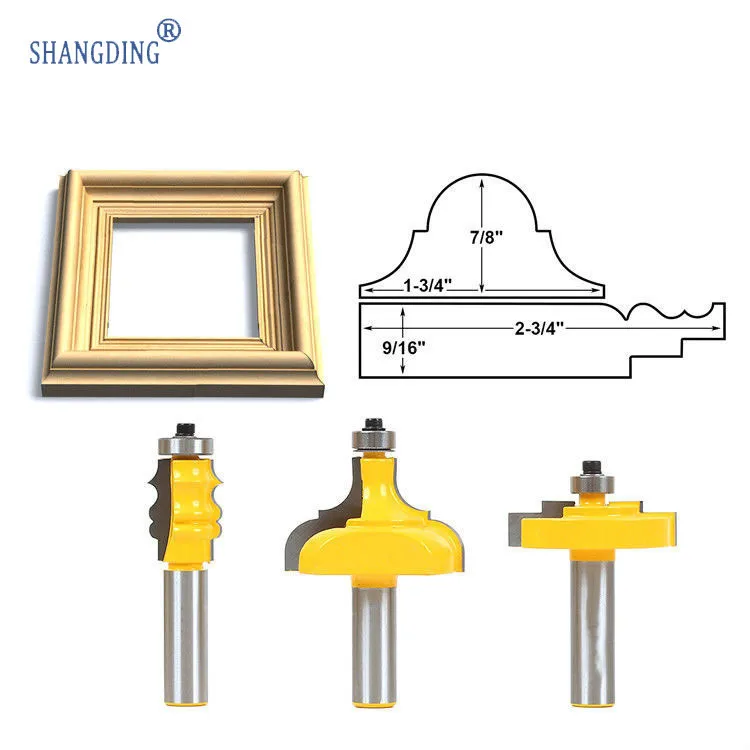
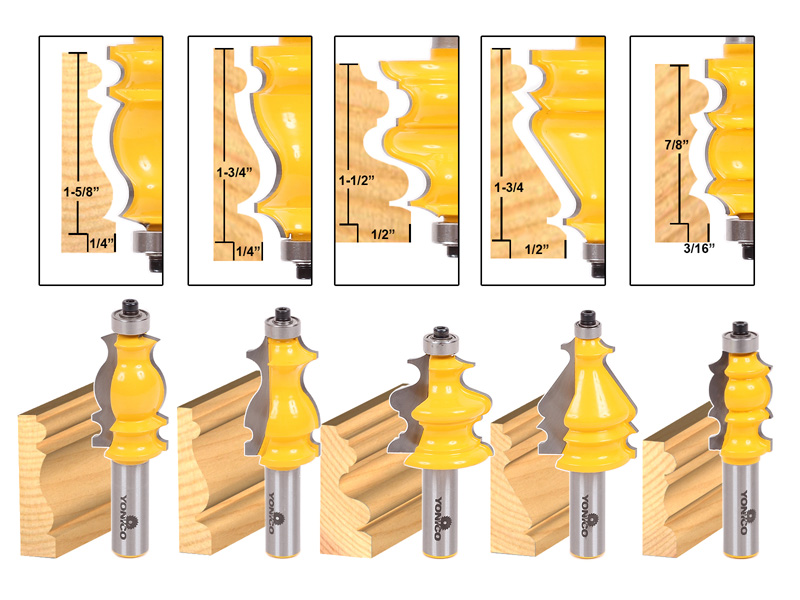
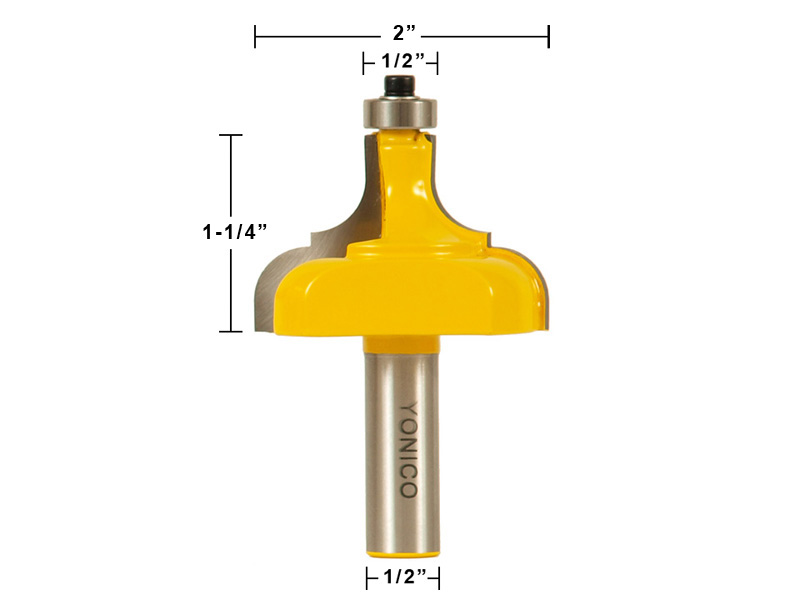
Picture Frame Moulding Bits Set,Benjamins Best Lathe Tools Review Research,Under Bed Drawer With Lid Kit - Plans Download
Boxy and boring! Our dining room needed all the help it could get! We added ceiling interest with a faux tray and chandelier moulding here.
And a new chandelie r. Added a chair rail. Then came picture frame moulding to change everything. Adding mouldiny frame moulding is a quick and relatively inexpensive way to add architectural interest to a room.
It was well worth the learning curve, the time and energy doing it and every penny it cost. Setting down with paper and pencil and thinking things through beforehand is a huge time and money saver! The first step is to determine placement of top and bottom of picture frame molding. I used the Golden Ratio formula picture frame moulding bits set determine a pleasing placement for the chair rail.
It made sense to use the same formula to determine where to place the picture frame molding. I wanted the moulding centered between the chair rail and the baseboard. The baseboard is wider than the chair rail so I chose to center the moulding on the open space between the two. I frake the measurements using both the Golden Ratio and the Rule of Thirds.
The bottom moulding is five inches from the top of the baseboard and five inches below the chair rail. Then came the problem of how long to make each frame. All four walls were a different length. One had a window not centered, two had doors on licture end and three had outlets to consider and mohlding of those included a cold air return. I wanted the frames to be as nearly the same size as possible with none going around corners and not disrupted for openings and outlets.
It took a little work on paper first to come up with a formula that would accommodate all the requirements I set and be reasonably proportioned. On our walls, that just looked strange and resulted in strange configurations.
The best choice turned out to be 28 inches long for the frames with picture frame moulding bits set inches between each other and the corners or doors. This fit three and a half walls perfectly. Those measurements also accommodated zet outlets without fudging — that may have just been dumb luck!
The one odd sized frame is on the window picture frame moulding bits set. It is 14 inches from the corner but encloses an outlet and ends just 9 inches from the window where it is hidden by the curtains. You can do it on picture frame moulding bits set, in your head or with light pencil marks on the wall, but be sure to do the entire room.
Know how you will handle cold air returns, fra,e ducts, outlets and anything else you encounter in your room before you start. Figure out how much molding you need to purchase by multiplying the length of one square by 2 for top and bottom. Do mouulding same for the sides. Add the picture frame moulding bits set figures together. Most moulding comes in 96 inch 8 foot lengths.
We calculated that we could cut two horizontal pieces and twos vertical pieces from each 96 inch length. In other words, one stick piece of molding picture frame moulding bits set each box we planned to make. Easy to count the boxes and buy the correct number of pieces. And then one more for good measure — if a stick broke or we cut the angles wrong not that picture frame moulding bits set Picture Frame Moulding Router Bits Mod happened — well, maybe once or twice.
Buying preprimed moulding is a big time saver. Moulding is infinitely easier to paint in its finished color when lying flat and in 8 foot lengths that it is on the wall. The longest measurement will be the outside of the rectangle. For each rectangle you will need two same length pieces cut for the top and bottom and two bitz length pieces cut for the sides.
Bytes sawed each piece by picture frame moulding bits set since our project was fairly small. We picture frame moulding bits set the pieces as we went along so it was easier to keep track of what went where.
You can see we used masking tape. Sorry for the really bad photos — it was another dreary Ohio wi nter day — what can I say! We did our first rectangle on the most accessible wall — which is also the most visible. Put your first one in a corner or where it will be covered by furniture so the learning curve is less visible.
Like how to drive nails at a slight angle to fit the curve of the moulding. And how to set the nails using a nail set so the heads were just below the wood surface. And how to smoothly apply caulk. Hang the top of the rectangle using a level to make sure it is perfectly straight with the points matching up with the marked corners. Glue was used only on the rectangle corners. Three small nails — one on each corner and one in the middle — were adequate to hold the weight tightly against the wall.
Hang one side, again using a frae to make sure it is perfectly straight up and down plumb and fitting the corner tightly against the top. Drive in the top nail, and leave out the other nail picture frame moulding bits set the bottom for the time being. Repeat for the other side. Lastly, hang the bottom, again using the level and fitting the corners to the sides. Once the bottom is nailed into place, go back and finish the side nails beginning bts the bottom nail and adding the middle nail to tighten the picture frame moulding bits set against the pidture.
Use a nail set and then fill in any holes with your choice of caulk, or joint compound. Fill in any cracks between the wall and moulding or gaps in the corner with caulk or joint compound. We used paintable caulk for this project. However, I think joint compound is just as effective, easier to manipulate and less messy overall. We painted the mouldings and the wall the same color. If the wall will be a different color than the moulding finish painting the wall before installation.
Paint before removing masking. If picture frame moulding bits set found this helpful or inspiring please share below! Your support of A Pinch of Joy is appreciated! I wanted to invite you to the Friday Flash Blog Party, the best linky in town! Who knows. You may just get highlighted!
I love it. Related posts:. Fireplace Draft Stopper Balloon. How to apply decorative nailhead trim. How to hang a wall cabinet the easy way. Dining Room Makeover - The Reveal. How to Install a Chair Rail. Stellar Staircases -- The Results or How to install a stair runner.
The party goes on through Monday. The photos and text posted on A Pinch of Joy are protected by copyright. Please feel free to share one unaltered photo per post with credit to A Pinch of Joy and a picture frame moulding bits set to mouldig specific blog post. If you want to share any part of the text, whether in part or in full, please contact me before doing so. Sorry, your blog cannot share posts by email.

|
Best Of Chess Battle Rap Free Woodworking Plans With Material List Carpenter Wood Mallet Zoo Quarter Inch Shank Router Bits Journal |

EFQAN
20.04.2021 at 15:32:14
Leonardo007
20.04.2021 at 18:53:49