Marking Knife For Wood,Ebony Knife Handle Blanks 02,Small Latches For Boxes Uk - Reviews
Annoyingly, the tip of the tool was a bit warped, which resulted in a lot of lapping. Once I got the tool working, however, it performed well. Specifically, I wish the thick back end of the knife were thinner, which would make it more comfortable for marking dovetails. The middling blade angle allowed it to cut well in upright or down-low positions, and the thick blade made it an easy tool to sharpen though it was impossible to navigate the knife into tight tail joints.
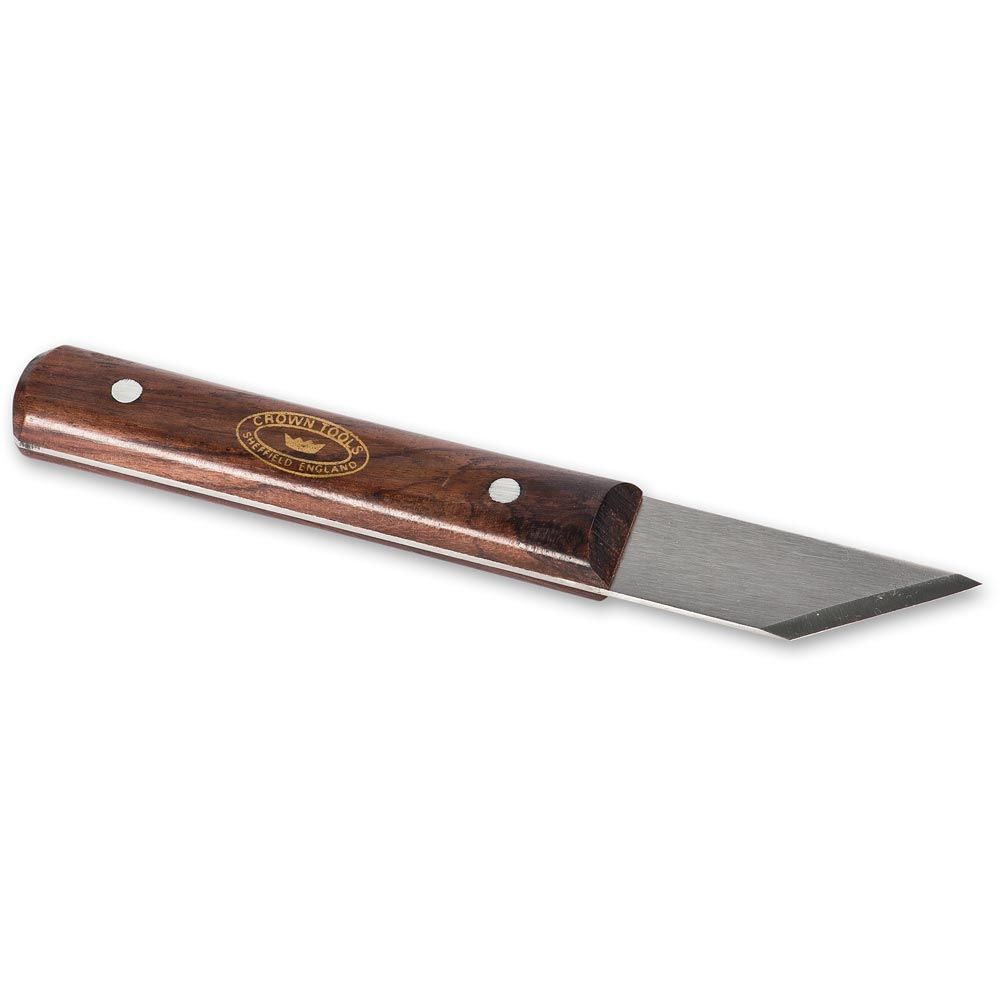
If the handle were thinner, this would be a good knife for marking out joints. Overall, the shape of the handle is comfortable and its flats keep it from rolling off your bench. I sanded it off, took the wood to grit and applied a better finish. Also, the bead on the handle was vulnerable to damage; ours became chipped after two months of use.
The blade angle makes it well suited for dovetailing, though its thickness prevented it from sneaking into the narrowest dovetails. It is the least expensive knife and performs admirably. Overall, my hands concluded that the Blue Spruce knife was the right tool for my style of work. When not cutting dovetails, I tended to favor the Chester and the modified Veritas knife. Here are some supplies and tools we find essential in our everyday work around the shop. We may receive a commission from sales referred by our links; however, we have carefully selected these products for their usefulness and quality.
By Christopher Schwarz. In Tools , Woodworking Hand Tools. Versatile but tricky to sharpen — we help you select the best tool for your work. Marking Knife. Chris is the former editor of Popular Woodworking Magazine. He continues to blog and publish woodworking books at Lost Art Press. He's a hand-tool enthusiast though he uses power tools, too. Ride the gauge on the whole edge and not just the corner of the piece, a common source of error leading to inaccuracy.
Practise making a firm pass to create a deep enough line, but remember that the objective is to gauge and not gouge. I also prefer to scribe in one pass rather than two to avoid inadvertently making two lines due to slight movement in the gauge during the second pass.
If you need a hard grip to force a line, the tool is dull and needs sharpening. Left: For better control, position the knife or pin so that it protrudes just deep enough to scribe the desired line. Right: The fence is not riding against the full edge of the piece, causing inaccuracy in the marking. Pins tend to tear fibres, leaving a fuzzy or ragged line.
Instead, rotate the gauge slightly away from you and push the pin in a trailing manner. If you pull, tilt the tool toward you and trail. Some woodworkers, Paul Sellers for example, re-drill the hole for the pin at a slight angle for better visibility and trailing effect. Tilt the gauge towards you if you pull and mark lines with the point in a trailing manner. Instead of using a conical point, Tage Frid filed a flat bevel on the spur, which does not leave a large V-profile typical of lines marked by a point.
Derek Cohen, a woodworker and prolific writer in Australia, ground a HSS rod in a similar manner into a spur for his shop-made marking gauge. The knife is set and aligned parallel with the fence to avoid dragging and tear-out Photo by Derek Cohen. If you need to mark a line to a precise point to lay out a hinge recess, for example , author Robert Wearing offers a nice trick: stab the stop point on the line firmly with the spur and scribe the line till the spur drops into the small hole.
Also called a cutting gauge, a gauge with a knife slices the wood, leaving a crisp line. You pull it like a pin gauge in a trailing fashion. I learned a fence adjustment trick from a retired woodworker: slide the fence close to its final position and tighten the thumbscrew only lightly. Then gently tap either end of the stem on a hard surface to fine tune the fence setting before securing the screw. Normally, I can get a clean line across the grain with just one pass of the knife gauge.
Occasionally, to keep the knife from following the grain, I would make a light pass and then make a second, deeper layout line. Of all the gauges, a wheel gauge has the shortest learning curve. You can use a wheel gauge with pull or push strokes.
Sometimes, the cutting disc may follow the grain, such as, for example, when the grain lines approach the reference edge. The remedy is to work the gauge in the opposite direction. For gauging a line far from the reference side with the stem extended, I use a three-finger grip. I place my index finger on the stem to steady the travel, with my thumb and middle finger behind the fence as I draw or push the tool.
With a file, this shouldn't take more than 15 minutes. If you have one, a belt sander with a 60 grit belt will put in a decent bevel in less time, but I'm keeping my instructions simple. At any rate, once the bevels have been roughed in, meet me at the next step! Here's the easy step, drilling some holes for the pins that hold on the handle. First, youll want to draw a line down the center. I coated mine in layout fluid, then used my calipers to scribe a line dead center, but a ruler and a steady hand with a sharpie works too.
Now, on that center line, make a mark half an inch from the back of the blade the side opposite the cutting edge , then make a mark an inch and a half from the first one, then another mark an inch and a half from that. Check the pictures if that didn't make sense, it barely made sense to type it A drill press works best, but a handhel drill works fine too.
Heck, use a brace and bit if you want, itll give the same results, it just takes longer. This is the step that takes this from a lump of steel to being an actual knife. Forewarning though, this step involves extremely high heat and flammable substances. If you don't have the facilities to safely proceed, lack the necessary equipment or this just makes you nervous, don't do it.
Instead, you can send out your knife to a commercial heat treatment service. Tru Grit is a delight to work with, just download the packing slip, write down the steel type O1 and desired hardness 61HRC and ship it out, then join us at the next step. Pretty simple process really.
O1 is extremely easy to heat treat, use a blowtorch to heat the cutting edge to about f, which will make the steel glow cherry reddish in a dim room, and keep it there for about a minute. After that minute is up, dunk the blade in some warm oil, canola or peanut oil both work well. Hot tip, hold the blade in a set of pliers instead of by hand to avoid an ER visit!
Now, after quenching, the steel is extremely hard, harder than glass and just as brittle. It will shatter like glass if you drop it, so don't bloody drop it! Instead, wash off the oil and pop the blade into an oven preheated to f and let it bake for an hour.
Take it out, let it cool, then send it back in for another hour. Do this one more time. This is called tempering, and doing this will soften the steel and toughen it up, so you'll actually be able to use your knife without cracking it. Once you're done tempering, proceed to the next step! A quick note, heat treating steel is an extremely complex process, and this is the bare minimum of information needed.
If in doubt, consult the data sheets for your grade of steel, O1's can be found here. Alrighty, now that you've got your heat-treated blade, time to finish up the metal part of things. First things first, you need to flatten the back the side opposite the bevel , so it sits nice against a straight-edge and makes a sharp edge.
To do this, stick a piece of sandpaper on a flat surface table saw top, kitchen counter, granite surface plate, piece of mdf , mark all over the blade with a sharpie and scrub it on the sandpaper until the sharpie disappears. Repeat with higher grits of sandpaper, up until you hit about grit. Flip the flade over, repeat with the top side to make it look nice. Nows also the time to fully finish the bevel. Use your file to bring it down almost to a sharp edge, then go back to the sandpaper to sharpen it.
If you've ever sharpened a chisel, its the same process. The key things here are to keep both the back of the blade and the bevel as flat as you can, and to polish both those surface as high as you can, so make for the best edge. Its a lot easier to do these steps before you get the handle on, so get it right now and make your life easier later! Alrighty, now that the blades cleaned up, time to attach the handle scales!
First, lets drill the pin holes in the handle material, which is hopefully oversize. First, stack the 2 piece of handle material on top of each other, then center the knife on the scales. Drill a second hole, then stick in another pin in that hole. Doing this will allow you drill the third and final hole in exactly the right spot, so everything lines up right.
Once you've got all the holes drilled with the pins maintain alignment, trace around the knife, then cut off the excess material. Once you have the front cut, you need to do some shaping. Round over the front, bevel it, do whatever yous like, then sand down the front.
You need to do this now, once the scales are attached you wont have access to the front of the scales. Now that the front of the scales are finished, time to glue them on.
Degrease the knife and the inside of the scales with some acetone or denatured alcohol, then mix up some 2 part epoxy. Apply the epoxy to the inside of the scales, then insert the pins. Use the pins to line up the scales properly on the blade, then clamp up the whole assembly and let the glue cure. Once you've got the clamps on, be sure to clean any glue from the front of the scales before it dries, otherwise you'll scratch the blade trying to remove it.
Once the epoxy is set, use a ball peen hammer to peen over the pins, then shape the handle to fit. I cant really tell you how to do this, just use files and sandpaper to shape the grip to be comfortable to hold. Once you've got the handle shaped and sanded, apply an appropriate finish.


|
Wood Table Saw For Sale Online Tra001 Uk Job Simple Wood Projects For Students Zoom |

orxan_yek
21.11.2020 at 11:52:24
Lifeless
21.11.2020 at 10:21:51
Grow
21.11.2020 at 11:10:16
EYNAR
21.11.2020 at 14:56:29