Making Wooden Keepsake Boxes,Jet Planes Refuelling In The Sky Vr,Custom Baseboard Router Bit User,Round Table Router Jig 400 - New On 2021
making-wooden-keepsake-boxes
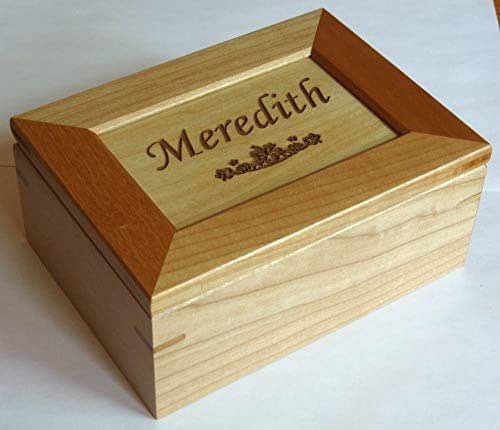
Follow along with David Radtke as he shows you how to make a wooden keepsake box with an inlay star design for displaying your special memories. If you’re looking for a special box for special items, you’ll love our wooden keepsake box plans. This is a great woodworking project that includes box joints and an-easy-to-make inlay in the lid. Even if you know nothing about creating inlays, you’ll have no problem crafting the inlay for this project. Our step-by-step plans provide everything you need to build this project. Check out this quick video demonstrating the use of the star inlay jig you will use in this project. Making Box Joints. Box joints are a key element of our keepsake box. The author uses a simple shop-made box joint jig fo. Wood Plaid Keepsake Box: Did you know that you can make wood into a plaid pattern? What’s even cooler is putting that pattern into a box! I made this gentlemen’s box out of white oak, with a plaid interior and a leather top. This Instructable gives you a step by step gui I specialize in DIY woodworking, building custom items for clients, friends, and family, showing a variety of woodworking tools More About GenealogistWoodworker». Did you know that you can make wood into a plaid pattern? What’s even cooler is putting that pattern into a box! I made this gentlemen’s box out of white oak, with a plaid interior and a leather top. This Instructable gives you a step by step guide on how to make your own plaid pattern, which you can use for a box like it did or a cutting board. Supplies. I made my box a square so all sides are the same size. If you wanted, you could make it more of a rectangle and lengthen one side. Totally up to you. But I cut a piece of 1×6 scrap at 5 ½” long (to make a square bottom piece) and four side pieces at 6 ¼” long like the picture below. Step 2: Assemble the box. Next, I “folded” the sides up and glued and nailed them together. Step 3: Make the top. To make the top, I cut a piece of 1×6 at 5 ½” long and cut scrap cove molding to fit around the edges. I nailed these pieces along the sides of the top. I made it from a single board and it’s one of my favorite projects! I thought this little keepsake box fit perfectly right here. What do you think?? Go grab a few pieces from your scrap pile and get to building right after you pin for later 🙂.


|
Belt And Disc Sander Safety Rules Rate Junior Cert Woodwork Projects 2020 Key Cabinet Drawer Slide Mounting Hardware Generator Wood Store Denver |

TIGER85
21.08.2021 at 13:23:44
queen_of_snow
21.08.2021 at 17:48:18
zerO
21.08.2021 at 10:35:14
AZERBAYCANLI
21.08.2021 at 17:14:39
Anita
21.08.2021 at 23:21:10