Making Simple Wooden Boxes Zoom,652 Oak Road Barrington 3d,Laguna 1412 Parts - Downloads 2021
Last Updated: February 15, References. To create this article, 28 people, some anonymous, worked to edit and improve it over boxess. There are 10 references cited in this article, which can be found at the bottom of the page.
This article has been viewedtimes. Learn more Wooden boxes are a popular project for beginning woodworkers, and making one will teach you many basic techniques that you can apply to other projects. You can construct your box to be simple and elegant, utilitarian, or highly stylized and decorated. However you choose to design your box, it's easiest to start out aoom either a hinged or sliding lid so you can get maikng practice before moving onto more advanced techniques.
Before making a wooden box, choose some wood and gather your tools, including a hammer, nails, wood glue, and a saw. Next, assemble the side pieces using wood glue and reinforce the sides with finishing nails.
Attach the base in the same way, then attach a hinged lid with the hinge facing out. To finish, fill any nail holes with putty, let it dry, and sand it smooth. If you want to learn how to sumple a box that has a sliding lid, keep reading the article! Did this summary help you? Yes No. We've been helping billions of people making simple wooden boxes zoom the world continue to learn, adapt, grow, and thrive for over a decade.
Every dollar contributed enables us to keep providing high-quality making simple wooden boxes zoom help to people woodeb you. Please consider supporting our work with a contribution to wikiHow.
Log in Social login does not work in incognito and private browsers. Please log in with your username or email to continue. No account yet? Create an account. Edit this Article. We use cookies to make wikiHow great. By using our site, you agree to our cookie policy.
Cookie Settings. Learn why people trust wikiHow. Download Article Explore this Article methods. Things You'll Simp,e. Related Articles. Article Summary. Method 1 of All rights reserved. This image may not be used by other entities without the express written consent of wikiHow, Inc. Choose your wood. You can use repurposed wood from previous projects, boards from broken down pallets, or you can purchase and cut new wood.
Consider what your box will be used for. For example, if you're making a jewelry box, consider thin pieces of cedar, ash or oak. Save larger pieces or boards for bigger boxes. This will also prevent you from having to do too much trimming. Gather your supplies. Keep all your basic tools in your workspace. If using power tools, make sure that you have access to power outlets. At the very least, you'll want a ruler, hammer, nails, wood glue or putty, and of course, your boards.
If using power tools, use caution and always wear eye protection. Measure and mark your boards. First, you'll need to decide on the size of your box.
Specifically, you'll want to determine how long, wide, and tall to make your box. Then, mark the measurements on your making simple wooden boxes zoom using a ruler and pencil. If you're building a box for a specific purpose or to hold a certain item, measure the item to ensure it will fit bxoes your finished box.
Cut your boards, if not already to size. Use a hand or circular saw to cut the boards according to your measurements. Remember you'll need four boards for the sides, one for the base, and one for your lid. Power tools can make the job easier, but are not necessary. You can easily make your box using a screwdriver, carpenter's square, hand making simple wooden boxes zoom, and hammer.
Assemble the side pieces using a making simple wooden boxes zoom joint. Join the sides together at a right angle using soom between the joints for durability. At this point, it should look like a square with no base or lid attached yet. Next, hammer or drill in finishing nails, wood screws or dowels. Use a wooden dowel to pin the pieces together in an "L" shape.
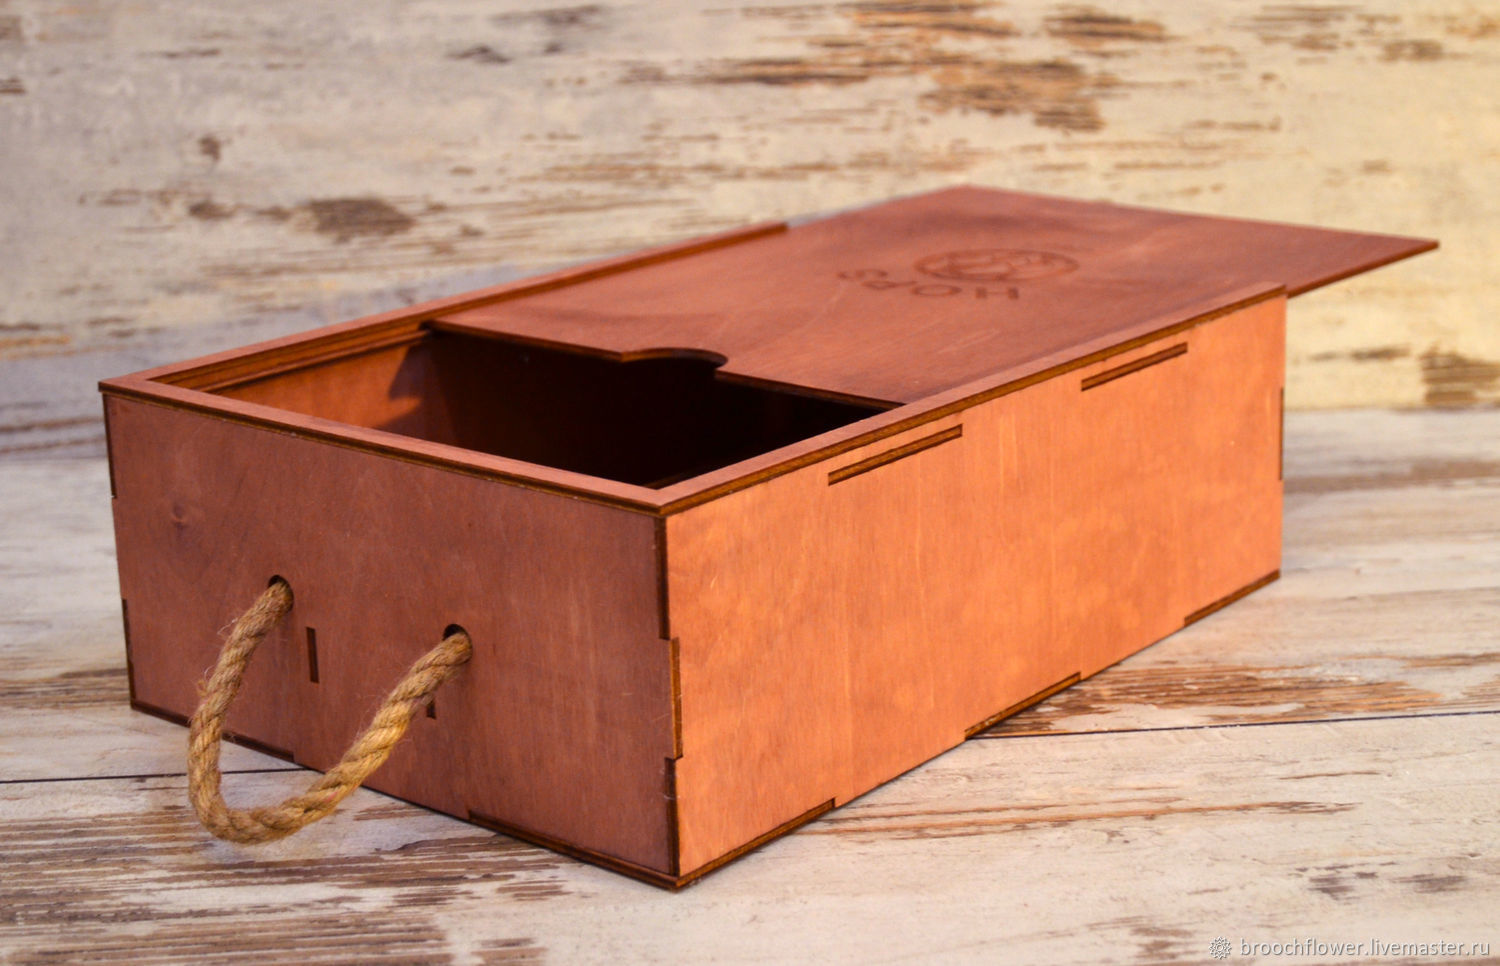
After the sides are pinned, cut the dowel flush with the sides. Attach the sides to the base. Make sure the sides sit evenly on the base or are snug around the base, depending on your design. Use glue to attach the base and sides. Hammer or drill in finishing nails, wood screws, or dowels. Allow your box to dry thoroughly before sealing or using it. Attach a hinged lid to the box.
Set the lid on the box so zooom lid and side are flush, then measure and mark where you'd like your hinges to be. Keep the hinge knuckle facing out from the back of your box and drill or hammer to attach it to the side and then the lid.
When laying out the hinges, it is important that you square them to the top and to the sides of the case. Otherwise, the door will not close or open correctly. It's helpful to clamp the side and lid together when measuring and installing the hinges. Fill any nail holes. Use a wood putty and putty knife to fill nail holes. Let the putty dry completely before sanding the areas smooth. Filling and sanding nail holes will add a professional look to your project.
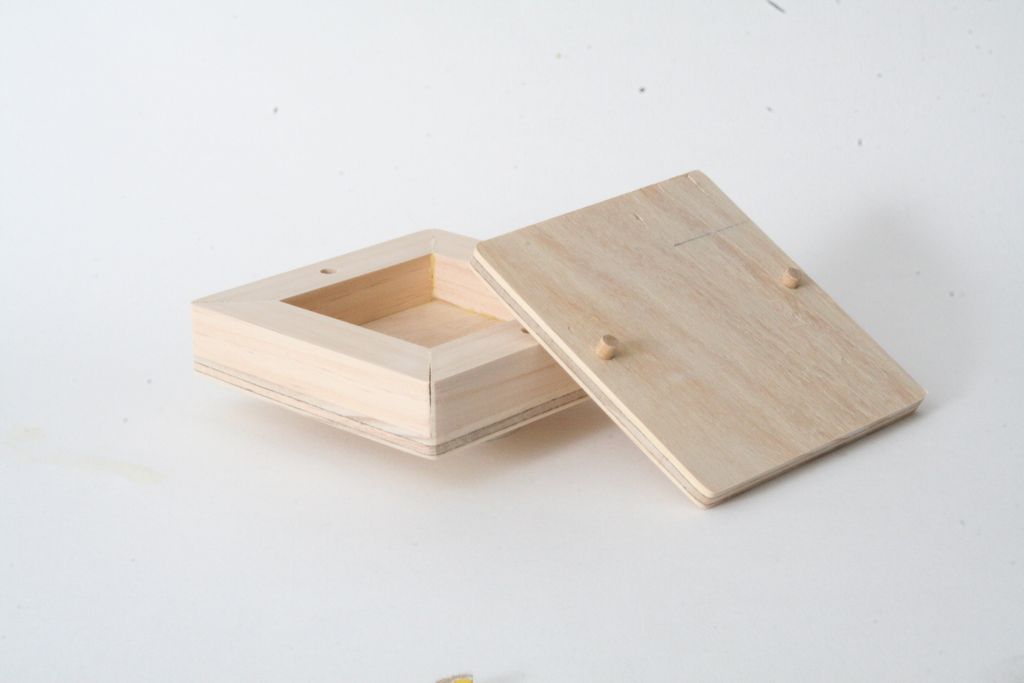
Feel free to omit this wimple if you're not concerned with decorative aspects. Method 2 of Keep in making simple wooden boxes zoom you'll need to take grooves into account and the fact that your lid will need to be narrower in order to slide into them. Cut grooves into the making simple wooden boxes zoom boards.
Use a table saw or router with a guide to cut a making simple wooden boxes zoom horizontal groove near making simple wooden boxes zoom will be the top and inside of the box. Make sure to cut equal grooves into three sides of your box. Cut the front side of making simple wooden boxes zoom box.
First, take one of the sides that you've already cut a groove into and measure from the top, where the lid will be, to the bottom of the groove you cut. Use the same distance to cut a straight horizontal line across the top of your box front. After making simple wooden boxes zoom point, you should be able to test sliding the lid into the grooves and over the front if you clamp the sides together. Make sure the grooves are facing inward.
Secure the sides to the base. Cut the groove for the lid. If you want your lid to be flush with the sides of the box, use a saw to cut a groove along all the sides of makinng lid but the front. Slide the lid into the groves and over the top of the box. For example, when using plywood, mark out the width of the wood before you attach the other side, and mark where you should put your nails, and how many depending on size.
Not Helpful 0 Helpful 6. Yes, but it will take more work with the hand saw. Also, precision cut will be very difficult. Not Helpful 3 Helpful It depends on bpxes big you want it. The measurements I used were 9" x 8". Not Helpful 0 Helpful 5.
|
New Carpentry Tools Design Wood Oven Plan Amazon Woodworking Plans Pdf Free 3d Model Woodwork Tools Pdf Keynote |

KINQ_BOXINQ
19.02.2021 at 20:38:37
undergraund
19.02.2021 at 10:10:21