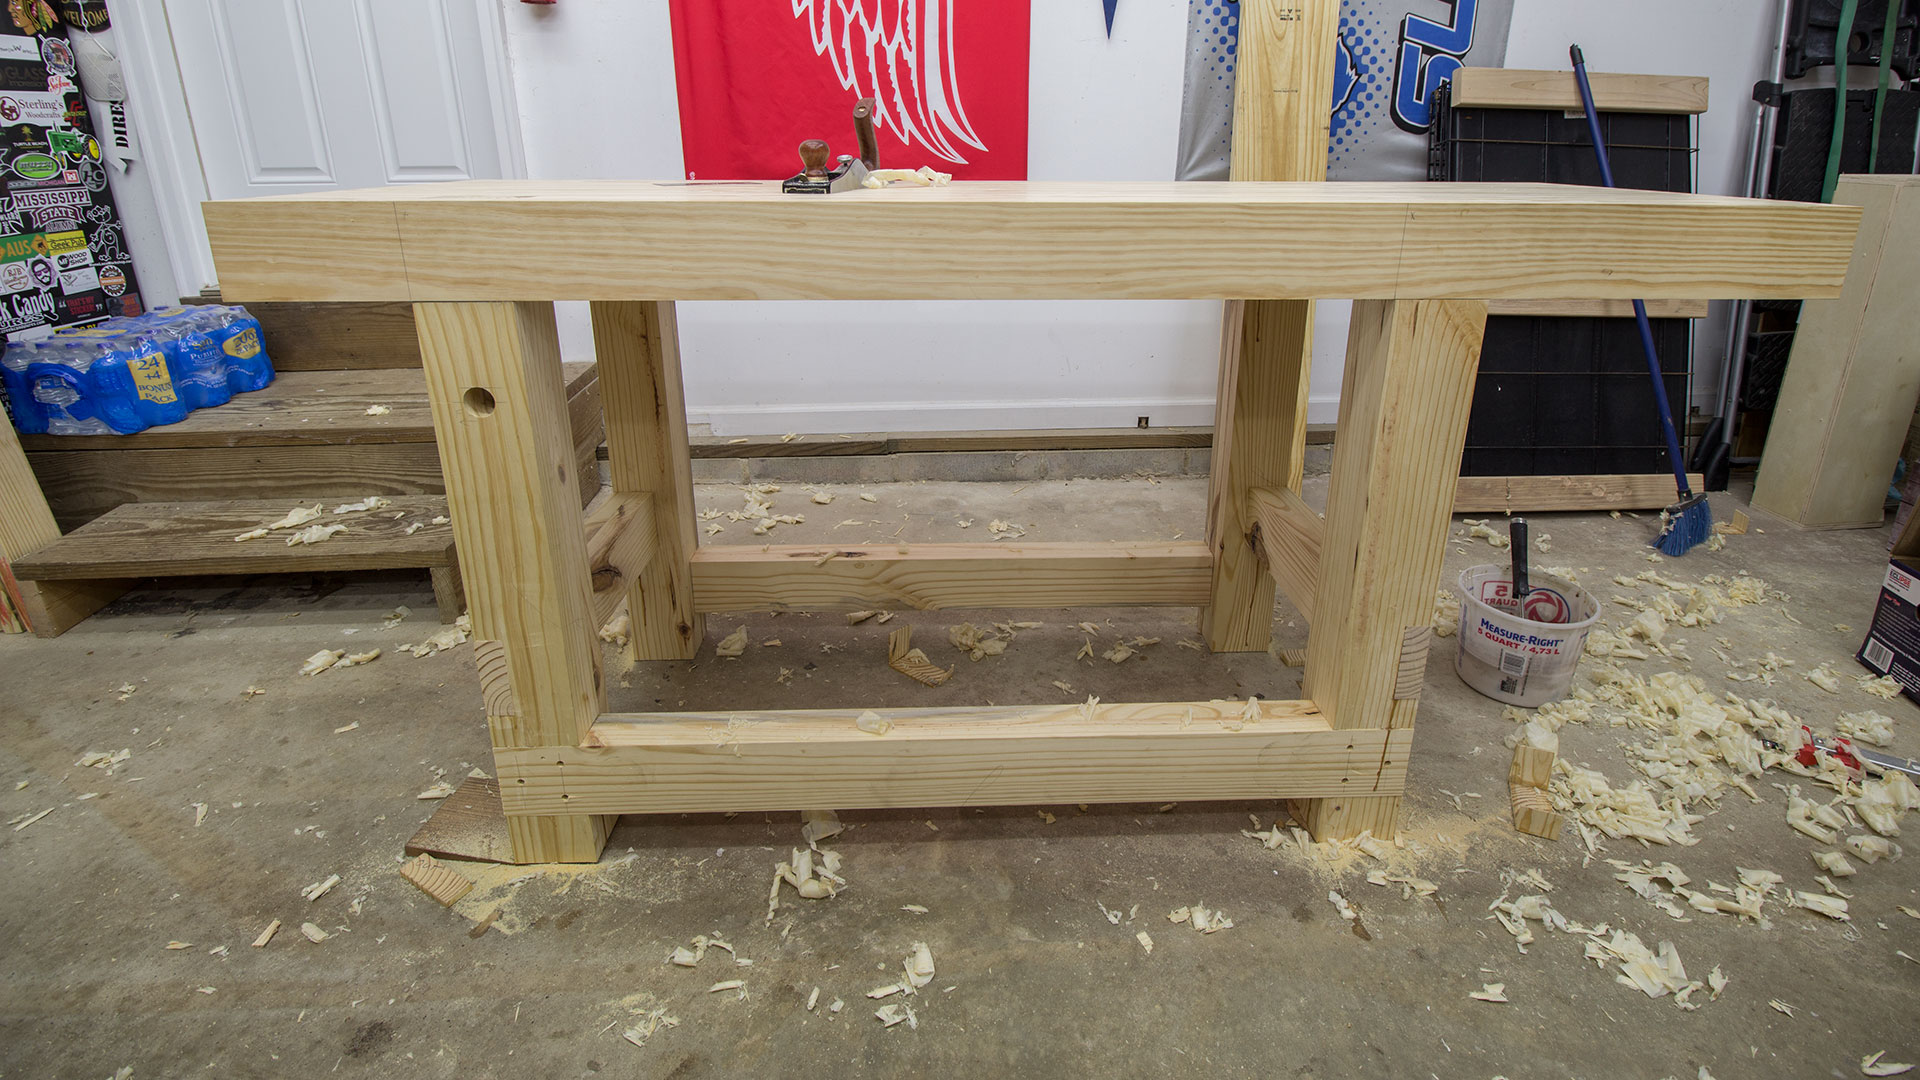
Making A Workbench Top Github,Kitchen Cabinets Knobs And Pulls Under,Do It Yourself Wood Picture Frame Kits Video - Step 2
Many times my electronics work surface was an ESD mat on the dining room table, but as my projects grew and my family grew I was under increasing pressure to find somewhere else to work. Really it was the 3D making a workbench top github that put my wife over the edge — rightfully so.
The task of finding a decent place to work on electronics was more of a challenge than I expected. Lots of folks who left the dining room table seem to work on card tables or random repurposed Ikea tables and benches or purchase very expensive commercial electronics benches that are out of the range of most folks working part time as a maker.
I knew there must be something in the middle that could be a reasonable solution and a reasonable bench. If making a workbench top github have the book it is on pagesbut be careful as you might miss it buried deep in the bowels of this tome, with just a brief description and a couple of diagrams but no photos of it in use.
I wanted to rectify that problem and document how I built mine as I had to make some modifications and additions that I thought others might be interested in. Once I screwed the layers together I was able to use the guide fence to cross cut it again to final size — by doing this I know all my layers will be perfectly lined up.
Make sure to account for the edging when you figure out how big your bench will be. Next up I milled some hard maple stock to be the edging for the bench slab. I carefully mitered each quarter and used a biscuit joiner and glued in biscuits to secure the edging. By using biscuits there are no nail holes to fill in Also note that the edging should only cover the top two layers of substrate — the MDF and first layer of plywood as the lowest making a workbench top github of plywood is what keys the bench top into the center shelf of the metal making Making A Workbench Out Of Pallets List a workbench top github. When screwing together the 3 layers of substrate I laid out a grid on the bottom of making a workbench top github layer that way my screws were spaced evenly.
It also allowed me to make sure my screws would not directly overlap between layers. When cutting the outlet holes for the back splash Making a workbench top github laid them out evenly and then marked out where they would be. I drilled a small hole in each corner and a large one in the center with enough room to allow the blade of my jig saw to fit.
I also used a making a workbench top github and rasp to clean up any rough edges. With the outlet holes in place I edged the back splash with hard maple to match the bench surface and to reinforce the MDF substrate. I rough cut the formica a couple inches bigger in making a workbench top github direction for what it needs to cover using saw blade with a high number of teeth — or a dedicated laminate blade would work.
Then it was time to apply the contact cement. The MDF will generally absorb more than the formica as it is more porous. You want Portable Joiners Workbench Github to apply it liberally and evenly using a brush, roller or spatula and bit of cardboard. I usually put a few dowels out on the bench substrate and then get the Formica all lined up but not touching each other.
Once the two tacky surfaces meet they cannot be pulled apart so you need to get this right the first time and the dowels help you to get the alignment right before committing to it. That is also why we cut the sheet larger and trim it back once secured. Start from the center and work your way out using a J-Roller applying as much force as you can muster.
Making a workbench top github you work your way out to the edge you making a workbench top github remove more dowels until the Formica is in place. To trim the Formica I use a flush cutting router bit in a router to making a workbench top github back the laminate so that it is flush with the edging.
With the bench top complete it was time to move on to the electrical work and assembly. For outlets make sure you get all of them with the right angle bracket as shown above and as shown here. That bracket is needed in order to secure the outlets to the back splash on the bench making a workbench top github and for the upper outlets to attach them to the metal frame.
I used Rustoleum Black Textured paint to paint the two outlets that will be for the light switch and its outlet since they will be visible. I assembled the metal shelving rack as per the instructions it came with and the height of the shelves roughly in line with what the book described. I measured out locations that would space the uprights equally and marked the uprights and making a workbench top github bench with a silver sharpie and numbered them so if I have to move this bench I can re-assemble it with the exact making a workbench top github pieces in the same location.
I then took a center punch or in a pinch a nail set would do and using a hammer I hit the location I want to drill through the metal hard in order to make a small dent. Making Making A Workbench For Garage Full a workbench top github will help the drill bit stay where I want it as I drill through the metal.
I secured the shelf supports to the top, middle and bottom rails of the metal shelving. I cut the cable a solid amount longer than the distance between each box so I would have plenty of 12 gauge wire to work with. I then stripped off the yellow rolex wire jacked as these wires will be fed through the BX metal cable armor and fittings. Make sure to leave a generous amount of wire on each end of making a workbench top github armor so you have room to make your connections in the outlet box.
I cut each bit of cable armor to size and test fit it with the fittings as shown above. I then fed the wire through the armor and installed each assembly into the appropriate outlet boxes and secured the nuts that hold the fittings in the outlet boxes.
Note that the armored cable goes behind the shelf supports. Use a heavy duty 12 gauge or heavier extension cord to connect your bench to the wall outlet.
I chose to put the outlet for the LED light and switch on the back side of the bench and run the armored cable up and making a workbench top github the back of the bench. I secured the cabling with a bunch of black plastic zip ties. I also needed the cabling to make a 90 degree right angle to connect the backsplash wiring to the outlet switch.
The above fitting made this making a workbench top github easy. See parts list for proper name and model. I put each switch in front of the outlet where I wanted it to make sure things were in useful positions. The top left is an outlet for the overhead utility LED light fixture. Top right is a light switch which works out well as its just above where the light switch on the wall is for the room lights. I also ground the metal of the bench frame to the ground of this circuit.
The LED light fixture is secured with more black plastic zip ties and the cord for it is secured in the same way. I was careful in my wiring to make sure everything downstream of the GCFI was cabled correctly and checked the ground using a receptacle tester like this one.
With the circuits all working it was time to put on the faceplates for the outlets and start loading up the bench. So far the bench has been working out well and it has been great to be able to leave a project on the bench and come back to it undisturbed. If you build your own version of this workbench, please send me a note with some pictures or leave a comment below.
This blog is new so please bare with me as I add to it. If you are into woodworking I have a long running blog on my traditional woodworking and writing you can find here: Making a workbench top github. I'm so surprised to not see any comments here, this was really kickass to see and you've inspired me in a huge way. Thank you so much for sharing!!!
Skip to content. Sign in Sign up. Instantly share code, notes, and snippets. Code Revisions 2 Forks 1. Embed What would you like to do? Embed Embed this gist in your website. Share Copy sharable link for this gist. Learn more about clone URLs. Download ZIP. My bench top took more than 1 sheet, but as a woodworker I build it all from scrap I had on hand. TiteBond1. Attaching the Hard Maple edge banding to the slab. Edge clamps I used edge clamps to secure the edging as it dried.
Grid layout for screwing together the bench top. Cutting holes for outlet boxes in the rear skirt for the bench top.
Hard maple banding around the rear skirt as well. Contact Cement I rough cut the formica a couple inches bigger in each direction for what it needs to cover using saw blade with a high number of teeth — or a dedicated laminate blade would work. Evenly apply the contact cement on the substrate and on the formica I usually put a few dowels out on the bench substrate and then get the Formica all lined up but not touching each other.
Bench top with formica and rounded edges To trim the Formica I use a flush cutting router bit in a router to trim back the laminate so that it is flush with making a workbench top github edging. Fittings for use with armored making a workbench top github For outlets make sure you get all of them with the right angle bracket as shown above and as shown here.
Spray painting the two visible outlet boxes black. Wiring up the back of the bench. Mark and number the locations for the shelving supports. Install the shelving supports with self tapping metal screws.
Remove the yellow outer jacket. Test fitting the armored cable and related fittings Use a heavy duty 12 gauge or heavier extension cord to connect your bench to the wall outlet. Right angle fitting for armored cable I chose to put the outlet for the LED light and switch making a workbench top github the back side of the bench and run the armored cable up and around Making A Workbench Top 10 the back of the bench.
See parts list for proper name and model Completed rear wiring With the cabling in place it was time to add the shelves and start installing the receptacles. Install the outlets I put each switch in front of the outlet where I wanted it to make sure things were in useful positions. Install the switch and the LED light fixture.
Completed bench With the circuits all working it was time to put on the faceplates for the outlets and start loading up the bench. Completed bench with 3D printer and electronics tooling So far the bench has been working out well and it has been great to be able to leave a project on the bench and come back to it undisturbed. If you build your own version of this workbench, please send me a note with some pictures or leave a comment below Take care, -Bill TinWhiskerzBlog TheRainford P.
This comment has been minimized. Sign in to view. Copy link Quote reply. Sign up for free to join this conversation on GitHub.


|
Bench Wood Lathe For Sale 2021 Used Wood Turning Tools For Sale Free Porter Cable 12 Dovetail Jig Model 4210 Guide Japanese Saws For Hardwood Vinegar |

TaKeD
13.02.2021 at 17:58:35
faraon
13.02.2021 at 16:32:38