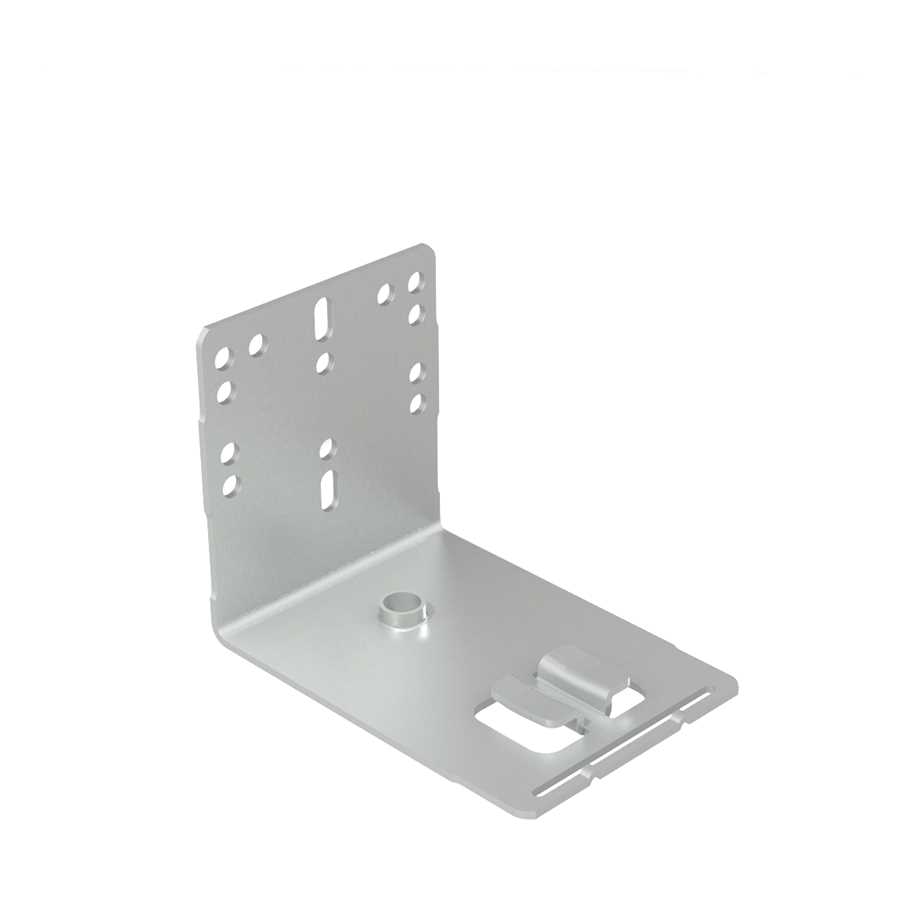
Everbilt Drawer Slide Rear Bracket With,Scheppach 6x9 Belt And Disc Sander Korea,Tool For Drilling Pocket Holes Aero,Cool Scrap Wood Projects University - Try Out
There are three dimensions of drawer size and depending on your drawer slide they dimensions will all vary. Due to the variety of slides and mounting requirements the 1 best tip for measuriwng drawer slides is picking your slide type first.
Save my name, email, and website in this browser for the next time I comment. Terms and Conditions - Privacy Policy. The good news is measuring for drawer slides is relatively straight forward. How to Measure Drawer Slides Length. Step 1 - Understand your cabinet construction.
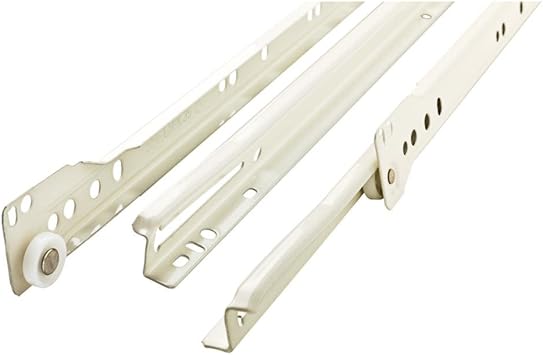
Step 2 - Pick Your Slide Type. Meanwhile, undermounts are more advanced and are fully concealed under the drawer. Undermounts typically come one inch shorter as they require room in the back of the slide for a connecting mechanism.
And bottom mounts are a cross between both and are seen on the bottom side of the drawer. Step 3 - Measure Cabinet Depth. This step is easy. Then consider: Never use a longer slide than the cabinet depth.
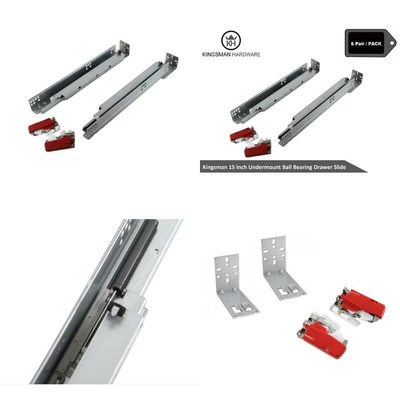
Round down to the next inch. Step 4 - Pick Your Slide Length. Measuring Undermount Drawer Slides. Key considerations for undermount slides: Plan to subtract one full inch from your measurement to accommodate for special rear locking devices. As their design is unique the drawer side thickness plays into overall side clearance. The drawer bottom will require enough depth to fully hide the undermount slide.
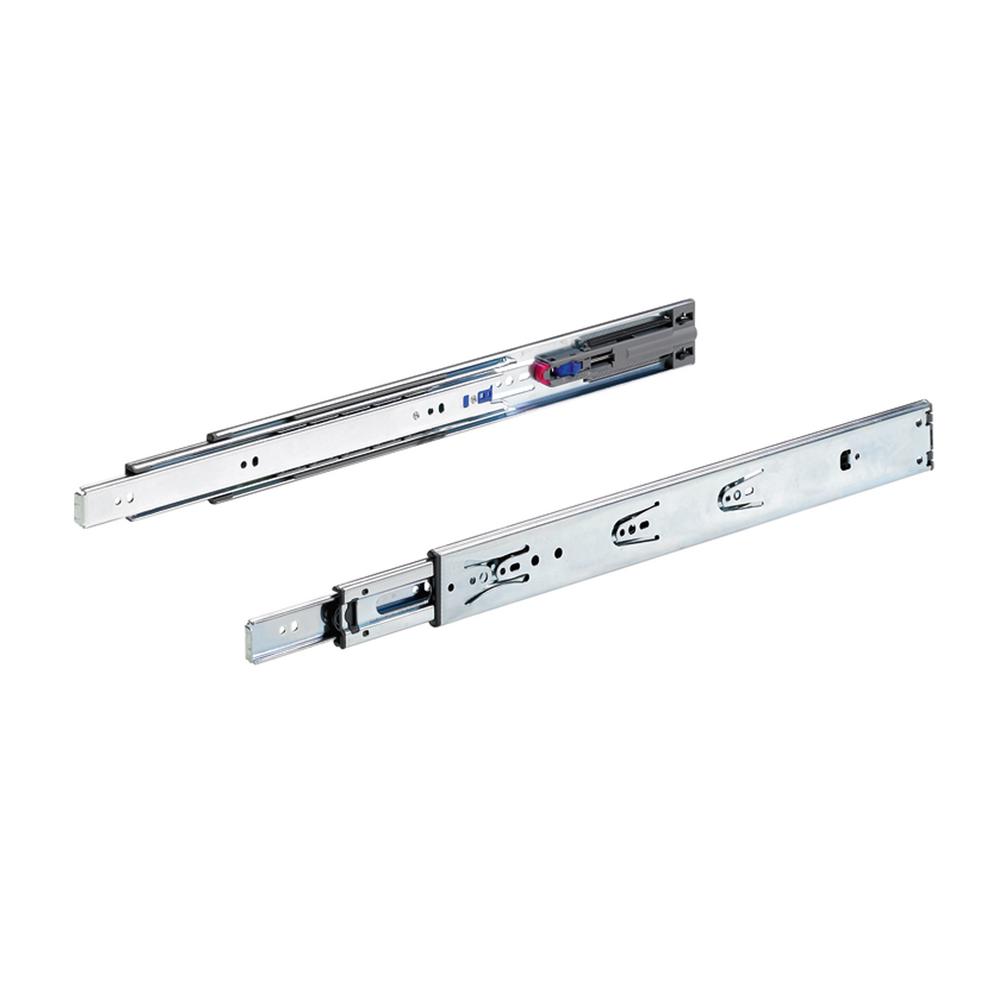
Measuring Side Mount Drawer Slides. Following edge simply extend the mark. You can simply use a combination square as a reference here. Do this until the line you previously made meets it. The two lines should make a notch being perpendicular. For the right drawer slide, make same perpendicular mark. On the back of drawer box, simply cut these two notches.
You can simply use a jigsaw for this task. Between front bracket and notch in the drawer back, you need to place left glide. There should be a pin on the drawer glide back.
Simply mark the pinhole on back of drawer. This is where you need to drill. Using the right-side drawer glide alignment make same pencil mark for pinhole in this part.
Now use a quarter-inch drill bit for drilling a shallow hole. It should be deep enough to house the pin but nothing more.
The hole should be at marked locations of drawer back. You should use the mounting screws included. With the right-side rear mounting bracket, you need to repeat same step. Finally, position the glide unto the carcase. This is for the left drawer glide by the way.
Use a pair of mounting screws to do so. Now using the same manner, you need to install right-side drawer glide.
From the carcase simply extend both drawer slides. The drawer needs to settle well with slides. You can simply hold the drawer by placing your left hand underneath same side. Now try to slide the part forward so that it fits into front mounting bracket. Have a look at the under part of back edge. You need to settle the right-side drawer slide onto right position using very same method. Finally, let the drawer slide in and out.
This is to test the carcase and see whether drawer slide is operating well. This is not a job for someone who is absolutely clueless about screws, brackets, power toots and so on…. However, very few people actually have such a clueless situation since these are pretty regular tasks nowadays for homeowners.
You can always ask for help by hiring a helper that can fix Everbilt Drawer Slide Rear Bracket Light the slides well. But if you think the job is not that hard which is probably true then go for it. Yes, Right! A Tape Measurement. Combination Square Gear. Quarter Inch Drill Bit. Little Bit of Caution Before Trying. Fixing Mount Bracket… You need to receive the drawer glide in an upside-down position.
|
Router Bowl Bit Home Depot Zip Code Buy A Cnc Machine Zip |

Legioner
30.10.2020 at 18:19:12
Lovely_Boy
30.10.2020 at 13:21:19
FREEGIRL19
30.10.2020 at 17:44:52
VETRI_BAKU
30.10.2020 at 15:31:45