Do It Yourself Cement Garden Edging Dog,Rockler Cnc Machine Guide,Cabinets Door Knobs And Pulls System,Vintage Metal Lathe Tools Mac - Try Out

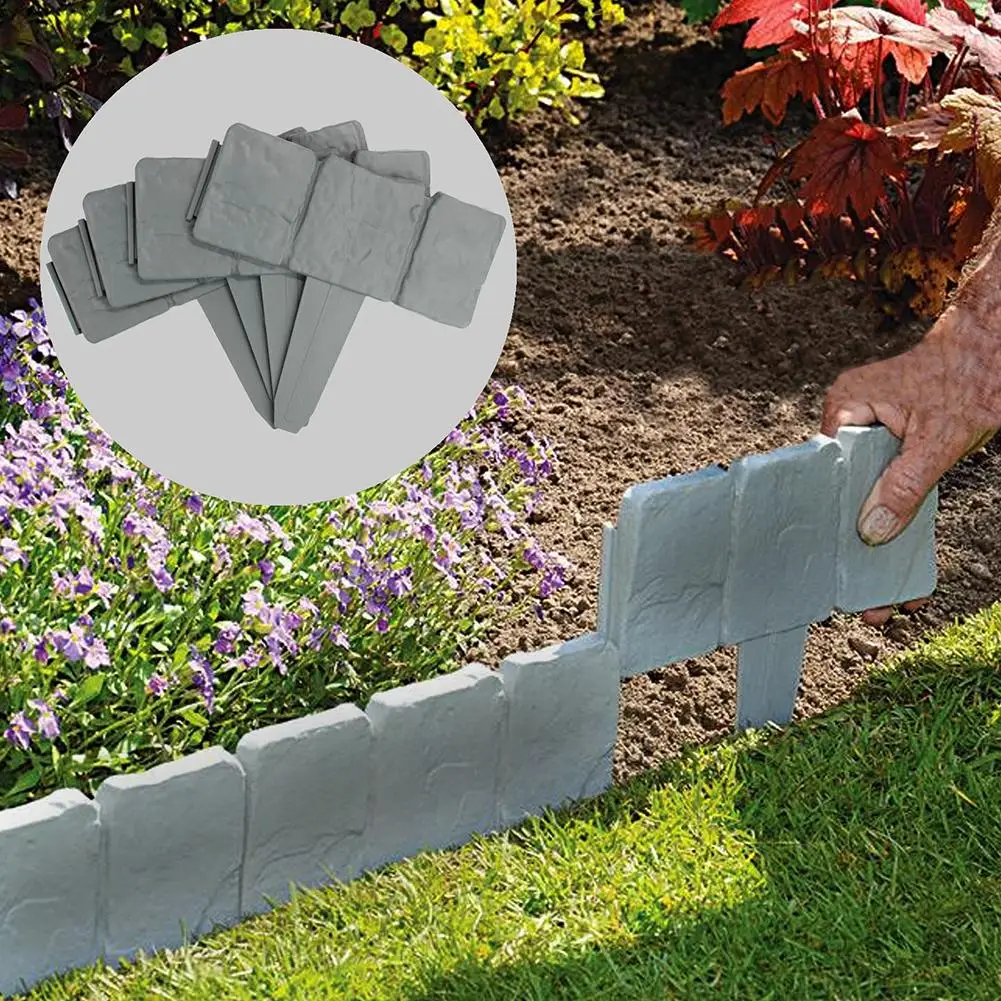
By Marisa Villarreal. Always affordable and at once both decorative and functional, concrete garden edging effectively defines garden beds, tree surrounds, and driveway curbs, their versatility enabling you to match any landscape contour.
Perhaps most appealing of all is that concrete garden edging lasts for years and years. Even though the quantity of requisite materials will vary in keeping with the ambitiousness of your vision, you can use the steps below to make concrete garden edging in whatever length you wish.
Start by laying out the perimeter of your edging with a garden hose or a length of rope. Compact the soil to create a solid base for the concrete you will add in a later step. Having mixed the concrete to a firm, workable consistency, pour it into the border form, using a margin trowel to spread and consolidate the mix.
Wait for the bleed water to disappear, after which time you can smooth the surface with a wood float. Consolidate and smooth the border edges using a concrete edging tool. Finally, apply acrylic concrete sealer to the concrete before letting it cure for three to five days. Once the concrete has cured, remove the forms and backfill against the lawn border with dirt or sod.
It's just a slightly different process, and the result is clean, smooth edging. Outlining where to place concrete edging is the first goal Do It Yourself Cement Garden Edging Design when creating a poured concrete border.
It gives you a map of your project. If the border is straight, then tap stakes into the ground to mark the border, and run string between the stakes to form the border's outline. A pliable material, such as a garden hose, can be used to mark the outline of a curved border. Create an outline of the inside edge and the outside edge of the future concrete border, ensuring the width between those edges is uniform throughout the border.
After spray paint is applied to mark the outline's inside and outside edges, the stakes, garden hose or other material should be moved out of the way. Creating the trench for the poured concrete edging is an important step.
The trench's sides need to be flat so the concrete form doesn't flex, and the trench must be 6 inches deep to account for a layer of gravel, as well as a portion of the concrete.
Following the spray painted outline, use a flat-edged shovel to dig out the trench, and keep the trench's sides smooth. A 3-inch-deep layer of gravel at the trench's bottom is necessary to help drain water from the concrete edging. Water can cause a lot of damage to concrete over time, cracking it during cool temperatures. Keeping water from the concrete edging's base reduces the possibility of freeze damage by preventing the concrete from absorbing the water.
A form for the concrete needs to be built on top of the trench's gravel base. Use 6-inch-wide wood boards that can be bent in curves to make the form. A portion of each board will be above ground, creating the form. In order to keep the form upright until the concrete is in place, tap wood stakes into the ground every 2 feet behind the boards along the outside edge of the trench, and attach the stakes to the concrete form with screws.
Because the boards shouldn't buckle from the concrete' weight, all gaps between the boards and the trench wall should be filled with soil.
Add brace support to the form's outside wall roughly every 4 feet by wedging sections of 2-byinch wood boards between the outer wall and stakes inserted 1 foot in back of the form.


|
Band Saw Blade Reviews Review Wood Plans Shelf Unit Effect 3d Wood Work Machine 500 Buyers Of Old Woodworking Tools Youtube |

NELLY_FURTADO
27.03.2021 at 19:23:40
sebuhi
27.03.2021 at 22:46:25
GATE
27.03.2021 at 15:14:46