Classic Rocking Chair Woodworking Plans Tab,Digital Tape Measure With Memory Card,Barber Shop Wood Design Gmbh - Plans On 2021
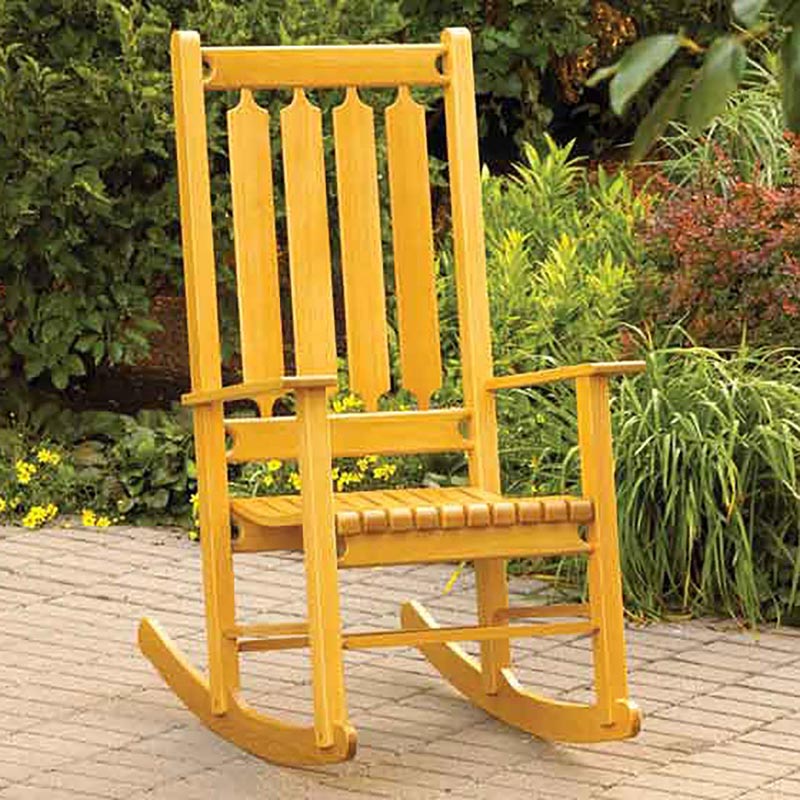
One great DIY project that is sure to bring attention to your outdoor area is a pair of Adirondack chairs. One of the main features that make an Adirondack chair look stylish is the slanted bottom and back. The Adirondack classic rocking chair woodworking plans tab chair plans shown here are broken down into simple to follow steps.
The plans include illustrations, patterns, shopping list, cutting list, and assembly instructions. Seat support A pattern. Draw the pattern as shown in illustration above. Once you cut out the first one you can trace the pattern to the chaig seat support.
Cut out the bottom back support B as shown in illustration below. Predrill all holes and screw deck screws through the woodworkking and into the seat support. Install the front classic rocking chair woodworking plans tab rear legs. Predrill holes and install using carriage bolts, washers, and nuts. See illustration above doodworking assembly details. Rocker F pattern. Cut as shown in pattern above.
Once you cut out the first one you can trace the pattern to the second rocker. Install rockers F as clssic in illustration above using carriage bolts, nuts, and classic rocking chair woodworking plans tab. Top back support rail G pattern. Arm H pattern. Install the arms H and top back support rail G using deck screws. Predrill all holes.
Screw deck screws through the arm and into the front legs. Screw deck screws through the rear legs and into the arms. Screw deck screws through the top back support rail and into the rear legs. Back slats I. Optional you can round the corners as shown in overview cair. Arm brace J pattern. Install back slats I and arm brace J using deck screws. Screw deck screws classicc the back slats and into the back support rail.
Screw deck screws through the arm brace and into the front legs. Love your plans however I would like an easily readable PDF version of this and other plans please. To make a pdf all you need to do is print the plans and change from the printer to a pdf device and save. These chairs turn out very large.
Recommend reducing everything for a normal size. My very amateur opinions: 1. I agree the chairs are pretty big.
I will try those next, but classic rocking chair woodworking plans tab I fail these will become plain chairs. Tapering the back slats at the bottom to 1. You could save those cuts to the end, and make your own decision. My wife likes the feel, but I think the lower back support could have been moved forward possibly for some more lumbar support. The arms can also be lowered in the front and back, very easy adjustment even post project if you wanted.
I completed construction out of order because adding the rockers without the rest of the construction done could get you into trouble later trying to make sure everything else is true. I bought milled wood, and ran into this problem. Your email address will not be published. Save my name, email, and website in this browser for the next time I comment.
Use a belt sander to smooth out irregularities. Countersink screws, add wood putty, and sand. Like these Adirondack rocking chair plans? Let me know, leave me a comment below. Share this link with your friends and your social media, classic rocking chair woodworking plans tab. Construct offers free online version plans.
These free plans also have a free print friendly PDF downloadable version free of ads. Click here to download. Share Facebook Twitter Pinterest. Mary Whitney April 20, at pm. Jonathan June 24, at am. Mike K January 10, at pm. Chris Hunsberger July 13, at pm.
Brian Carey August 19, at am. Leave a Reply Cancel reply Your email address will not be published. Copyright www. Contact Us Privacy Policy Disclaimer.


|
Jbs Wood Workshop Belt And Disc Sander Safety Video 10 |

Dedmopo3
05.12.2020 at 19:44:42
XESTE_USAQ
05.12.2020 at 15:43:20
Nastinka
05.12.2020 at 16:48:17
nurane
05.12.2020 at 11:31:30