Xilinx Open Hardware Manager Theme,Wood Pizza Oven Plans List,Woodpecker Tools Usa Key,Pocket Hole Jig Kit Nz Price - 2021 Feature
This page describes details about how to build and use the Xilinx Virtual Cable in a Xilinx system. This enables a user to access a Xilinx device through another medium In this case we use Ethernet instead of needing a dedicated JTAG cable. This can be advantageous for in-field debugging or during stress test scenarios where JTAG is not an option.
Since that time, the solution has evolved to be cleaner and simpler using IP available in Vivado and source code from a GitHub repository. This wiki page is designed to be an update to the application note without duplicating information that has not changed. This wiki page is intended to illustrate details of the Xilinx Virtual Cable but is not intended to be a tutorial for any of the tools that are used such as Vivado and PetaLinux.
Users are expected to have background knowledge of Linux, embedded systems, and networking. The concept is similar to what is described in this wiki page, but rather than Ethernet, PCIe is used. The A Xilinx board was used for the prototype tests the wiki is xilinx open hardware manager theme on. The following block diagrams illustrate prototype systems which includes the Xilinx Debug Bridge IP core together with a minimal binary counter connected to a System ILA to verify operation of the system.
In our demonstration, the configuration of the Debug Bridge should be as shown in the following illustration. This wiki page gives details using PetaLinux but it could be accomplished in xilinx open hardware manager theme manners as PetaLinux is only the build mechanism.
The driver supports device tree and non-device tree initialization with device tree being the default. Non-device tree is somewhat legacy or advanced use cases not supported by device tree. The device driver source code requires two small changes to build in the newer 5. It is assumed that a user is starting with a solid baseline of a Linux system running with a working network.
BSPs are available for many Xilinx boards which are a great baseline and can be updated xilinx open hardware manager theme Vivado hardware changes. The following steps will build a kernel module xvc-driver. After exporting the hardware from Vivado import the new Vivado system into PetaLinux as illustrated below. The PetaLinux generated Makefile is used rather than the repository provided Makefile.
Alter the PetaLinux kernel module Makefile first two lines for the multiple source files as illustrated below. The device driver does not build with the newer kernel 5. Edit the xvcServer.
Alter the system-user. The previous lines xilinx open hardware manager theme be added to the end of the system-user. Package the BOOT.
The following steps assume Linux has booted on the embedded target and the network is functional with respect to a valid IP address and the host computer running Vivado is on the same network subnet. From the running target the device driver should be started as illustrated below. The following xilinx open hardware manager theme output illustrates the expected output when the driver is working.
From the running target the server application should be started as illustrated below. The following console output illustrates the expected output when the server is working and ready to use. Note the base address of the Debug Bridge in the output above could be at a different address depending on the connections in the IPI design of Vivado.
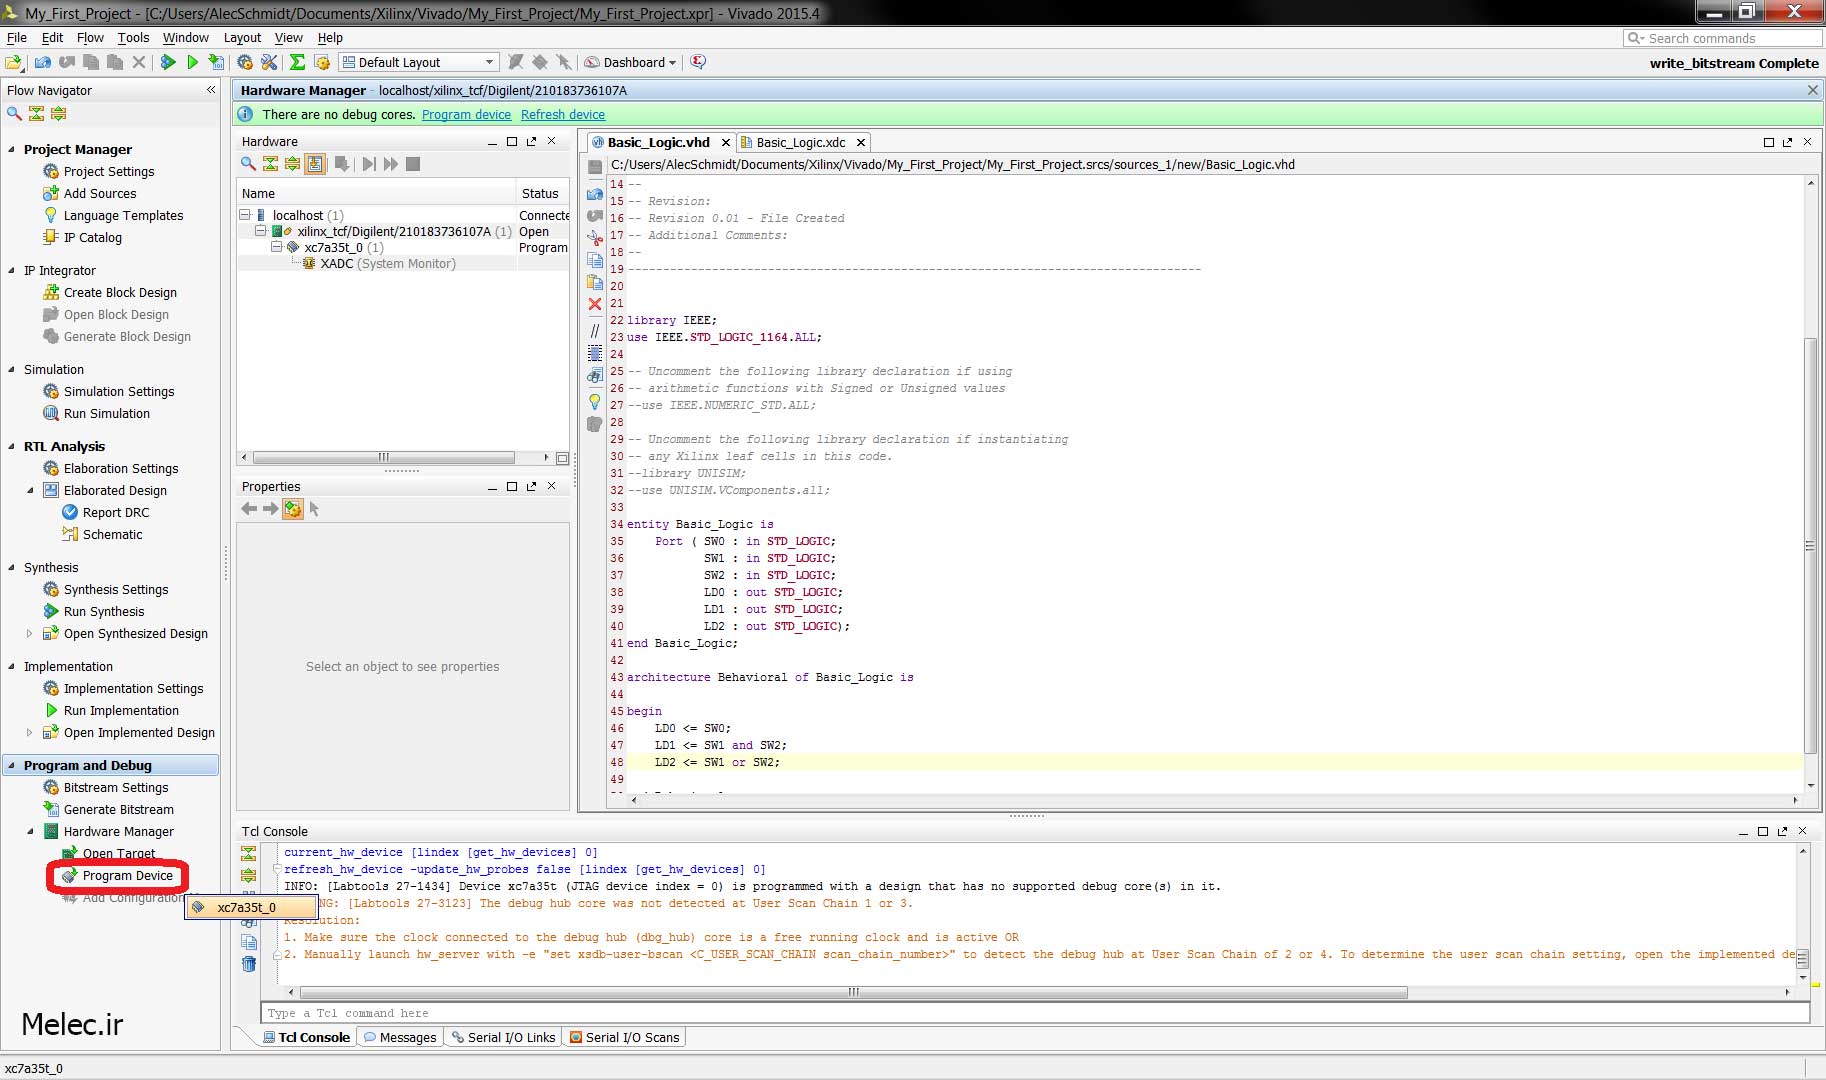
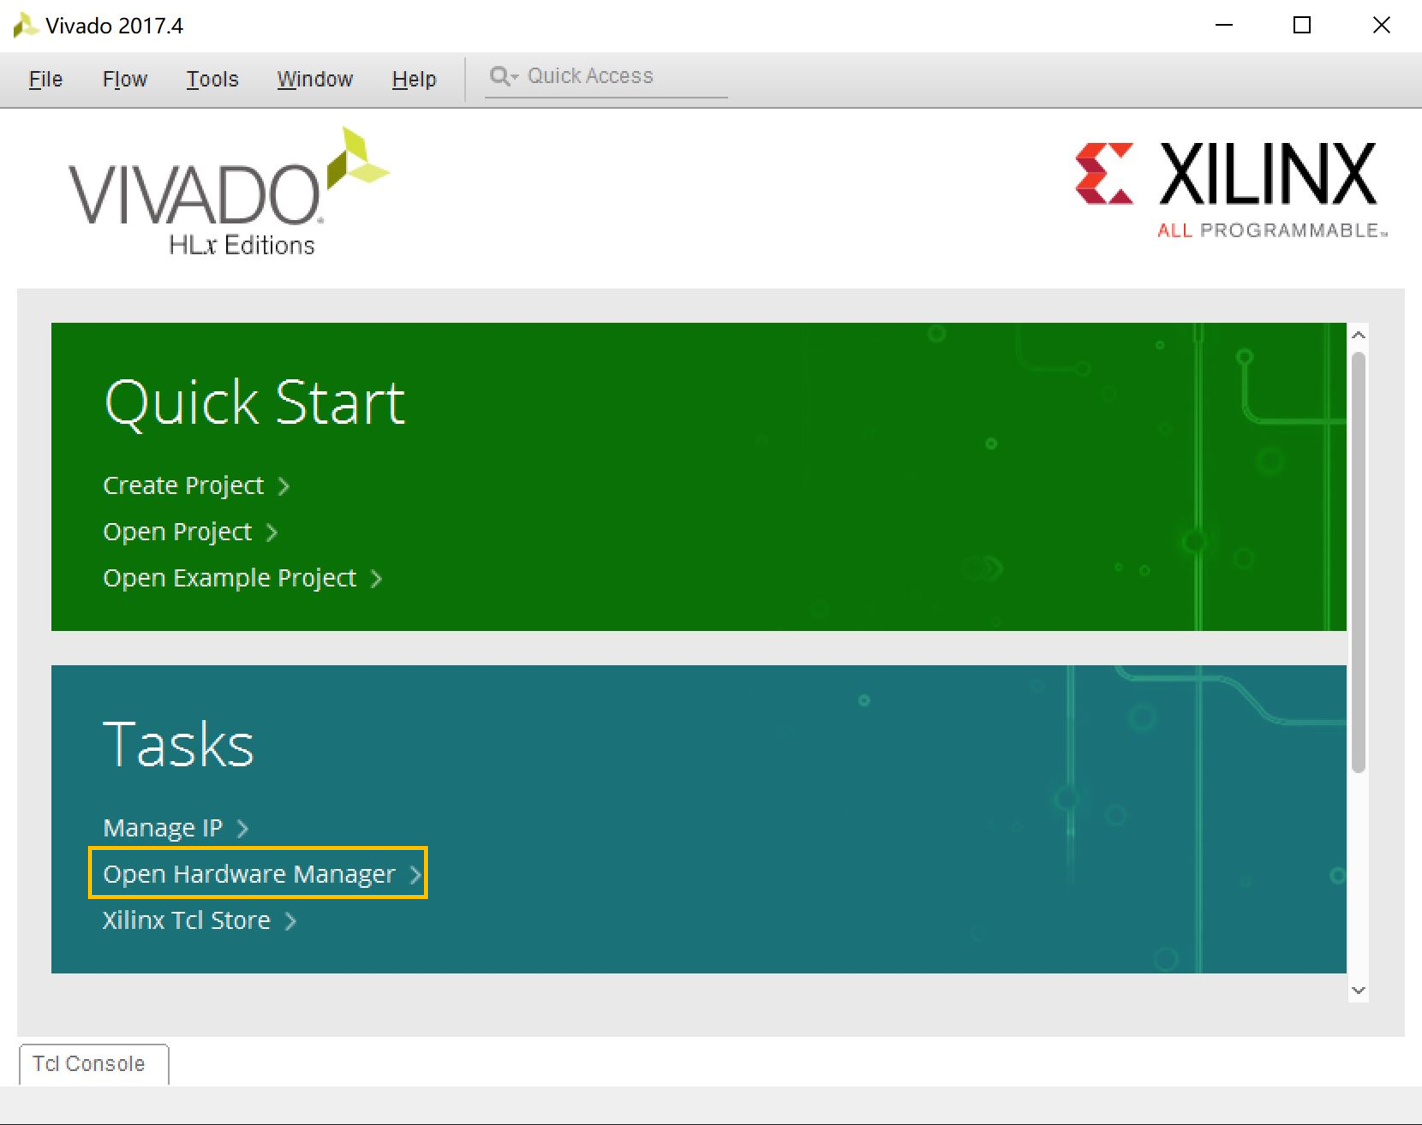
In Vivado open the hardware manager and open the target by opening a new hardware target. As the wizard guides you through the process you xilinx open hardware manager theme see the following set xilinx open hardware manager theme dialog boxes. Enter the network information for the Xilinx Virtual Cable server running on the embedded target. And the IP address address of the server is shown in the hardware targets as illustrated below.
And after completing the new target the ILA is shown in the hardware manager and can be triggered as shown below. In the past there have been issues where the clock s to the PL could be shut off so that the ILA does not function. This can be prevented by adding a kernel parameter to the Linux boot arguments in the device tree.
For more details refer Xilinx open hardware manager theme There is no way to add an argument without specifying all of the existing boot arguments. The bootargs for the PetaLinux system can be found in the system-conf. If the output of the device driver does not include all the lines as illustrated below then the device tree for the Debug Bridge may not be up to date as specified Xilinx Open Hardware Manager 28 in the steps.
The driver can be inserted into the kernel but not find any compatible driver so that it is not functioning even though it is in the kernel. Vivado hardware manager can be used xilinx open hardware manager theme connect to the target using JTAG rather than the network connection such that the server may show an error when it is attempted as shown below.
There are many ways to use the Xilinx Xilinx open hardware manager theme Cable other than the method shown above and this page was only intended to show principles to help users understand how the system works. Xilinx Wiki. Space shortcuts.
Xilinx Wiki Home. Xilinx Wiki Open Source Projects. Xilinx Virtual Cable. Created by linnj. Last updated Jul 14, Table xilinx open hardware manager theme Contents.
Not all the Xilinx Open Hardware Manager Location source files are required.

|
How To Build Your Own A Frame Cabin Classification Of Woodworking Materials 02 Carpenter Bee Wood Repair 05 |

KaRtOf_in_GeDeBeY
15.05.2021 at 23:27:14
707
15.05.2021 at 13:10:53
Lovely_Boy
15.05.2021 at 10:41:14