Marking Knife Best Youtube,Vesper Marking Knife Inc,Rockler Tambour Router Bit Set,Carpentry Class Videos - Reviews
Unfortunately, every single time I was ready to buy one, he had sold out. When they were back in stock, I had already splashed my monthly earnings on other tools that I needed. Which explained how he makes his dovetail marking knife. During to , I was studying Level 3 Furniture Making and managed to complete my project a couple of weeks earlier than scheduled. So instead of going home and calling it there for the summer, I continued to come in until I was literally kicked out the workshop by tutors who were trying to set up the Rycotewood End of Year Show.
One evening, I was scrolling through eBay looking for cool pieces of wood I could buy. I was a cool 18 year old eh? I came across a Snakewood Turning Blank. Scarily, this was the first time I had used a lathe, and as usual I jumped straight in at the deep end. The first thing I did was get the 4 prong drive, and whack it into the endgrain of the Snakewood blank to bed it in. Let it be a lesson to anyone reading this that Snakewood does not take well to a blunt prong drive being smashed into the endgrain.
Looks like this knife is going to be smaller than expected! I eventually managed to get it safely mounted in a 4 jaw chuck after some guidance from a fellow student who was far better at turning than I was. After a few catches and ropy moments, I managed to get it turned and even managed to get a bead on the end of it! It looked crap but hey, it was there.
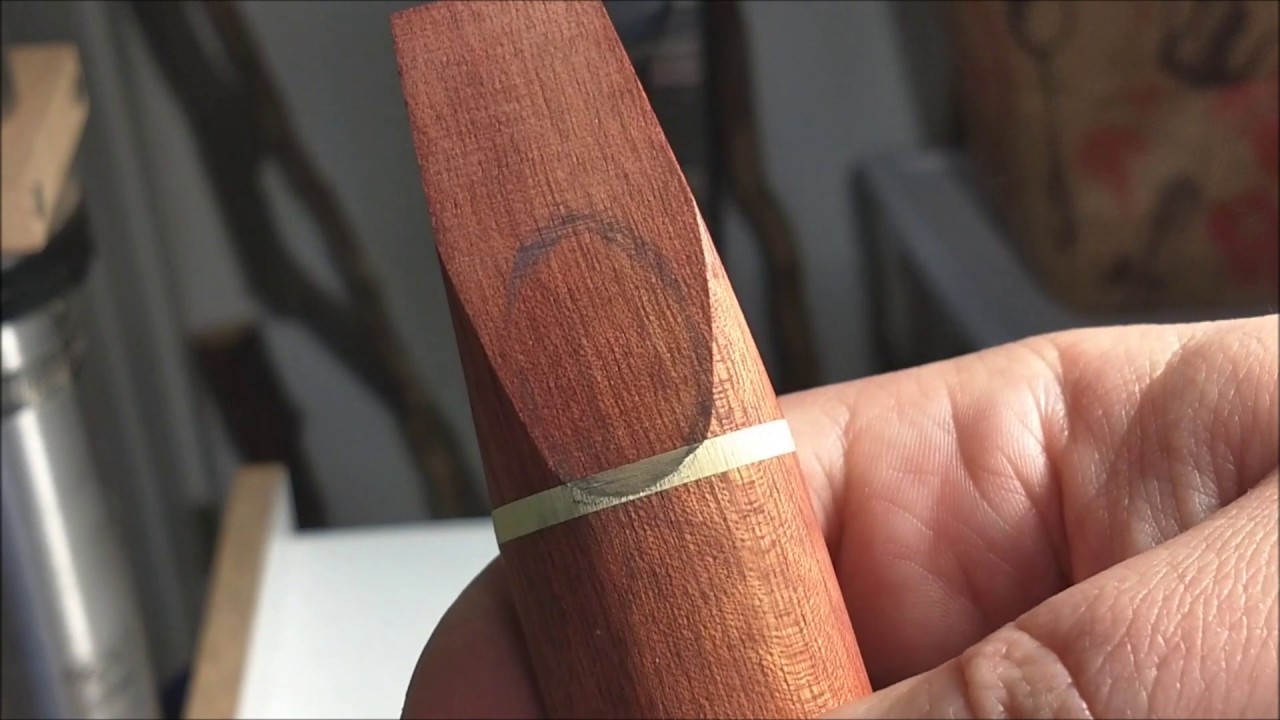
I took the handle out the chuck, cut the slot for the blade, and slipped the ferrule into position. The article I was following stated that David tends to epoxy his blades in place. This seemed counter intuitive at first, although he made it clear that due to the chisel-like shape of these blades, it was entirely possibly to re-dress the point by simply honing it on a diamond stone. I looked my existing marking knife.
Chips, dents and glue took up more of the blade than a sharp point. I decided that I couldn't trust myself to solely use the knife for wood and had to make the blade removable. I purchased an M5 Tap and grub screw and drilled straight into the side of the ferrule and tapped straight into the Snakewood. Due to the dense grain of the wood, the thread still stands today! I used this knife for several years and loved it. The blade was incredibly sharp, the handle was intuitive to hold, and despite looking ugly, I was proud of it.
On the 30th of December, , I stopped working at Axminster due to trying to juggle too many balls at once. I had limited time to work on things that I wanted to pursue such as YouTube and a social life and sadly, Axminster got the cut. I anticipated this for months in advance and gave management plenty of notice, and in the meantime saved up a ton of money.
In the 4 months prior to leaving, I was working at Axminster , teaching both day and evening classes at Rycotewood , and was also running my own business with the YouTube channel.
I grinded and saved a lot! I intended to make full use of my employee discount before walking out the door for the last time.
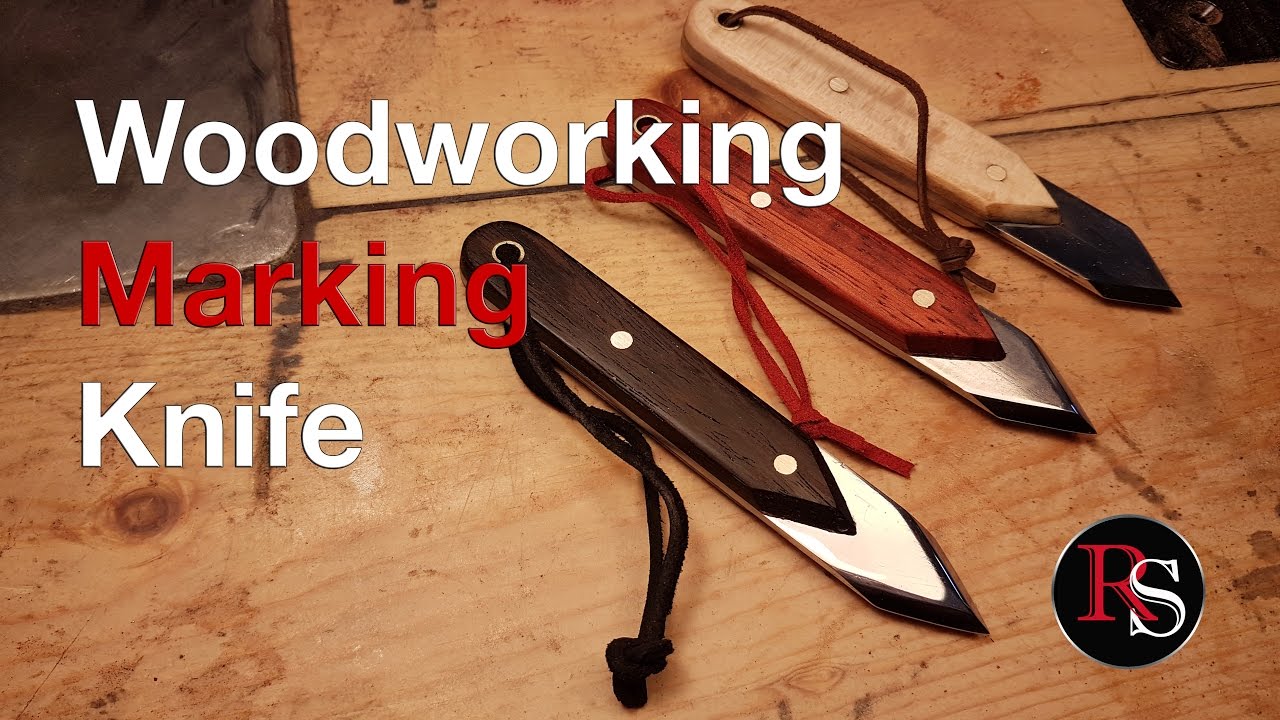
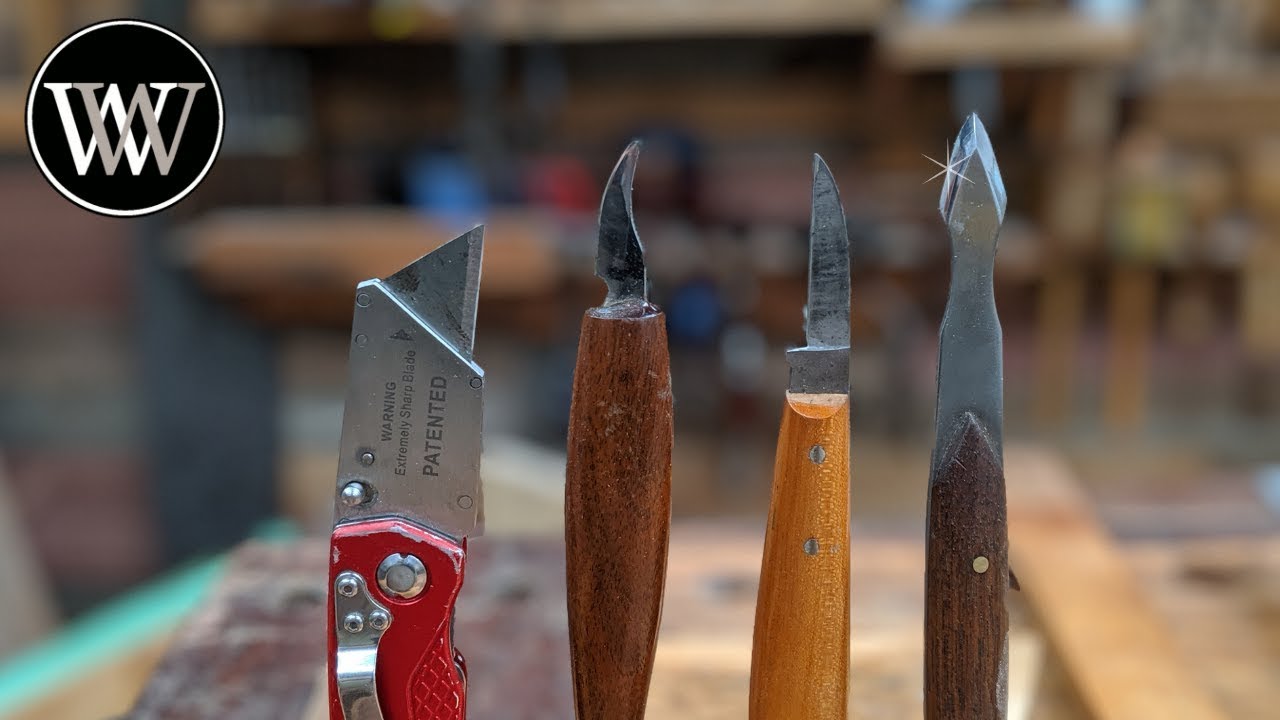
I had been woodworking for around 6 years by this point and decided that I wanted to expand my skills into other areas. Secondly, as my channel was growing, the tools I was using began gaining more attention. Everyone noticed the usual suspects such as Lie-Nielsen and Veritas , but no one could identify the knife.
I also noticed that David Barron had ceased selling his knife. I had 4 things to confirm there was a gap in the market. Firstly, I had seen how many knives David was selling after reading his blog a few years ago. Secondly, I had a larger following than he did at the time of selling his knives.
Thirdly, there was potential to make the blade replaceable which also had the added benefit of allowing the user to choose from a selection of 6 different blade shapes. Finally, I realised that it would be easy for me to make the handle and the ferrule fully customisable if I were to make these knives in-house. I began working on a design for the knife, particularly the locking mechanism on the ferrule. I considered a collet, however there was no chance I could make one efficiently.
I considered a pin that slots through the side of the ferrule and through the hole on the blade, secured in place with a magnet.
But this would easily get lost in a pile of shavings if dropped. Everything pointed back to my original design of using a grub screw to secure the blade in place. Of course a grub screw could easily get lost in a pile of shavings. But at least it was far easier to order spares online as opposed to a bespoke magnetic pin! So I got to work re-designing my original knife and faced a number of different challenges.
The original knife required the blade to be cut shorter before being inserted into the ferrule. But I did not want people to need to cut down blades in order to replace them.
Not only from a convenience standpoint, but also from a safety perspective. This mean't that the ferrule had to be longer on the new design to accept the entire blade. The nice thing about this is that it's added a nice amount of mass to the front of the knife so that it required less effort to cut, and feels like a higher quality item. I wanted the grub screw to be in the centre of the ferrule along it's length. I use a small magnet on a stick to intermittently check the blade as it heats up.
Once it stops being magnetic I put the blade back in the forge for another 10 seconds and then quench it in a container of peanut oil. You can see what the blade looks like after quenching in the third picture. After quenching I have to temper the blade. But before tempering I sand off all the scale from the heat treat. I use a flat surface and grit sand paper to clean up the blade.
Then I preheat my oven to degrees Fahrenheit in my oven setting it to degrees Fahrenheit will reach the degree Fahrenheit mark I suggest testing your oven to see what temperature to set it at so that it reaches degrees Fahrenheit and placed the blade in the oven on a baking sheet for 1 hour. At the end of 1 hour I turn off the oven and let the blade cool inside with the oven door closed until it was cool enough to handle.
You can see the blonde-ish or light bronze-ish color that the blade turns after tempering. After tempering I sand off the bronze color using grit sander paper. I make sure to sand the blade on a flat surface or with a flat surface like a sanding block. I noticed that after drilling the pin holes that the top hole was not centered. In order to correct that I removed some of the material from the blade using my 1x30 belt sander.
This gave the top portion of the handle a more narrow shape which in the end I really liked. This was one of the few occasions that an error added to the look of piece instead of detracting from it.
I also cleanup the bevel and sharpened the blade using a flat surface and various grits of sand paper beginning with grit up to grit. I stop at grit for the overall finish of the blade. Next I trace the handle section on to a piece of walnut. I trace my second handle on to the walnut to make sure I can get two pieces from the one slice. Then I move to my scroll saw and cut out the rough shape of the handles. I do a test fit to make sure that the handles will actually cover the tang.
Using my 1x30 belt sander I clean up and shape the bolster or rather the top portion of the handle. I do this now because once the handles are glued on to the tang this small area is very hard to reach and may result in scratching the blade.
This will keep the handle in place while I drill the second hole, if I don't do this then the wood can shift while drilling and will not line up when I try to glue them on to the tang. I repeat the process for the other side and then do a test fit to make sure everything is lined up. Next I tape off the blade for glueing and I wipe everything that will be glued with denatured alcohol to remove any dirt or grease.
After everything is dry I mix up some five minute epoxy and slather on a generous amount on to the glueing surfaces.
I assemble all the pieces and make sure to wipe off any excess epoxy before clamping. I also make sure to wipe off any epoxy squeeze out after clamping. I leave it clamped for 24 hours until the epoxy is fully cured. After the epoxy is dry I unclamp the knife and cut off the excess pins with a hacksaw.
Then I begin the rough shaping of the handle using my 1x30 belt sander. The final shaping of the handle is all done by hand sanding up to grit. You can see in the third picture that I am using a small file to remove some epoxy that squeezed out that I didn't notice until after the epoxy had cured. This is why it is very important to clean up any epoxy that may have squeezed out during clamping. Here is the finished marking knife. I was very please with how this turned out.
It was pretty close to what I pictured in my head. I gave this knife to a hand tool woodworker who absolutely loves it. He really enjoyed the shape and feel of the knife. So with that I consider this one a success. Thank you for reading all of this and please feel free to leave a comment or ask a question. I will try my best to answer any questions you may have. Reply 4 years ago. I saw a comment that mower blades are mild steel?
Every time I've changed mower blade they have always been 'heat treated carbon steel' Even the cheapest ones I could get were still carbon steel although the heat treatment may not be so good on real cheap ones?
I'm pretty sure the comment is wrong? No, lawn mower blades are definitely mild steel, sorry to say. When you see "heat treated carbon steel" on the packaging, it's most likely a marketing technique that uses a couple loopholes in the phrasing. They are able to say that the blade is "carbon steel" because technically it is. All steel has carbon in, mild steel just has a far smaller amount of carbon than hardenable steels.
If you want to know you are getting a product with hardenable steels in it, look for key words like "HIGH carbon steel". As for the words "heat treated" on the packaging, it probably is heat treated, it's just that heat treating has little to no effect on mild steel. A while ago I welded a high carbon edge to a pair of old blades, and the difference was incredible. They hardly ever need to be sharpened and they cut cleanly through the grass instead of just ripping it like a lot of blades do.
Strange, the ones I've changed behave more like a high carbon spring steel? I tried welding high speed tool steel edges lathe parting off blades but the main part of the blade got too brittle and they broke off I would expect the weld or HSS 'edge' to fail first if blade is 'mild steel? I now know I should have normalised blades after welding but didn't think it would be necessary at the time. HSS isn't affected by 'red heat' I'm not an engineer, I trained as a precision machinist so have some idea of different material properties.
I very much doubt they are in the range but they are a 'high carbon' even if the 'lower end' of 'high carbon' range.
Blimey Charley, the knife was perfect. The design is very similar to the one that shived me. The only real limitation is if you like to do those very fine pinned dovetails. But I suppose you would nearly always need something fairly dedicated for those anyway. If I could change anything I would lengthen the cutting point. Basically make the spear-shaped angle more shallow.
This is simply my thoughts and experience with this knife. Want to know my two pence on other tools? As a professional hand tool woodworker, Richard found hand tools to be the far more efficient solution for a one man workshop. Richard runs 'The English Woodworker' as an online resource and video education for those looking for a fuss free approach to building fine furniture by hand. Just be careful when using it as a skew chisel. The hard steel is kinda brittle and might chip when you pry with it.
I would look into Fuller brand Brad Point Bits, made in the northeast. The are probably some of the best wood bits I have used available in inch and metric , available through Tools for Woring Wood. Made a marking knife just like it from an auto leaf spring. Knifemakers use leaf springs quite often. High carbon steel with chromium. Never thought of using it as a skew chisel, thanks! I bought an old 7 too quickly at the yard sale on my lunch break.
When I got it home I found the iron to be snapped in half long ways. I been rolling around the idea of making a marking knife from the two halves. I think you just pushed me over the edge.
If you try carving a circle with a gouge and then with a chisel you can feel how much smoother it is with a curved edge.
I use Colt brad point bits, mostly. Nothing, in my view is more accurate and smooth cutting as these bits. I got the single-edge version of this a while back but the gentle curve from one side down the bevel contrasting with the flat straight-edge on the back of the knife gave this optical illusion of the knife tip being bent over whenever I used it and it drove me nuts so I swapped it out for that stanley knife Paul Sellers uses and which my dad used to use a lifetime ago so that was a nice symmetry.
Same steel as their excellent plane irons. I use them very often with a small drill brace with a hex shaft and they make holes in fir without tearout. I made a mistake in the previous post. I thought I would have deleted the word. I just bought an old screwdriver at a garage sale for 50 cents and shaped the point on a grinder, works fine, I use it for just about everything, an old busted up chisel would work too — just shape the tip how you want it.

|
Rosewood Dowel Valve Dining Room Table White Legs Wood Top Wallpaper |

Die_Hard
16.01.2021 at 15:45:21
NYUTON_A
16.01.2021 at 15:46:55