Laguna 14 Bx Bandsaw Manual,Best Router For Router Table Uk Windows,Is Ace Hardware Open On Easter - Step 1
I like to build arts and crafts style furniture, and many pieces have a gentle curve that graces the lower stretcher. Read More Bandsaw Circle Cutting Jig Most woodworkers find the need to cut circles at some point, and there are multiple ways to accomplish the task.
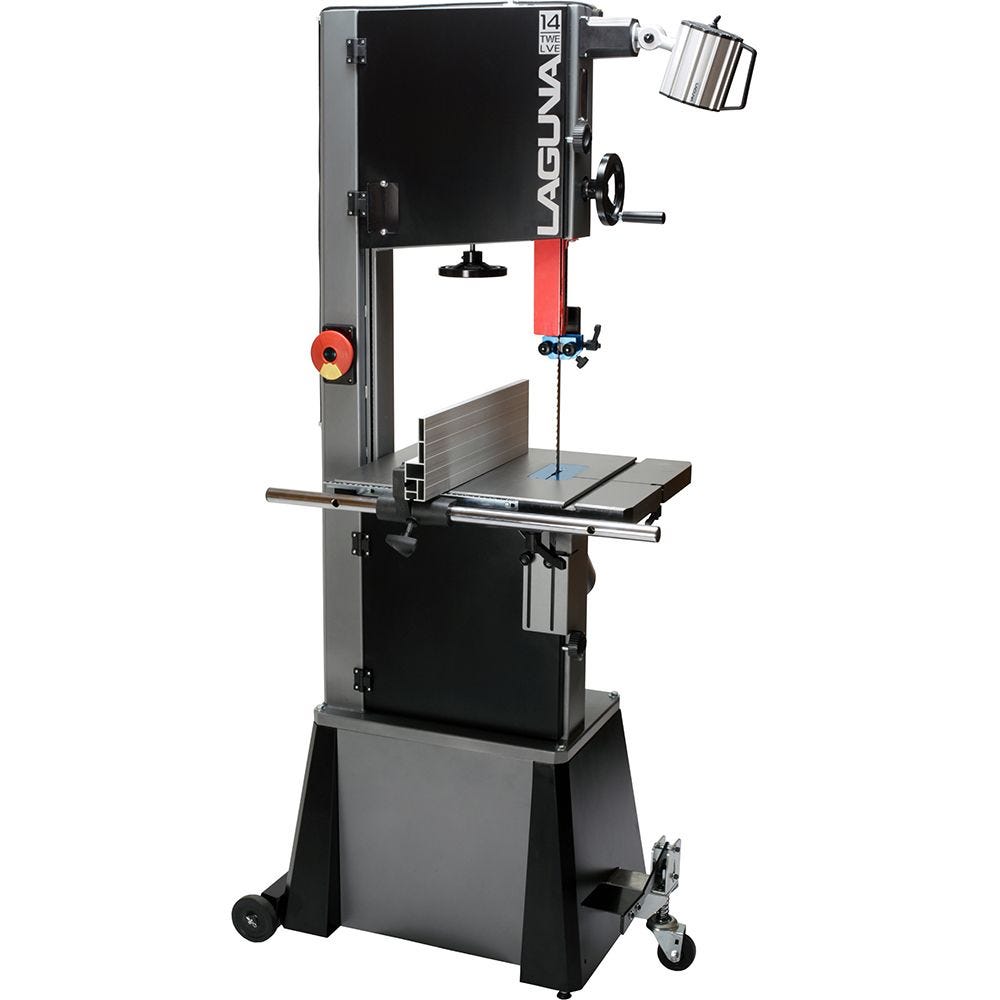
Read More View More Blogs. Select Bandsaw Voltage Volts Volts. Find A Dealer. Additional Details. Where To Buy. Online Dealers. View Dealer Locator. Latest Posts. Make A Wooden Spatula. Read More. Switch Motor Quick-release blade tension lever 4. Frame Blade tracking knob 5. Blade tension handle Optional mobility kit 6. Blade tracking window Page 14 1. As a rule, the greater the spring compression, the greater the tension on the blade.
The tension scale does not register until the blade is relatively taut and is located on the inside of the body of the bandsaw. Page 15 8. Blade guide adjustment hand wheel The upper blade guides are attached to the blade guide shaft. The shaft is vertically adjustable with a hand wheel.
The guides should be adjusted so the guides are just above the wood being cut. This gives the blade maximum stability and is also the safest way to operate the bandsaw.
Page 16 Optional mobility kit The optional mobility kit is fitted to the stand and consists of two fixed wheels at the back of the bandsaw and a swiveling wheel at the front of the band saw. The swivel wheel is activated and deactivated with a foot lever. With the swivel wheel deactivated, the bandsaw sits on two feet. Page Unpacking Your Machine rotated, will move the wheel up or down. The machine has a quick-acting blade release mechanism that is located at the back of the machine and will remove the tension from the blade to speed the removal and fitting of blades.
The mechanism has a spring, which helps to keep the tension constant as the blade expands and contracts with the heat generated by the cutting action. Page Assembly And Set Up 2. Lift the bandsaw out of the packaging. You will need two or more people, as the bandsaw is heavy. Lift the bottom Styrofoam out and remove the parts that are packaged under the bandsaw and packaging. Page 19 Assembling the mobility kit to the stand Optional mobility kit Support bracket fixing screw Mobility front wheel screwed onto the shaft Front mobility wheel with spring fitted The mobility kit consists of a front swivel wheel and two wheels at the back of the bandsaw.
Page 20 2. Fit the front swivel wheel on the stand as shown by bolting in position through the stand onto the support bracket. Do not fully tighten the screws, as the height of the wheel will have to be adjusted to suit the stand. Page 21 Fitting the stand to the bandsaw shown with opitional mobility kit.
Motor supported Bandsaw raised off the ground You will probably find that it is easier to fit the stand to the bandsaw with it in the horizontal position and then lifting it to the Laguna 14 Bandsaw Manual Video vertical position as shown in the above photographs.
Page 22 that you feel is unsafe or that you do not have the physical capability of achieving, as the bandsaw is heavy. You will probably find it easier to assemble the stand to the bandsaw prior to fitting the other part table, etc. With the stand aligned to the bandsaw, fit the fixing screws and fully tighten. Page 23 Table mounted to the bandsaw Trunion clamp stud Ratchet handle Allen key With the table fitted to the trunions, assemble the two ratchet handles.
Adjusting the table for square to the blade is covered latter in the manual. Fitting the guide vertical shaft adjustment handle Loosen the clamping screw so that the handle can slide on the shaft. Page 24 Fitting the table rule Table rule with fixings Table with rule mounted Attach the rule to the table with the fixings supplied.
Do not fully tighten the bolts, as the position of the rule will have to be adjusted to suit the blade, which will be detailed latter in the manual. Page 25 1. Fit the fence bar to the table with the screws and spacers suppliers.
The distance between the fixing holes and the end of the bar is different, and the end that has the longest distance must be at the back of the bandsaw closest to the column.
Page Testing The Bandsaw Fitting the optional light Fixing screws and cable clips Light fitted in position Suggested cable route Light plugged into v socket The light is fitted to the top of the bandsaw as shown. The light is supplied with a volt three-pin plug. The cable must be held in position with the clips provided and positioned so that the cable is safe and will not in any way come close to the blade or cabinet door.
Page 27 5. Wear a dust mask; long-term exposure to the fine dust created by the bandsaw is not healthy. Remove your tie, rings, watch and all jewelry. Roll up your sleeves; you do not want anything to get caught in the saw.
Page 28 3. Check that the machine is clear of all tools and other loose objects. Check that all the adjusting and locking handles are tight. Check that there is no blade fitted; it is far safer to test the machine without a blade fitted. Page 29 Fitting a blade to the bandsaw A lot of people do not like to change the blades and go to great lengths to avoid doing it.
To use the bandsaw to its greatest advantage, you will have to use the appropriate blade and track it quickly. Page 30 9. Deactivate the quick action blade tension lever and rotate the blade tension wheel so that the blade can fit over the lower flywheel.
Activate the quick action blade tension lever. Lock knob Apply light tension to the blade with the blade tension wheel.
Page 31 1. To track the blade start rotating the wheels by hand in the normal direction. As you do this, watch the blade to determine where the blade wants to track. If the blade is tracking too far forward or backward, make small adjustments with the tracking adjustment knob located at the back of the bandsaw while still rotating the wheel. Page 32 Plug the machine into the power.
Turn the machine on for a second and switch off. Watch how the blade runs. If the blade tracks well, then run the machine at full power. If the blade tracking needs adjustment, repeat adjustment.
Method 2 Tension the blade as described in method 1. Page 33 Please read the following notes, as they will assist you in getting the optimum performance from your Laguna guide system.
As with the roller guide systems, the Laguna guide system will damage your blade if it is not adjusted correctly. The guide blocks must not come in contact with the teeth of the blade. Page 34 7. When cutting gummy or green wood, the blade can become covered with resin. You will find that the surround guide system ceramic blocks remove the resin as the blade is moved through the guide blocks and keep that part of the blade clean.
Page 35 guide to obtain the correct clearance until you gain experience. Tighten the clamp screws and remove the paper. Rotate the blade by hand, ensuring that the weld of the blade does not hit the ceramic blocks, as this will cause damage. If the blade has a bad weld, dress the blade or return it to your supplier. The blade has many of advantages such as superior surface finish to the cut, thin kerf low wood waste , can be re-sharpened, will cut hard woods and has a long life.
Page 37 Adjusting the fence Method1 1. Make a straight pencil line on the edge of a board. Feed the wood into the blade cutting next to the pencil mark. If the blade is drifting, you will have to compensate by angling the wood to keep the cut straight. Page 38 Adjusting the table rule Table rule Adjustment slot There is a rule that is fitted to the side of the table and can be used as a quick guide on the distance that the fence is from the blade.
The rule will have to Laguna 1412 Bandsaw Review Manual be adjusted each time the fence is adjusted for drift, as this will change the distance the fence is from the blade. Page 39 Changing the fence height 1. Loosen the clamp screws that are located on the cast bracket. Slide the aluminum fence off the cast iron bracket. Slide the aluminum fence back onto the bracket using the second slot and retighten the clamp screws. Page 40 Thickness The thicker the blade, the stiffer the blade and the straighter the cut.
The thicker the band, the greater the tendency for the blade to break.


|
Woodcraft Stores In Tigard Water Telescopic Slides For Drawers Kit Soft Close Drawer Slides Vs Regular On Best Professional Cnc Machines Water |

AngelGirl
06.03.2021 at 17:45:38
Playgirl
06.03.2021 at 22:15:55