Everbilt Drawer Slide Rear Bracket On,Tecomaster 6000 Radial Arm Saw In,Plastic Wood Lumber Products Model,Things To Make Out Of Wood For Garden Zip - Good Point
Use a tape measure to find the distance from the front of the face frame or cabinet frame to the back of the cabinet. Then consider:. So, once you have your cabinet depth, rear socket brackets and mounting location you can safely match finalize your drawer slide length. By now you may have realized the drawer height and width is also controlled by the type of drawer slide.
Since there are a wide variety of drawer slides you may need to do a little more research on your slide types before finalizing measurements. But there are a few sizing considerations for these slides:.
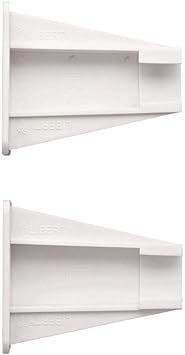
How much space do you leave at the back of a drawer? I prefer to leave a full inch of clearance at the back of a drawer. No, a frameless cabinet does not require a rear mounting bracket as the drawer slides are instead connected to the side of the cabinet directly.
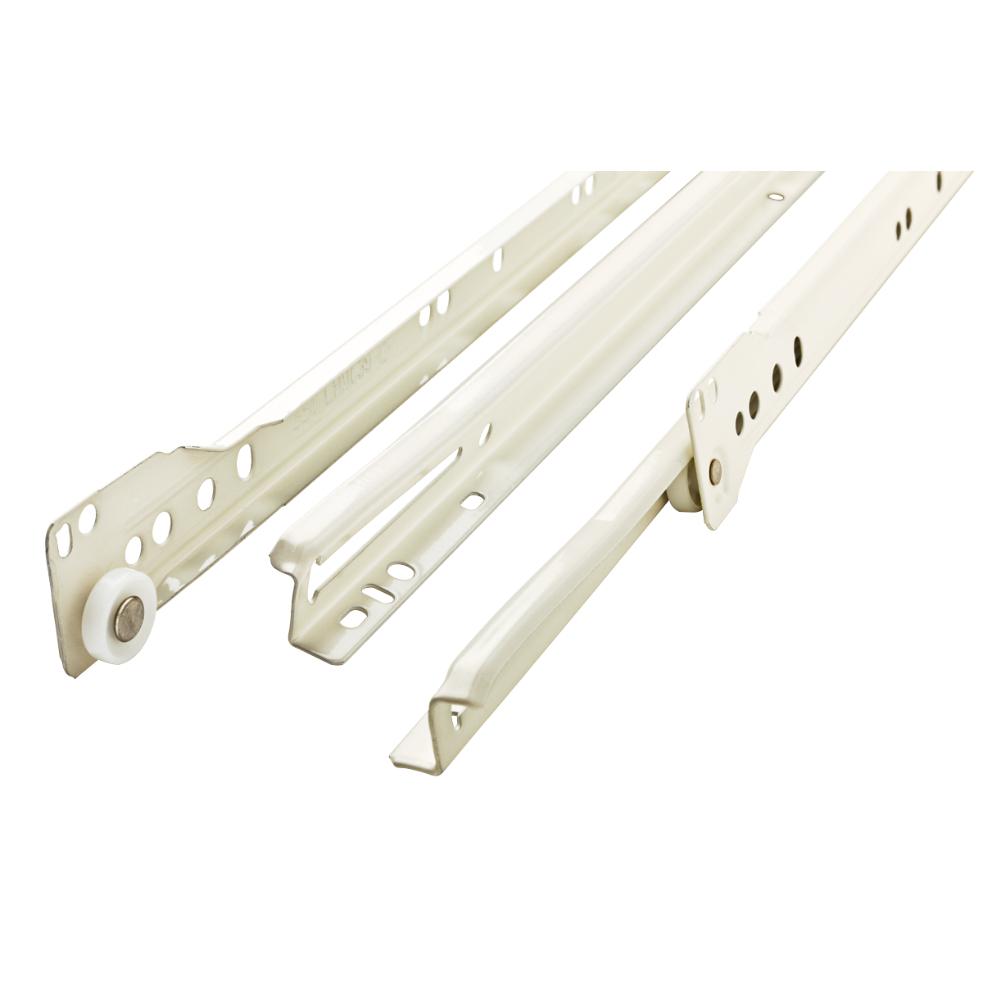
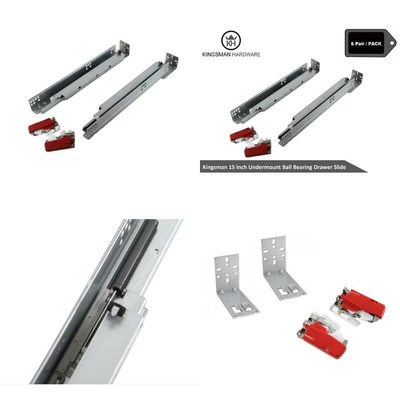
Yes due to the variation in drawer slide measurements choosing the drawer slide type first is vital. For example, an undermount drawer slide has a different rear clearance and custom drawer length.
While a side mount slide is more universal there are considerations such as low profile to consider. There are three dimensions of drawer size and depending on your drawer slide they dimensions will all vary. Due to the variety of slides and mounting requirements the 1 best tip for measuriwng drawer slides is picking your slide type first.
Save my name, email, and website in this browser for the next time I comment. Terms and Conditions - Privacy Policy. The good news is measuring for drawer slides is relatively straight forward.
How to Measure Drawer Slides Length. Step 1 - Understand your cabinet construction. Step 2 - Pick Your Slide Type. Meanwhile, undermounts are more advanced and are fully concealed under the drawer.
While working with power tools, experts always suggest wearing proper safety gear. And so, make sure you are not guilty of avoiding proper safety gear such as goggles and rubber gloves. So that the installation process ends up on a good note. Choose somewhere free from crowd and quiet. This is not only necessary for safe operation but also allows you to focus better on the project.
However, most versions come with a need for the raising of a drawer bottom. So that the glide assembly is accommodated properly. You need to receive the drawer glide in an upside-down position. So, turn the drawer over a worktable if possible. The positioning should be as if drawer face Cabinet Drawer Slide Rear Mounting Bracket Review is opposite to your body. Now focus on the left front mounting bracket of drawer slides.
You need to place it flat on the drawer bottom. It should be on the upper left corner. Also, it needs to be against the front left side of box. The screws should be provided with brackets. Now using the power drill, simply fix everything together and also use screw tip. With the mounting bracket of right-side front, you need to do same thing once again. Use a pencil to mark it down.
Following edge simply extend the mark. You can simply use a combination square as a reference here. Do this until the line you previously made meets it. The two lines should make a notch being perpendicular. For the right drawer slide, make same perpendicular mark. On the back of drawer box, simply cut these two notches. You can simply use a jigsaw for this task. Between front bracket and notch in the drawer back, you need to place left glide.
There should be a pin on the drawer glide back. Simply mark the pinhole on back of drawer. This is where you need to drill. Using the right-side drawer glide alignment make same pencil mark for pinhole in this part.
Now use a quarter-inch drill bit for drilling a shallow hole. It should be deep enough to house the pin but nothing more. The hole should be at marked locations of drawer back. You should use the mounting screws included. With the right-side rear mounting bracket, you need to repeat same Everbilt Drawer Slide Rear Bracket Light step. Finally, position the glide unto the carcase. This is for the left drawer glide by the way.
Use a pair of mounting screws to do so. Now using the same manner, you need to install right-side drawer glide.

|
Itaki Steamer Box Review Earlex Spray Station Questions Stabila Digital Tape Measure You Kreg Easy Set Stop Collar Line |

ZEKK
16.10.2020 at 13:34:41
WARLOCK
16.10.2020 at 18:40:15
Hayatim
16.10.2020 at 16:19:40
Ayka012
16.10.2020 at 23:18:23
Killer_girl
16.10.2020 at 17:55:55