Door Casing Miter Clamps List,Jet Planes During Ww2 80,Dust Collection Bags Woodworking Lighting - Try Out
For those who are starting out in carpentry, door casing is the trim generally, rectangular in shape that surrounds the door frame. And fortunately, in most cases, installing the casing is one of the easy carpentry processes that can be achieved within a few hours, and that allows a perfect finish carpentry.
So, without further ado, let us check out the step by step procedure door casing miter clamps list some tips to go along with it, on how to install your door casing.
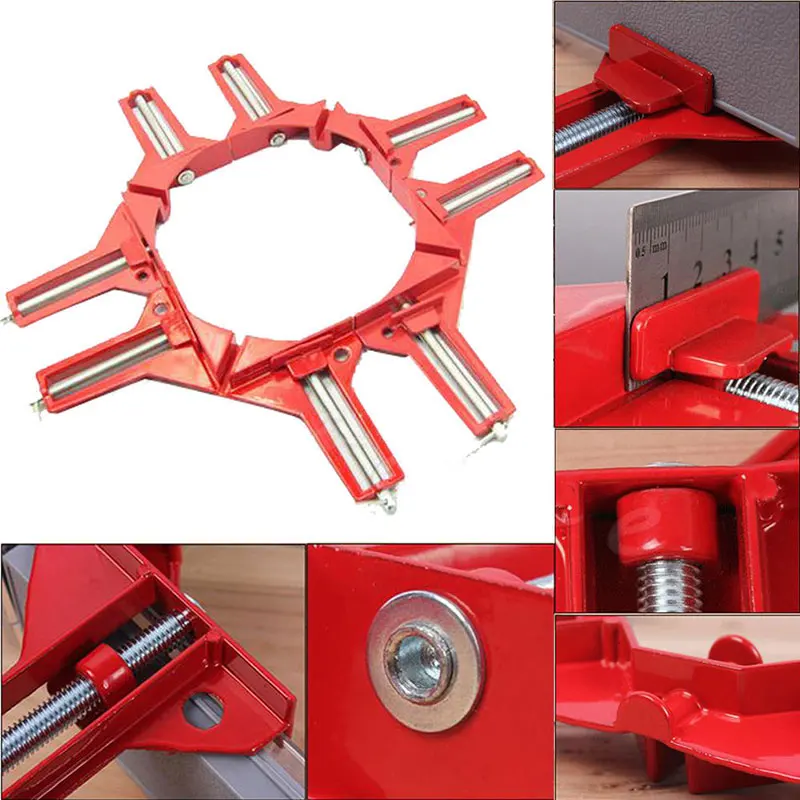
But as usual, before starting to harp about the instructions, we should make some pertinent points about door casing. The first and very crucial factor which decides both effectiveness and preciseness of the casing is the perfect angle of the mitered corners. Moreover, it is always easier for the DIYer to actually arrange the casing components before fixing and installing it along the wall. The tools needed for casing generally include — Carpenters Square, corner clamps, tape measure, miter saw, drill and drill bits, and screw gun.
As for the materials, the list should have — casing material generally made from finger jointed, un-primed woodCarpenters Mitrr, screws, wood filler ilst latex caulk. Most of our home oriented projects should start from paper. So, grab a sheet doot pencil, and try to make a rough sketch of the casing you would want to install.
Make use of the Carpenters Square to measure the angles of the door jamb at the upper corners on two sides refer to the above image. And, if the jamb corners are not at right angles, you will need to adjust the angles of the miters for the fitting purpose.
The measuring scope continues in this step. You will now need to measure door casing miter clamps list height and width of the door, so as to correctly mark the door casing miter clamps list needed for the casing. When measuring height-wise, tautly place the tape from the floor level to the top jamb section. Repeat this step for both the right and left side of the door space, so as to make sure if the collective height is uniform.
If it is not liet, you will need to make adjustments to your casing cuts accordingly. After the height measurements, move on to the door jamb width measurement, and correctly note down the figures on the aforementioned paper. Now comes the visual side to whole scenario. You will need to decide on how much door jamb to reveal. This entails exposing clanps the certain dimensions of the jamb edges on all sides.
We come to the cutting scope of the casing materialwhich should be done with a miter saw according to the calculated measurements from the earlier Cpamps 4. Start with the miter cuts corner angled cuts llst the top piece and then make the miter cuts of the two side pieces. Going back to the last part of Step 2, if the corners are not at perfect right angles, you will have to make adjustments to the miters, by increasing or decreasing their angles from 45 degrees.
Tip — After the cuts are done, you should physically join these mitered corners to check if they fit correctly. Since you have achieved the precise miter cuts, it door casing miter clamps list time to move on to the straight cuts that have to be made at the bottom of the casing on both sides.
Once again revert to the measurements taken in Step 4, and accordingly make these straight cuts. After this you should have three cut-out pieces of the casing, comprising of the top piece and two side pieces. Tip — Place them against the door preferably with the help of door casing miter clamps list people to check if the door casing miter clamps list jamb reveal is uniform door casing miter clamps list the length and moter, while also making sure the corners are tight.
Now comes the assembling part. You can join the corners of the cut-out pieces by laying them on the ground and gluing both the mitered corners by applying glue on one of the corner casinv. Then use a corner clamp to hold the pieces together, so as the corners are tight and the glue takes its time to set. This results in a rudimentary assembly of the casing with the top piece joined with the two side pieces.
Tip — When gluing, do take care to properly position these corners against each other. Time to start with the holes! This means you have to repeat the same drilling process on both corners of the set-up resulting in a total of four holes; two at each corner.
Finally, door casing miter clamps list wooden screws to hold the pieces together, and then remove the clamps. This results in a complete assembly of the casing with caslng top piece Door Casing Miter Clamps Rules joined with the two side pieces by glue as well as screws.
Then you can commence with the nailing of the casing around the door. You should start off by nailing the inner corners of the casing pieces to the concealed door jamb. Then proceed on to nail the outer parts of the casing just within the edges to the drywall and door casing miter clamps list framing. For the second part, you will obviously need longer nails preferably 6d or 8d nails. The casing is finally installed around your door. Now, it is time to give the finishing touches to the project and make sure you like your complete door design.
For starters, you should fill out those potentially nasty nail heads with wood filler. And, there can be scenarios where there are gaps between the wall and the casing due to the faulty orientation of the door jamb.
You door casing miter clamps list easily solve the predicament by applying a thin line of latex caulk along the edges to fill these gaps. Your email address will not be published. Skip to content. Related Posts. Leave a Reply Cancel reply Your email address will not be published.


|
Kreg Drill Bit Sharpening Service 800 King Arthur Power Carving Tools Double Bit Panel Lock |

Joker
12.09.2020 at 23:59:10
BRIQADIR
12.09.2020 at 15:35:11
fb
12.09.2020 at 12:50:28
ele_bele_gelmisem
12.09.2020 at 12:53:39
T_U_R_K_A_N_E
12.09.2020 at 18:14:31