Diy Wood Picture Frame Ideas Review,Woodworking Tool Store Sacramento Nature,Kitchen Pantry Drawer Slides Ltd,Laser And Router Cnc Machine 05 - You Shoud Know
Therefore, you need attractive thing to embellish the wall and turn it into a good centerpiece. Just pull your drawer out and find some color tapes. Now, you just need to harness your creativity. First of all, get your best photographs or even the photographs of your favorite singers, or anything that can encourage you to study and get rid of your boredom. Attach them on the wall. Finally, get your tapes and begin to make some border lines around the photos.
You can apply one color or two to make border lines of one photograph. Have you just refurbished your house? These windows are such inexpensive frames which surprisingly turn out well. You simply need to attach the photos that you want to display to the glasses and hang them on the wall.
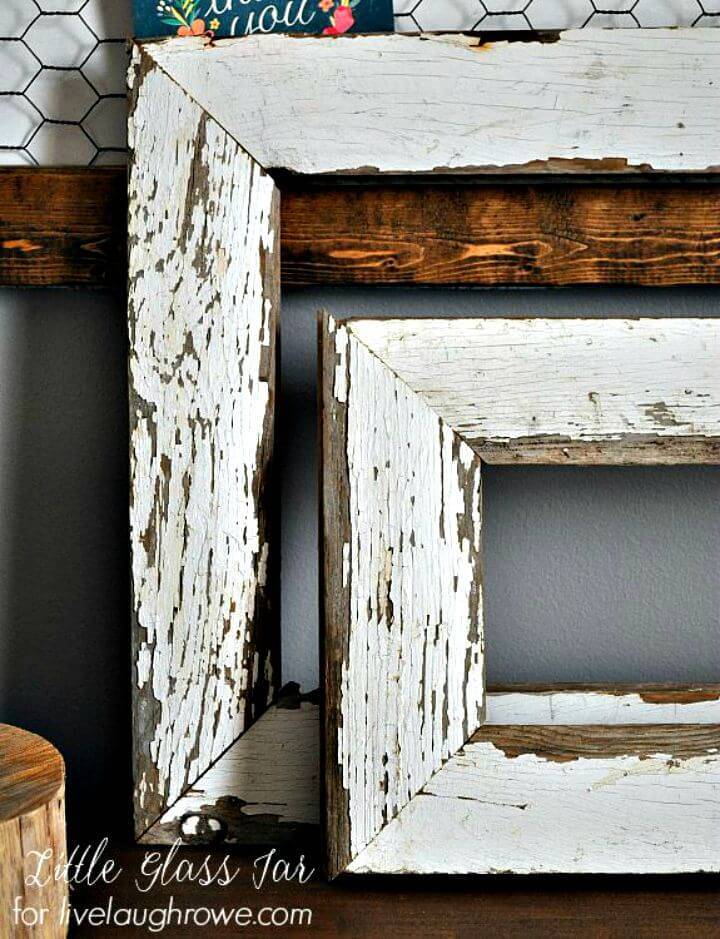
For a rustic look, you can just stain or whitewash them. If you want it to be more beautiful, you can paint them your favorite color. The good thing of DIY is you can make anything that suits your style well without draining your cash. Just like this super cheap DIY picture frame. They are quite light so you will find it easy to work with.
Besides, Balsa wood provides the charm of a natural grain. Just make sure that they are two centimeters longer than your photograph. Besides Balsa wood lengths, Diy Wood Picture Frame Ideas It you will also need to get two picture frame hooks, four adhesive strips, a chain necklace that you no longer wear, and two pom-poms.
First of all, install the picture hooks by twisting them into the top of one of the Balsa woods. Apply the adhesive strips on the back ends of the woods. Peel off the adhesive strips and begin to attach each corner of the front part of the photograph. Tie the necklace through the hooks, then attach the pom-poms to cover the flaws made by the hooks.
Hang the picture on the wall. Making this picture frame is merely a breeze. Want to create a really cute picture frame to put on your living room? All you need are gorilla glue or a super glue, 2 sheets f 8. Check it out now and create your own! For Christmas, make your picture frames as festive as the season. Create your own Picture frame with a Burlap Bow. All you need are a burlap ribbon, a twine, metal clips, gorilla wood glue, gorilla super glue gel, 1 1 x 12 x 4 and 1 1 x 3 x 6.
Create your own Yarn Photo Frame to make decorate at your home. All you need to have are some yarn, a glue gun, a gluestick and an old frame. Check out this easy to make step-by-step tutorial made by Call me Mama Leisha and create your own photo frame made with yarn.
You can decorate it with any design you want too. Make use of your old window doors and make this really creative picture frame. This will be a really cute display for your living room. Check out the step-by-step tutorial from Am Momma Hear me Roar and create your own picture frame using a window door. You can leave your edges plain and square OR use something else besides the Roman Ogee. But side note: when routing edges like this along the outside, go counterclockwise.
For more information on routers and how to use them, check out this router guide. If you think of this print as a sandwich, it would go glass in front, mat board and print in the middle, and backer board on the back side.
For this, I used a rabbeting bit in my router. NOTE: route the inside edges here clockwise. The thing about rabbeting bits is that they makes rounded corners. So I used a chisel and carefully squared my corners. OR, in hindsight, you could route these rabbets prior to assembling to avoid having to use a chisel here. Now the frame itself is finished except for actual finishing—paint, stain, poly.
I polyed mine with three coats of Polycrylic. While it was drying, I cut the mat board. The last thing that needs to be done is cut the mat board. You can buy mats in standard sizes precut at any craft store or even online. I traced out and cut the board the overall size the mat board needed to be to fit inside the rabbet from step 6.

|
5mm Oak Dowel 05 Unique Woodworking Tools Online |

KING_OF_BAKU
13.01.2021 at 10:36:30
barawka
13.01.2021 at 11:17:24
PARTIZAN
13.01.2021 at 14:34:34
SCKORPION
13.01.2021 at 23:42:21
AXMEDIK_666
13.01.2021 at 12:52:46