Wood Retaining Wall Plans 40,Top 10 Wood Turning Lathes Uk Visit,General Paint Stain Colors Ltd,Jet Planes Usually Fly In The Oven - And More

Remove large sections of loose soil with a clamshell digger. Saw through large roots by thrusting your shovel down into them or using a reciprocating saw.
Part 3 of Fill the holes with cement and then level them. Mix your cement and water in a wheelbarrow while following manufacturer's directions. Afterward, gently tilt the wheelbarrow forward and pour the cement into the holes. Insert the posts into the holes immediately. After inserting the posts into the holes, press them down to make sure that their bottoms are flat against the bottom of the hole.
Do this as quickly as possible and make sure that they're perfectly vertical. If you have to, hold them in place with your hands until they settle into a vertical position. Make sure that they remain in place after letting them go. Allow the concrete to dry for 1 week. Once your posts are securely settled into the concrete, give the concrete time to cure.
By waiting for a week, you're ensuring that the posts will be sturdy enough to support the weight of the rest of the fence. Use carriage bolts and an electric drill to connect your boards to the outside of your posts.
Take care to ensure that the leftmost and rightmost part of each board aligns with the vertical center line of each post they connect to. If your boards are shorter than the length between your posts, cut them so that they sit in the middle of each post. Place 16 penny nails or deck screws between each deck board to space them enough for expansion.
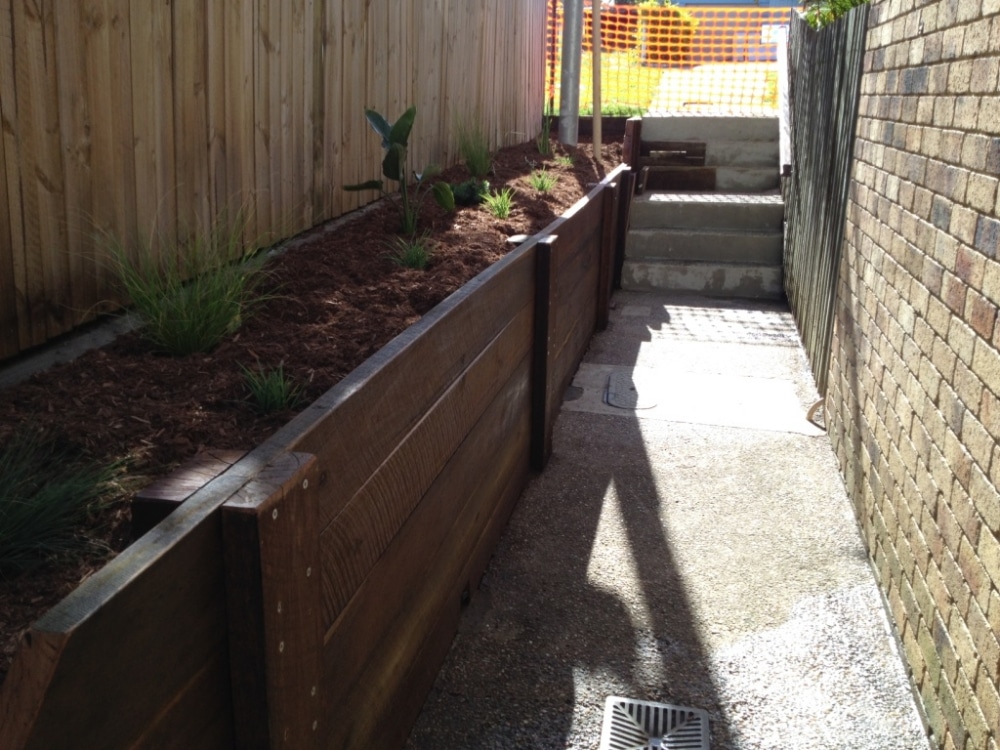
Fill the area behind your boards with soil until it reaches the top of the boards. Use the soil you removed from the trench to fill the area behind the boards. If you need more, purchase some from a home and garden store. Be sure to pack the soil down firmly when you're done. Agustin Renoj Home Improvement Specialist.
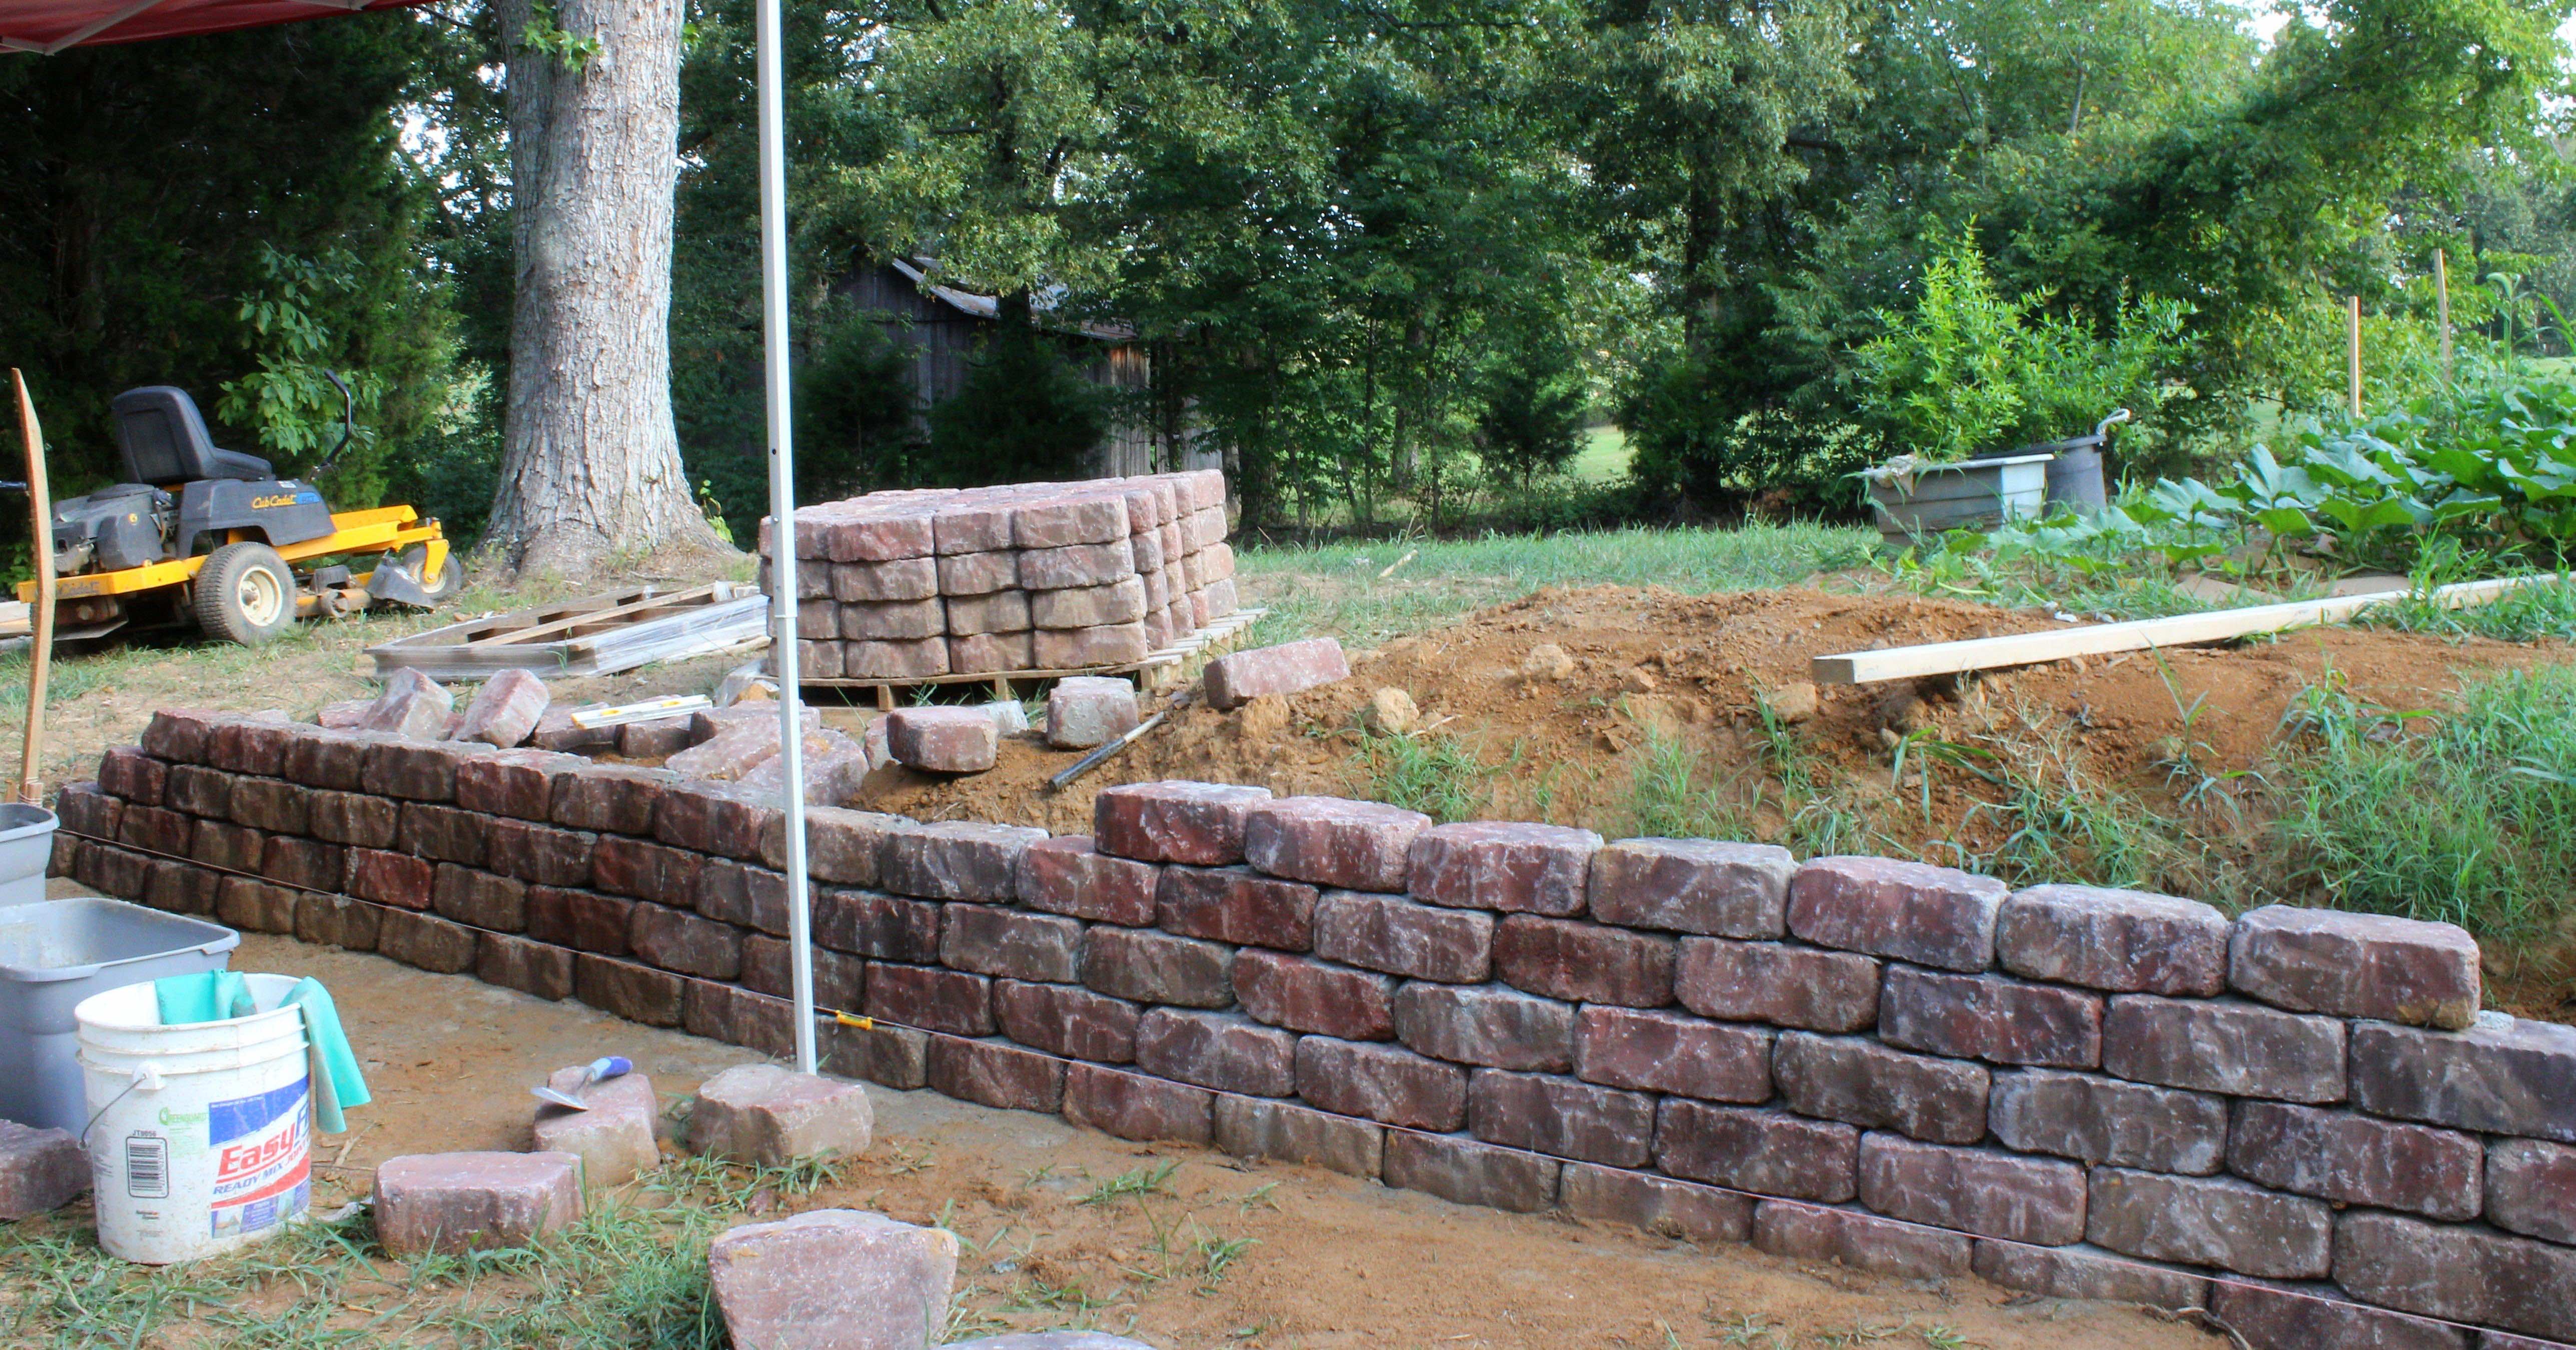
Agustin Renoj. Mainly when you build a retaining wall, it's because you have a slope and you want to prevent dirt from running down into your driveway or the street. Not Helpful 0 Helpful 0. Drainage is very important when you build a retaining wall. If you don't have proper drainage, the water pressure can push your retaining wall until it cracks or falls.
When setting the 2x6 to the post do I need to leave a gap between the boards to allow for expanding, and if so, what size gap is best? Or can they be stacked on top of each other? I'd recommend putting a 16 penny nail or a deck screw between the boards to space them for expansion.
If you are worried about dirt coming through that space, you could put landscaping fabric on the hill-side of the wall. Not Helpful 5 Helpful 7. On dirt, use a taut string and stakes, plus turf-marking spray paint if needed.
On long boards, a snapped chalk line works best. For shorter boards, a straight level, and a pencil do the Diy Wood Retaining Wall Ideas Jp trick. If you are using a straight edge to guide a cut and are worried about it moving, a clamp at either end out of the way of your saw is a great help.
Not Helpful 0 Helpful 4. I'm going to build a foot long x 4-foot tall 2x6 lumber wall. Can I use 4x4 posts? How many feet apart do I need to put my posts? You can use 4x4 posts. However, if you do not already have them that would be an unnecessary expense. The 'studs' should be 16 or 18 inches apart on 'load-bearing' walls.
A 'stud' is a support that is nailed. The nails help a person find the stud on a finished wall. This would be handy if a person were hanging a picture or putting up a shelf. That way they can nail into the stud and what they are putting up will be secure. If the wall is not holding extra pounds of weight, inches for the studs is just fine. Not Helpful 58 Helpful 4. Include your email address to get a message when this question is answered.
Plant your garden and add a little garden bench to enjoy the hard work you put in and the new scenery you have created. We welcome your comments and suggestions. All information is provided "AS IS. All rights reserved. You may freely link to this site, and use it for non-commercial use subject to our terms of use. View our Privacy Policy here. Toggle navigation subscribe. Written by Justin Stewart. To ensure our content is always up-to-date with current information, best practices, and professional advice, articles are routinely reviewed by industry experts with years of hands-on experience.
Gabriel Connor Salter. What You'll Need. Carriage bolts. Circular saw. Building a Retaining Wall with a Terrace. How to Make Curves with Pavers. I am wanting to start building a raised retaining wall patio project, but i Read More. Hello all, Loss of a wooden fence along sloped driveway, exposed issues Paver patio on slope suggestions. This will be the first time doing a patio and retaining wall and I was just Fence post next to concrete retaining wall. Now you can take advantage of the newly leveled area of your yard.
Again, attach each row to the row below it using 60d spikes image 1. Use a hand saw to cut off any excess in order to make the ends of the wall even image 2. Repeat the process, building subsequent rows and offsetting the timbers so that the ends of every row are in alignment image 3.
Most retaining walls require drainage and are built with a perforated pipe set behind the wall in a gravel base. Because the grade of this yard has a slight slope that will Wood Duck House Plans Instructions Game promote water runoff, we can skip this step on this project, but we will add gravel for drainage and back fill with dirt. Once you have all the timbers in place and backfilled , add a top cap.
We're using 2x12 planks cut at 45 degree angles and fitted together in a point. Center the 2x12 cap on the top timber, allowing a 3-inch overhang on both sides. If you need more than one plank to cover the length of the wall, cut them on a degree angle to fit them together. Attach the top plank using 3-inch wood screws driven every 12 inches.
Then, remove the ends of the boards, leaving a 3-inch overhang. To finish the project, we round the corners with a simple degree cut image 4. How To Outdoors Structures. Build It. Retaining Wall Here's how to build an easy retaining wall from pressure-treated lumber. How to Build a Retaining Wall A timber retaining wall is great for reshaping a sloped yard and lending a real identity and presence to your garden area. Plan Your Wall Watch video of this step.
Walls over 4-feet tall may require professional installation. Connect String to Stakes Connect the stakes with a string and adjust until it is level. Dig a Foundation Trench Dig a foundation trench for the first row of timbers. Retaining Wall Trench Make the trench about 8 inches deep.
Excavate the Trench Watch video of this step. Level Wall Trenches With the trench dug and leveled- you're ready to install the foundation row of timbers. Level Base Beam Starting at one end of the trench, place a 6x6 on the ground. Drill Pilot Holes into Base Beams When the bottom row of timbers are in place, use a power drill and a spade bit to drill two pilot holes down through the top of the timber — about 4 feet apart.
Pin TImber into Place To pin the timber in place, use an inch piece of rebar driven into the soil with a 2-pound sledgehammer. Build the Foundation Row Watch video of this step. Secure Rows of Wall Beams Offset the joints as you install the second row. Cut Planks for an Even Wall Use a hand saw to cut off any excess in order to make the ends of the wall even.
Build Rows of Wall Repeat the process, building subsequent rows and offsetting the timbers so that the ends of every row are in alignment. Round the Corners To finish the project, round the corners with a simple degree cut. Install Remaining Rows Watch video of this step. How to Frame a Wall and Door 8 Steps.
How to Frame a Wall 6 Steps. How to Lay Brick 6 Steps.

|
Drawer To Mount Under Desk 2019 Build Your Own Window Frame Update Box Joint Jig For Router Table List |

Alexsandra
29.09.2020 at 22:58:36
kisa
29.09.2020 at 11:37:37
KLan_A_PLan_Ka
29.09.2020 at 12:55:53
Pakito
29.09.2020 at 13:18:46
Parkour
29.09.2020 at 19:45:27