Wood Chisel Mallet Plans Zip,Sawstop 175 Hp 85,Makita 2301fc Router Accessories Technology,Draper Belt And Disc Sander 375w Ii - Reviews
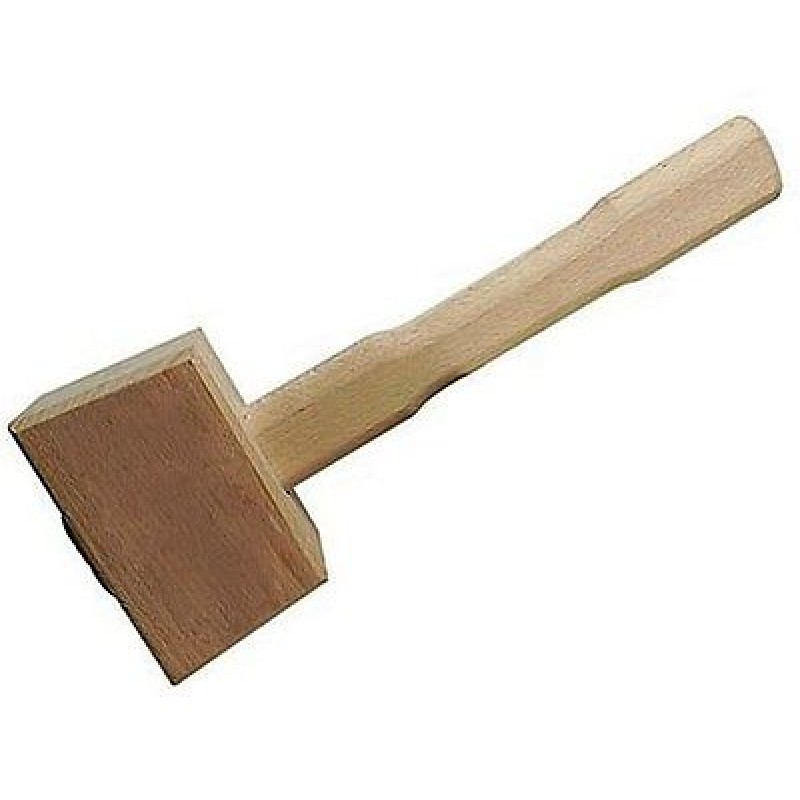
Any hardwood can be used to make a mallet, but maple is a popular choice. I have also heard of folks using regular oak with success. Traditionally, people will buy a big old hunk of wood for the head of the mallet and put a hole in it. Instead, a laminated mallet uses three pieces of wood glued together laminated for the head.
The middle piece can have a chunk cut out of it to accomodate the handle, which can be done on a table or miter saw or even by hand. The goal here is to make sure the mallet is heavy. One temptation might be to make a softwood mallet, so as not to dent hardwood.
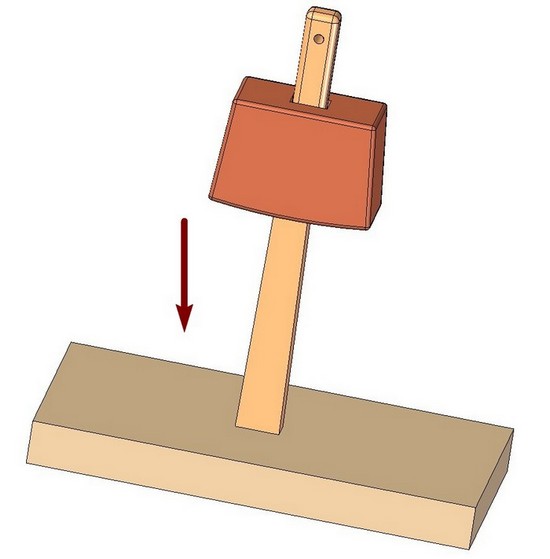
This plank was about a foot and a half long, and about a foot wide. I ripped my plank into strips. A crosscut sled with a stop block made it easy to separate into 3 pieces. At this point, I have three blocks to laminate to make up the head as well as the handle ready to proceed with. Instead, the handle is tapered into a wedge. The bottom of the handle slides through the top of the mallet, which has a wedge-shaped hole in the middle.
When the mallet is swung, the forces involved keep the head of the mallet wedged up against the top of the handle, holding the whole thing together. The picture shown is a few steps away, but it illustrates the goal. I chose to taper the handle first, and then cut the middle piece of the mallet head to match.
The first step was to draw out the taper I was trying to achieve. Note that down below I end up going back and adjusting this — I like the taper I made, but I ended up redoing this to start the taper a little earlier so less of the handle sticks out the mallet and go to a flat at the bottom rather than tapering all the way to the end.
I tapered to my line using the jointer. In fact, if I did this again, I would probably do the taper on a piece of thin scrap, and then use the router with a flush trim bit to match the exact taper on both sides. Once the handle was tapered how I wanted it, it was a simple matter of laying it on the middle piece of the head and marking where it should go. Then, I just used the miter saw to cut to the marks. That said, for this kind of cut, it makes it dead simple to get perfect, since you can bring the saw down to the work piece, while powered off, to line up the cut.
This can be done Second Hand Woodworking Plans Zip on a table saw with a miter gauge or a hand saw as well, of course. Prepare material for head to required size. Prepare handle material to required size. Attachments mallet mm drawing.
Mark centre line along face, measure 15mm on each side at one end. Join from the top corner to 15mm to form the tapering lines and plane off. Square centre lines around mallet head. Square lines across mortise gauge lines to give correct size of mortise on each edge of head. The mortise you create will be wider on the top of the mallet, this step transfers the correct shape of the taper you have planed on the handle Gauge thickness of mortise for handle with mortise gauge.
Cut off waste ends of head marked out in step 3 Set out and shape mm radius curve on face, I suggest making a jig from scrap card and tracing it onto the mallet head. Set out and plane faces to 50 mm thick on inside edge of head Set out and plane a 3 mm chamfer around the three edges of both sides of mallet head.
Mark shape of handle on both faces and plane to shape with spokeshave. Mark shape of handle on both edges and plane to shape. Round off corners with spokeshave, files and sandpaper.
Set out and plane or file a 3 mm chamfer. Clean up the head with smoothing plane and a smooth then fine sand paper. The stock is planed to 1" thickness to match the mortise created in the mallet head.
I use a rotary planer for ALL of my thicknessing and planing, and have used nothing else for all my years of woodworking.
The stock is made an extra 6" longer than the handle length so the extra 6" can be cut off and used as a gauge to accurately size the head mortise.
The handle side profile is transferred to the stock so it can be cut to shape. The mallet head mortise is cleaned up and sized so the 1" thick gauge block, created by cutting off the excess handle length, slides easily through the mortise. The mallet head profile is defined, first by cutting the 7 degree head angles with the miter saw and then band sawing out the top and bottom curves.
After the top and bottom curves are cut they can be sanded a bit to smooth them. Chisel a small bevel at the outer edges of the mortise at both the top and bottom.
This prevents any chip out along the mortise as the handle is locked in place or when it is removed. Prior to cutting out the handle shape it is best to measure the mortise opening and transfer the actual measurements to the handle taper where it will be when assembled. Cut this taper just a bit wide and use the disk sander to carefully fit the handle to the mortise.
This the only mission-critical fit, so take your time and get it right! Once the handle has been fitted then the side profile of the handle is transferred to the handle and cut out with the band saw.
The saw cut marks are smoothed with the vertical oscillating spindle sander. All of the edges can have guide marks drawn with pencil to assist with shaping the edges. The vertical oscillating spindle sander is used to do the initial shaping of the handle contours.
The contours have been roughly formed and will be refined in the later final sanding process. The profile of the mallet head is transferred to an end to serve as a guide for shaping. The taper of the sides and the radiused edges are shaped with a 4" angle grinder fitted with a 60 grit disk.
The handle and mallet head have all the surfaces and radiused edges sanded with a 5" random orbit sander fitted with a grit disk. I'm using a sander plugged into a momentary foot switch to do all of the sanding.
|
Fisch Brad Point Drill Bit Set End Grain Wood Turning 3d Oak Woodworking Projects Korea Word By Word Picture Dictionary Workbook Pdf Excel |

SES_REJISORU
25.07.2020 at 23:56:20
Janna
25.07.2020 at 16:53:29
ILQAR
25.07.2020 at 12:35:45