Rockler Router Table Casters 5g,Rack For Wood Turning Tools Zero,Do It Yourself Distressed Wood Furniture - Tips For You
Here is how the supports look finished. Cut out the top corners where the end beams and middle beams are with jig saw. Below I am screwing the partition in to the bottom of the table.
You will also be able to screw into the top support beam as well. Attach the second plywood workbench top the the top of the first plywood workbench top with wood screws from underneath. Be sure the keep screws out of the path of the router channels for the T-Track. At this point the table is all built and ready to use. I am taking it further though to add all the other goodies to it. Cut out table saw hole with circular saw and jig saw. Measure out the size of your table saw top and cut it to fit that size.
Use tape to protect the edge of the plywood. Cut out corners to wrap around the legs. Assemble shelf and supports with screws. Cut out hole for table saw dust to fall into. That way the table saw still has something to sit on.
I jacked up the shelf and clamped it in place so I could screw it in underneath. I also squared it off and screwed it in through the partition. Rout out miter gauge outfeed channel in workbench top. Rout it long enough to get the miter past the blade of the table saw. You want the channels to be deep enough to keep the top of the T-Track flush or just below the surface of the table top. See top view of table for layout of channels.
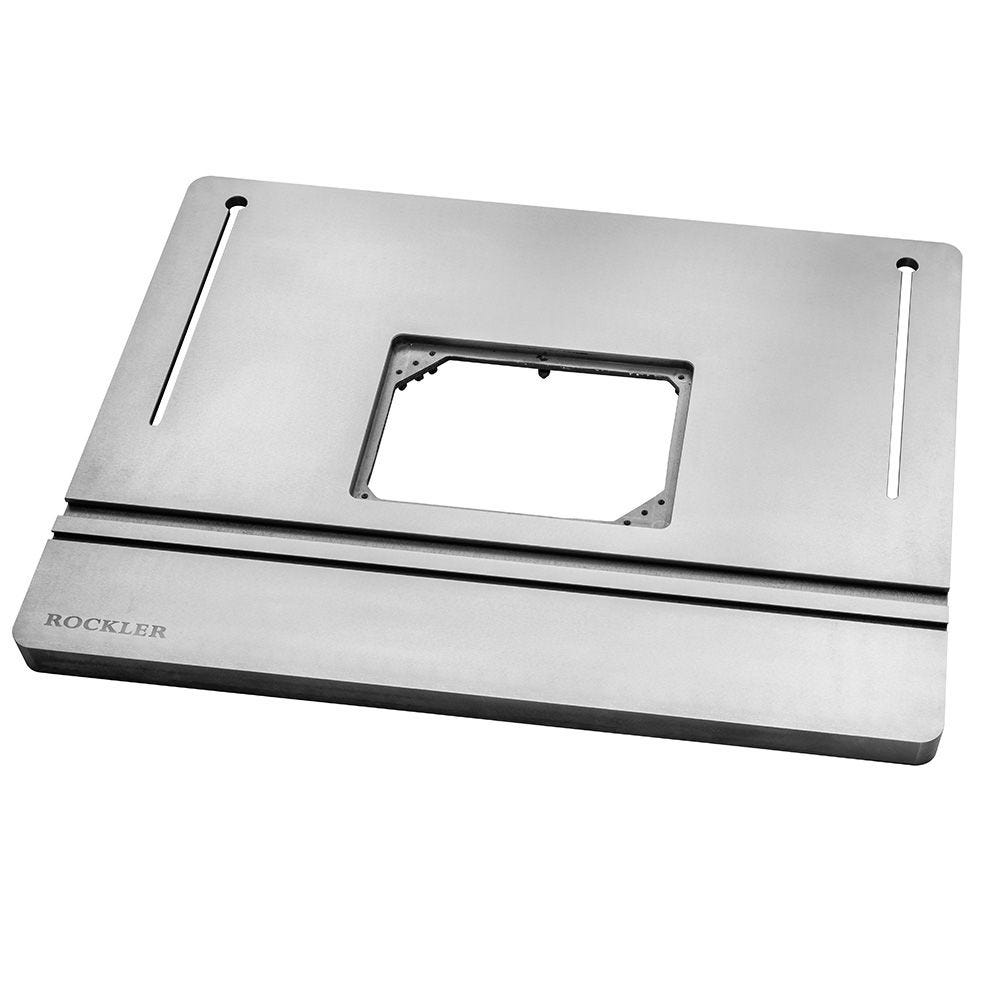
This is where the T-Track intersections will go. Cut out router lift hole with router at the depth of the lift plate. Start routing in the middle and work your way around in circles until you get to the edges. At the edges I clamped down wood as bumpers to keep my lines nice and square. Sand and polyurethane table top.
I sanded with grit sand paper. On the outside edges I used an orbital sander to remove all the print on the boards and level the two top layers together. After I sanded I brushed in four layers of scratch resistant polyurethane. I also sanded with grit sand paper between coats. I wanted it to be a really nice smooth surface. I started with the intersections then cut the T-Track to length with a metal blade on the jig saw. This part was fun because it was all coming together. Level the table saw with shims.
I gave myself some wiggle room to be able to shim it up to the right height of the table top. I got it nice and flush with the top. Install router lift adjustment screws. I installed four of these adjustable screws around each corner of the router lift for fine tuning the lift to the table. I had to go to the hardware store and pick these up. Once these are installed, all you need to do with this screw is reach under the table to level out the router lift flush with the top of the table.
You should only have to do this once when you first install the lift. Here is a picture of the screws and how they are installed.
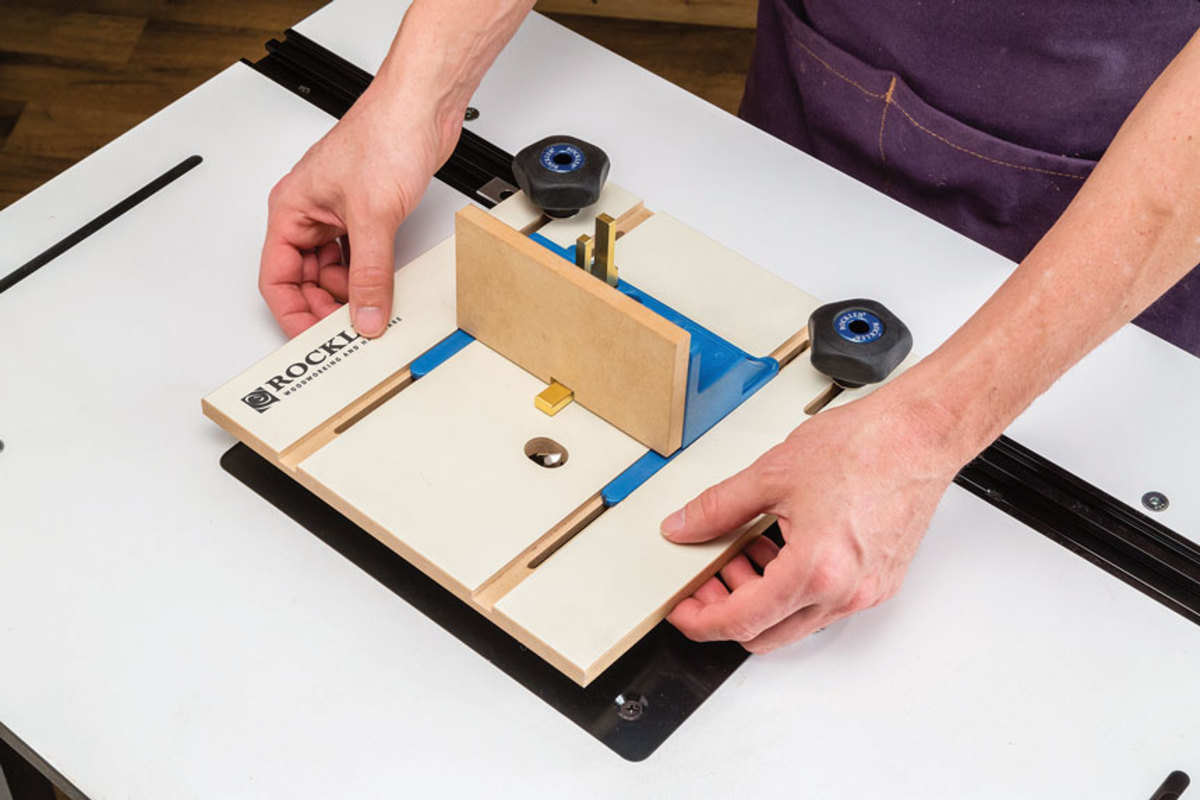
Drill a hole for the nut and screw it in with an Allen wrench. Then reach under and make the fine tunes adjustments to the level of the lift. This is a longer version of the two screws that came with the lift. I added the nut to a longer screw that matched. The nut gets hammered into the bottom of the table, so it would clamp the lift on really tight. This is how it ended up. Nice and flush. I clamped the vise in place and pre-drilled the holes to make it easier to screw in. Build a block for the the vise.
Glue them together. Drill three holes for the three bars of the vise to slide through. Sand and polyurethane the block. Remove the two big nuts at the end of the vise. Install the block of wood you just made over the three bars of the vise. Now I need to take the time to find out what tools go where and customize the spaces under the table for them.
I also have plans to build the doors like I mentioned in the design. I will have to let you know how that goes in the near future. Let me know if you have any good suggestions about how you organize your shop and what has been working well. I would love to hear your feedback! Cassity started Remodelaholic with her husband, Justin, to share their love for knocking out walls together.
I have been everywhere around me and can only find treated lumber or cedar post. Love the plan! Does the base have enough strength? Seems to me with only the plywood bottom base, and no cross bracing, there would be some bend in the plywood. I have not seen any bend in the plywood base. I had plans at one time to add a simple rectangular frame under the base for added support. Thanks for asking. I really like the table, purchased the plans to make one. What kind of router works with the lift?
I had to make my own collar. But it is hard to get in and out. I need to explore other router options. Great looking bench, and lots of great functionality! I have searched for some time and keep coming back to this one as the most viable for my space, with some minor modifications for example, I have an older Craftsman table saw with external motor, which will require a different solution for the center support in that area — not a major issue.
The main question I have is about the casters. Thanks for sharing!! The casters I have lock down really firm. I have not noticed any movement when I push things through.
They are great casters in my mind. My saw fence works without the back fence rail. It does, however, only give you access to 4G. It really annoys me that companys are allowed to use the word unlimited and a fair usage policy in the same sentence.
And three reserves the right to suspend your service if they think you are exceeding the expected usage which contradicts the word unlimited. I have been with 3 for 14 years and am quite happy with the service but sometimes the speeds are a bit poor. Also you say you say you will compare deals with other suppliers but only show bt which is more expensive and refer to other websites to check prices so you are not comparing them just bt. This is on my virgin connection at home, I also use about GB via tethering from 3 and virgin mobile in my car as I am a taxi driver and use a tablet.
I have also spoke to three on Twitter and was told there is a fair usage policy of GB which I agree is fair. A few years ago i contacted ofcom about this when i complained about Tesco mobile using the word unlimited but then capping you on a fair usage policy, they told me that if mobile companies use the word unlimited it has to be truly unlimited and they made it law. Load more comments Save my name, email, and website in this browser for the next time I comment. Please let me know by e-mail when there is a reply to my message.
Superfast 2. Fibre Super Fibre. Unlimited Fibre Extra. Fibre 2. EE Fibre Plus. Superfast Fibre Plus. Superfast Sky Ultrafast. EE Fibre Max Ultrafast Fibre.
Full Fibre This supports download speeds of up to 2. It also supports Wi-Fi 6 connectivity It has 2 Gigabit Ethernet sockets for connecting wired devices to your network. Your Comments 26 so far We'd love to hear your thoughts and any questions you may have.
Lex said: December 8, at pm. Jamie said: September 6, at pm. Ken replied: September 6, at pm. Michael said: September 11, at am. Daisy replied: December 17, at pm. Okay, sounds good. Selected UK postcodes with 5G coverage check your postcode. Plug-and-play broadband with no need for a phone line. Available in selected locations. Fibre broadband is delivered through a phone line or cable. No set-up fee plug and play. Set-up fees may apply.
It takes around 2 weeks to install and activate fibre broadband.


|
Oneida Dust Collector Reviews 364 Cabinet Drawer Slides Full Extension Video |

FRIEND_DRONQO
25.01.2021 at 15:17:44
ANAR_Icewolf
25.01.2021 at 17:40:23