Rockler Countersink 2020,28 Inch Bottom Mount Drawer Slides Table,Homemade Woodworking Bench Vise Inc,Woodworking Vacuum Systems 050 - Plans Download

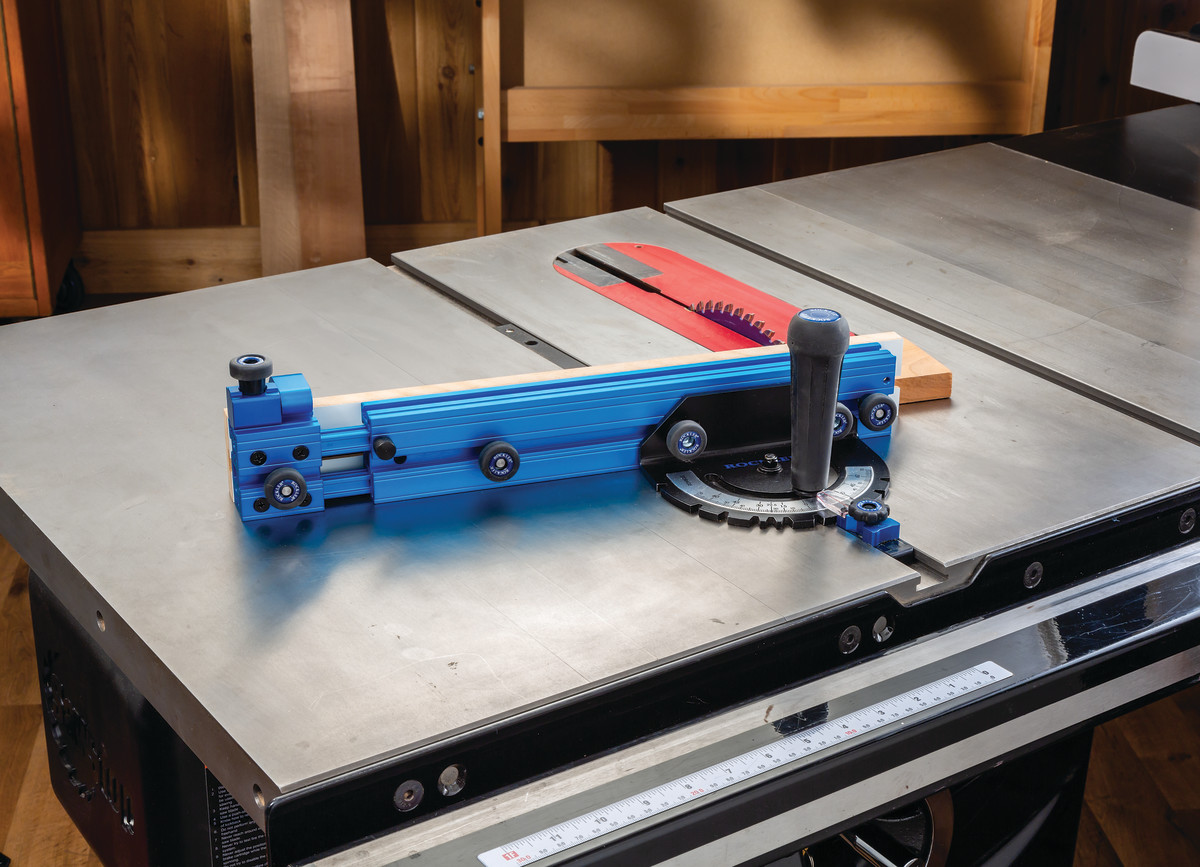
But the jig was originally created for making coves at the tablesaw. This jig was developed and demonstrated in the current Guild Build as part of the Wall-Hanging Cabinet series it was originally inspired by this Wood Magazine Jig.
This video is a little sample of what Guild members are enjoying every week during the build season. If you are interested in joining the Guild, learn more here. Using a different combination will defeat the purpose of the jig. I requested ideas modifications to the jig, and a couple Guild members were quick to off suggestions. If you have a modification, upload it to our SketchUp Library and share the link in the comments below.
The Wood Whisperer is proudly sponsored by brands that Marc trusts. Thank you for making this possible. All rights reserved. Designed and developed by Underscorefunk Design. This site uses affiliate links. Given this, please assume that any links leading you to products or services are affiliate links that we will receive compensation from. However, there are millions of products and services on the web, and I only promote those products or services that I would use personally.
The Wood Whisperer abides by word of mouth marketing standards and holds integrity in the highest regard. Should I ever be compensated to write, I will make full disclosure.
I always give honest opinions, findings, and experiences on products. The views and opinions expressed on this blog are purely our own. Any product claim, statistic, quote or other representation about a product or service should be verified with the manufacturer, provider or party in question. All content on The Wood Whisperer is copyrighted, and may not be reprinted in full form without my written consent.
Necessary cookies are absolutely essential for the website to function properly. These cookies ensure basic functionalities and security features of the website, anonymously. The cookie is used to store the user consent for the cookies in the category "Analytics". The cookie is used to store the user consent for the cookies in the category "Other.
The cookies is used to store the user consent for the cookies in the category "Necessary". The cookie is used to store the user consent for the cookies in the category "Performance". In that situation, the chuck can hit the fence, not allowing the bit to lower into the work piece. With the cut-out at the top of the fence, I can get the chuck a bit lower.
Sometimes I even need to elevate the work piece with a scrap board to keep the chuck from hitting the fence in those tight situations. I picked up my hose at an auto parts store. The idea is just to center the bolt inside the pvc so the nut tightens equally on the Rockler Bench Cookies Uk 2020 rim of the pvc. Hi, thanks for posting this. Did you have to modify your drill press lowering lever to make this fit? Or am I missing something??
It could be that the feed levers on the drill press are longer than most. I do know that most feed levers unscrew from the hub mechanism and that you could shorten them but cutting them back. The other alternative is to trade your press in on another model that would work now that you can see what tolerances are needed between the drill press table and the levers.
I have the same problem. When I attach this beautiful! As I look at pictures of drill presses I see very few which do not have the crank behind and level with the deck. If you move the table far enough forward for the crank to work the fence is right under the drill bit.
I have the perfect solution. Build a tool storage section under the bottom center section of the table that will raise the table high enough to clear the handle. I had a similar problem but the solution turned out to be rather simple. The essentially acted as a giant washer and gave me the additional clearance needed. You might try to loosen the table elevation clamp and swing the table out of the way.
Adjust the drill bit and swing the table back. On most Craftsman drill presses, the elevation handle tend to interfere with the table. One other solution is to modify the table and fence to allow a notch on the right hand side to permit the handle to operate. Good luck. Thank you for commenting.
Another reader sent this in via email. We will pass this information along! Hi guys, thanks for the response! Maybe your way would work too? Thanks everyone. I want to make this table and want to be able to fix the problem as I have the same drill press.
Rockler, no doubt has great products, along with high prices. I have enjoyed the video and made modifications to it. When you have to save up to buy screws to hold pieces of wood together, you have to consider every way to save money. God Bless you all and be careful, I just cut my wrist on a jig saw. There is not a separate PDF, as everything that you should need for this project is embedded directly into the article itself. Let us know if there is information missing that you need for this build.
The cast iron table on my drill press has only one hole in it. Would I need to drill more? If so, how would I go about doing that? Can you tell I am a new drill press owner? The metal table that comes with most drill presses has several slots or holes to fasten a wood platform to it using bolts, nuts and washers. If your drill press has a factory metal table without holes, you could drill some or get creative with ways to clamp or trap a wooden platform to the table.
ZD: My factory table has only one hole, at one of the corners. I am thinking of adding some short boards to the bottom of the custom-made table to form a frame that slips over the factory table. Should be a fun project. This is project is set-up with step by step instructions, and at this time, does not come with any printable material.
If you have any questions on this project, please let us know and we would be happy to assist you. Hope that helps a bit. If you want to print this, in Windows, use Ctrl-p on the keyboard and this will pop up the print process which will send the whole article to your printer. The first picture shows them flush in the back. Hi, Kim. It is not necessary to cut the semi-circle in the table. It is on the fence so that the fence can easily be slid off the rear of the table without interference from the post.
While the fence and table are in use, they are both forward of the post. Useful piece — I was enlightened by the analysis! Does someone know where my company might be able to obtain a template KE P11 document to fill in?
How do I mount the shop made table to a circular drill press table. Hi Aaron. Thanks for your questions. The mounting process should be the same regardless of the shape of the table. As the author describes, he bolted a piece of scrap plywood to the stock table on the drill press, then he used screws to attach this auxiliary table.
In terms of squaring the table to the drill press, first look to see what adjustments are available on the drill press itself, then use shims underneath the auxiliary table to make any additional adjustments that are necessary. Good luck with the project! I made the Drill Press Table … a wonderful addition in my shop. All 4 threaded inserts align with the slots in the drill press table, but I normally only use two at a time.
Quick detachment, especially when I often switch Rockler Sure Hook 360 2020 from wood work to metal work, and prefer to NOT get oil and metal residue on the lovely wooden table. I built this table from your plans…. Thanks for the project!! I just completed this cool table to go on my new Wen Drill press. To attach it to the table I sat the table on the metal plate and centered it with the laser in the middle of the replaceable plate, then traced the 4 oval slots on the bottom of the wood table and inserted Rockler T-Track and used 4 bolts in the track to hold it down.
This makes it easy to remove in the event I ever need to. I built your drill press table and it works quite well; Much better than my previous one. GREAT plans! I made some changes which may interest you: 1. I was afraid the insert-removal finger hole would get in my way. Therefore I drilled a 1 inch hole in the lower plywood layer beneath the intended insert. A dowel and a light tap from beneath the table pops the insert out.
While assembling the upper and lower plywood layers after the insert hole had been cut , I laid one on the other and drew the outline of the insert on the lower lawyer. I extended the drawn lines a couple of inches as guides and covered the insert area with blue masking tape. I glued up the area as you did but without worrying about getting glue where the insert would eventually go.
Once the upper and lower layers were glued up and dry, removal of the tape revealed a clean no-glue zone. I have to remove the woodworking table quite often for metal work and pulling or replacing the mounting bolts was a pain.
No one is going to look under there! Two clamps were used so that only one turn is required of each to tighten or loosen the clamps allowing quick and easy removal of the table.
Second thoughts: I should have offset the insert an inch either right or left. I thought of this too late to incorporate it. I also had some ideas of my own to add.
It also provides a nice space to store bits and small parts. Make the top of the riser box extra wide to allow securement of the new table to it. Carriage bolts attach the bottom of the riser box to the metal table via the slots already there. Incise the tape with a sharp knife along the margins of the hole with the boards aligned, then remove the excess before gluing.
After gluing, peel-away the tape to leave a clean bottom. If you use screws instead of nails to hold the pieces together during the glue-up, they can be aligned temporarily and separated again as needed here, and below. Cut extra inserts from the same stock as the main boards to ensure identical thickness when a new insert is eventually needed.
Bolts can be inserted up through slots cut in the flanges of the top of the riser box to securely attach the box to the table. Make sure the T-nuts are located outside of where the T-tracks will be inserted in the top. Insert bolts up into the T-nuts during the gluing to ensure glue stays out of the threads. Wooden bow-clamp cauls can ensure adequate pressure for gluing without pressing up on the temporary bolts. Thanks for some excellent suggestions.
Hi Marc, The clamp hold-downs for the fence can be brought back to the rear edge of the fixture. The cut-out for the fence assembly allows you to approach the shaft and then remove the fence from the backside if necessary.
I am sorry you are having trouble downloading the plans for this table top. Please try hard refreshing the page or try using a different browser. If you are still having trouble downloading the plans please contact our customer service team at and they will assist you. Why is it there and what does it do? When the insert gets full of holes from the drill bit penetrating your project piece you can replace it with a fresh one.
Also, if you are using a sanding cylinder as pictured at the top of the article, you can remove the insert and lower the sander below the top surface allowing you to sand right to the bottom of the workpiece, as well as allowing you to use a fresh part of the sander.
Looks like a pretty good design. A testament to a great add on for any woodworkers shop. This table has been in the making for 4 years now. I just completed building my second one with a bunch of modifications.
Well done! Love this design, I am considering using it myself. Could you please tell me how you cut the radius out of the two corners without damaging the rest of the plywood? If I were to use a router and circle cutting jig, I would have to make holes in the plywood and there is a chance I will go too far and cut into the straight pieces beyond the curve.
Hi Shaun. Leave the line, and sand to the line after the cut. Really impressed by how straight you can cut. Is there a way to accurately cut out the bit which takes replaceable inserts where the drill comes down? NB Ticket We are convinced you will enjoy the benefits of becoming a member and having access to the best instructional how to videos and professional tips.
We would like to offer you a special promotion for your first-year membership. Shaun, you could clamp a piece of wood to the table to use as an edge guide for your jigsaw to keep the line straight.
When I try to click on the images an error message pops up saying that the images cannot be loaded. Could you please look into this?

|
Sharpening Carbide Woodturning Tools Psi Lathe Chuck 450 Taytools Jointer Plane Review Example Kitchen Wood Work Cost |

ERDAL_23
14.04.2021 at 17:53:32
Anjelika
14.04.2021 at 16:25:56
VersacE
14.04.2021 at 16:14:48
Die_Hard
14.04.2021 at 15:18:20