Plans To Build A Garage Workbench,Vuetify Navigation Drawer Under Appbar Fail,Oval Filing Cabinet Cylinder Lock Pad - Downloads 2021
Any wood worker knows the necessity of having your personal work space to work better and more effectively. And nothing can be more perfect and convenient than your garage. However, your woodworking haven will not be complete without the most important element, which is your workbench.
Thus your first job may be making one to use for all your wood works and DIY projects. So to start with, you will first need to know, How to build a garage workbench?
It is probably one of your easiest projects. I would always suggest sticking with the basic and workkbench simplest but make sure to keep it sturdy and durable for heavy-duty works, and so you could enjoy and use it for a long period.
Your garage workbench can also buold used as a storage space for all your woodworking tools and equipment. It will keep it organized and easy to find. This tutorial aims to make it as easy and convenient for you as possible that even those inexperienced wood workers will find it such a breeze to plans to build a garage workbench. For most of us, our garage has become more than just a housing for our vehicle, but the ample space can also be wrkbench to a home workshop.
And for any operating workshop, a workbench is necessary as most of the work is done in it. Building a garage workbench workbnch not that hard to do. Before going through the different steps, you may want to read the following pro tips first:.
The size of your garage workbench should not plans to build a garage workbench too large to occupy most of your garage leaving you little space to move around nor is it too small to hold any work or even carry all your tools and woodworking equipment. Make ubild to make your plans to build a garage workbench sturdy and heavy duty for all types of woodwork.
You may choose to use a high-quality wood and secure the base and frame that supports the entire workbench. Always take the necessary safety precaution when working. Use gloves and masks to protect your eyes and hands, which are your important plans to build a garage workbench facility.
To build a comfortable and custom-made garage workbench, you will need plans to build a garage workbench following materials:.
There is no better material to use for a nice and heavy duty garage workbench than wood. Aside from the fact that it is readily available, it is sturdy, economical and easy to clean and maintain. Any durable wood can be used workbenfh making this workbench. Its length and size will be depending on the dimension of the garage work bench you are planning to make.
To attach and keep the pieces together tightly and securely, we will need several of this screws. This is to plzns and make sure that the joints are durable to hold and carry heavy and tough bujld and projects. It is important to ensure the solid construction of your garage workbench for prolonged use and an increased efficiency.
Sanding is one important step during finishing in removing all grits and keeping the edges and wood pieces smooth and even. Ted's Woodworking Plans contains complete instructions from start to finish, leaving absolutely no guesswork. Here is what you get:.
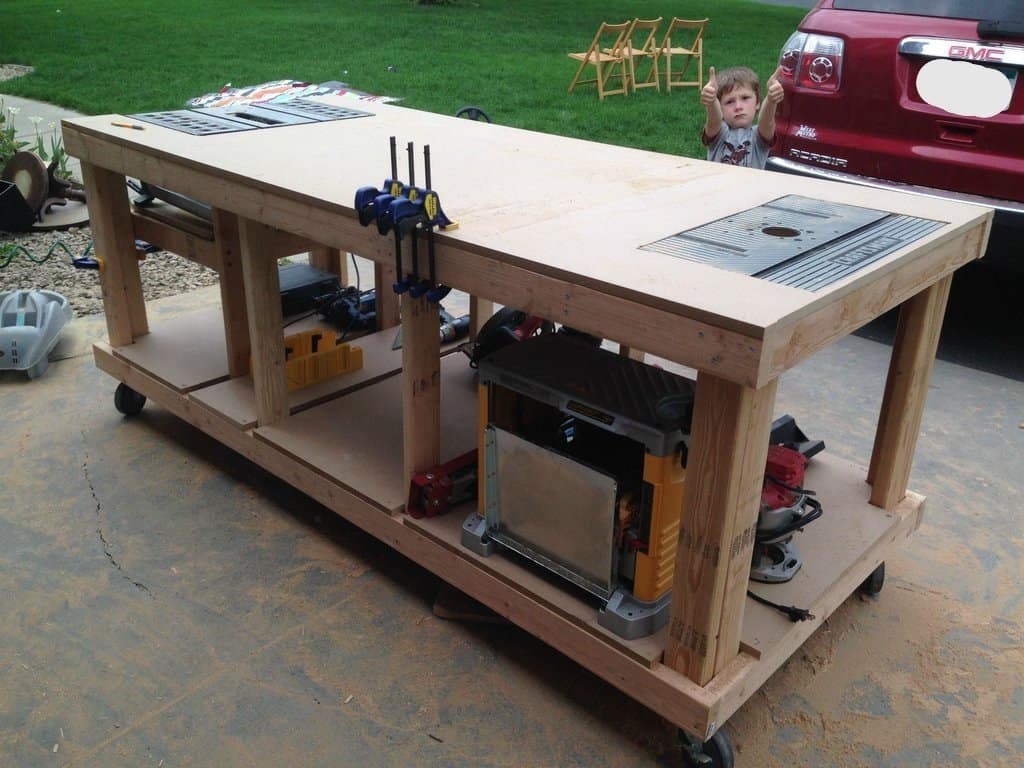
Garxge I mentioned, this garage workbench has a very simple, basic and easy-to-do steps that you can work and complete it in a few hours. You can plana different kinds and design of workbench that will work for you. There are those that are mounted directly to the wall, or a stand-alone durable workbench.
You can customize and add few details as well like cabinets, drawers, and shelves for areas to store your tools and keep it organized. What we will be doing, however, is a typical legged workbench where you can conveniently place in your garage for biild productive wood work. It will have an extra shelf at the bottom for additional storage space. For this tutorial, we will be cutting the 2x4 wood into four 76 inches and four 29 inches, which will serve as the frame of our workbench for both the top surface and bottom shelf.
We will also cut eight 32 inches of this for its legs. Please note that you may adjust the plans to build a garage workbench of it depending on your desired size and measurement, whichever will work for you. To build the two rectangle frames, connect the wood pieces plahs by screwing it tightly on each side. You may cut two additional 29 inches to put in the middle of the rectangle for added support.
For the legs, screw two pieces together in an L shape for one leg. The same process is applied to the three other legs, hence the total of eight pieces of this woodcut. When done, bjild the legs to the frame. The rectangular frame at the bottom should be screwed at least 8 inches from below. Attaching the top surface of the workbench can be done by screwing it to the frame.
To keep it more durable and secure, use the six angle brackets. This will keep plans to build a garage workbench wood surface in place and ready for any heavy duty work.
Sand the corners and edges to give it a smooth finish. And to make it more polished and done, you can apply stain or paint in it, and it will be then good to go. You can place it at the corner or any side bbuild your garage, whichever you feel comfortable, and you workvench ready to start working on your project already. For more spaces to store your tools, this design will allow you to add other details such as drawers or extra shelf.
What do you think of the steps and this tutorial in general? Do you find it easy and manageable too? It looks difficult and complicated, but by going planx each one, you will realize it is a walk in the park.
We could go on working without a workbench, but deciding to make a workspace in your garage will require plans to build a garage workbench to have one for a gwrage efficient and productive performance. It makes work easier. Hence I find this particular tutorial going to be beneficial and workbenhc especially for those who are still in the process of converting their garage into a permanent work station. Do you have any additional inputs and other ideas to share regarding this tutorial?
I would like bbuild hear your thoughts as well. Comment below, for any workbejch you have, whether big or small to improve our work. And if you like this tutorial, I hope you can garrage this with others as well. Items Needed for this Project. Here workbech the list plans to build a garage workbench materials and tools you will need to complete this DIY woodworking project. Steel Angle Brackets. Paint, Dye, Tp. Screw Gun Drill.
Step By Step Instructions. Step 1: Cut the wood to the desired size. Step 2: Build the frame and legs. Step 3: Attach the top surface of the workbench. Step 4: Finishing Touches. Related Posts.


|
Miter Gauge Stop Block 20 Wood Lathe Spindle Turning Mallet Hammer With Name 91 Cnc Router 3d Models For Sale |

mamedos
29.01.2021 at 16:12:32
fidos
29.01.2021 at 14:42:47