Mr Sawdust Radial Arm Saw Table Plans Your,Best Tools For Staining Wood User,Hinges Hardware Inc Kr - Plans Download
mr-sawdust-radial-arm-saw-table-plans-your
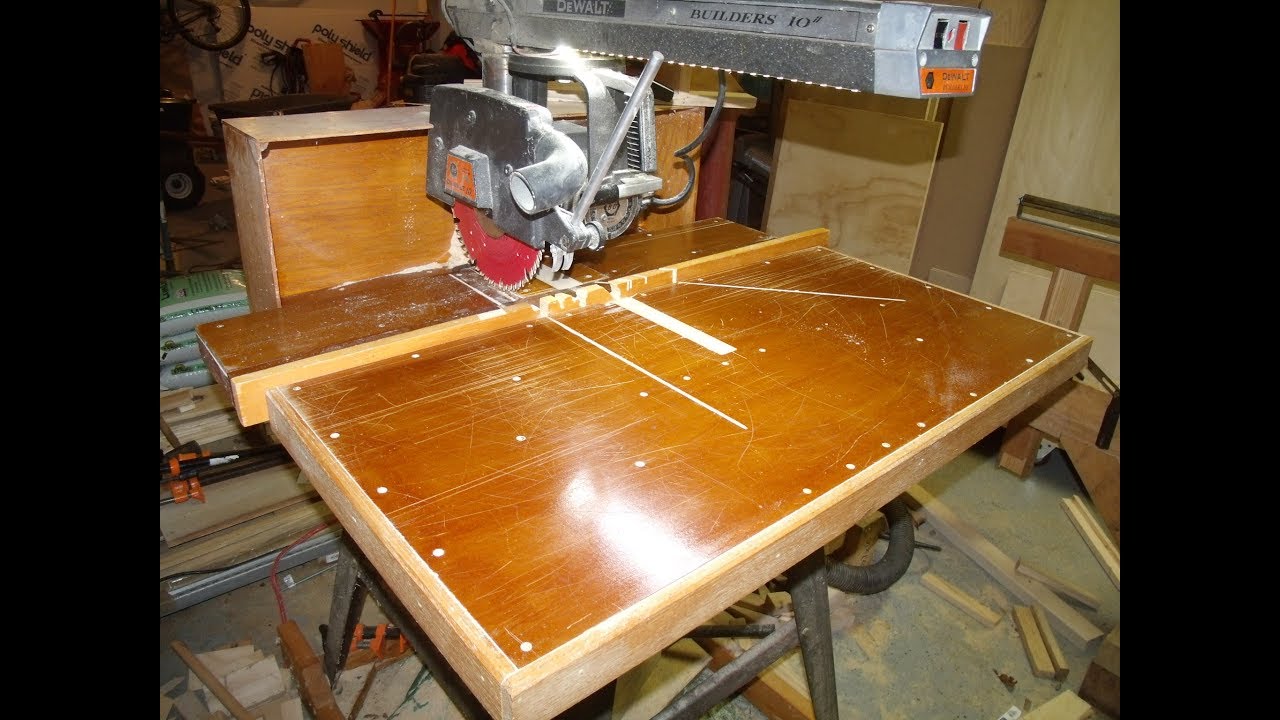
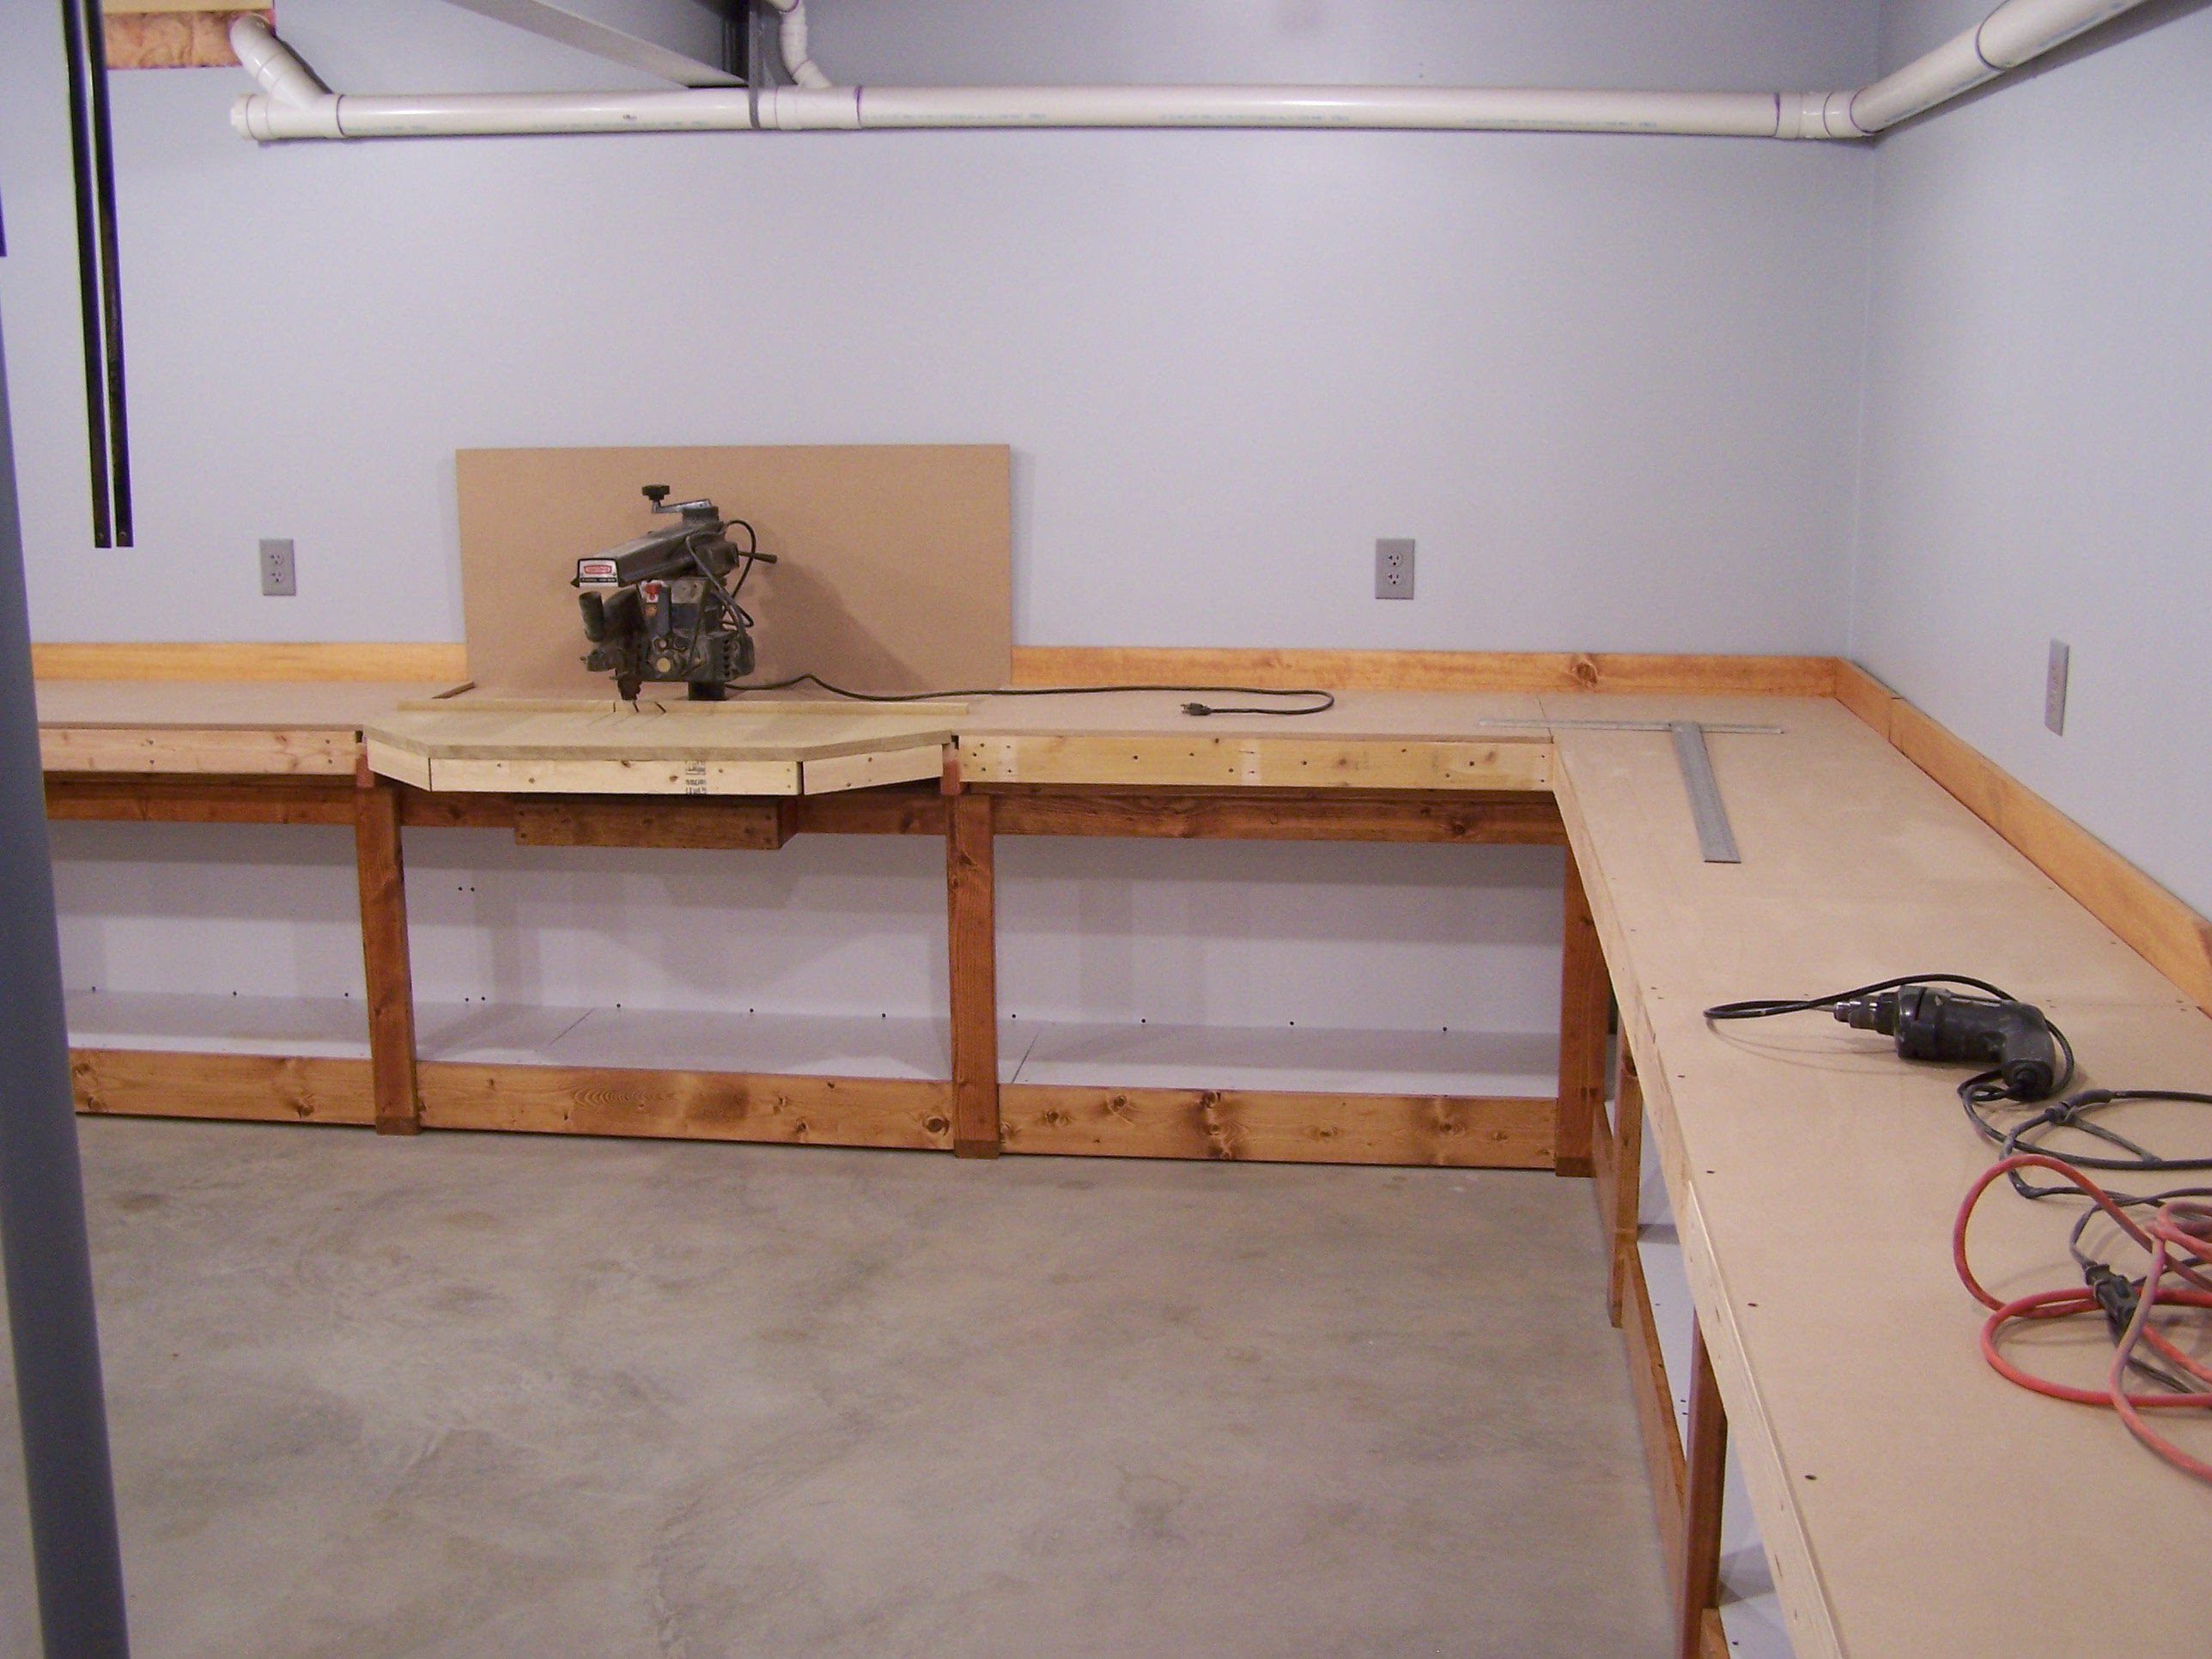
Mr. Sawdust presents the definitive how-to guide to mastering the radial arm saw. From basic to professional with over detailed drawings and illustrations - including how to turn an old, used DeWalt into a precision instrument. Wally and Merle have purchased a property in Hackettstown, NJ and plan to renovate it for the future home of the "www.- t School of Proefessional Woodworking." It has been his dream for quite some time. www.- t would be thrilled! We will leep you posted! February 20, Winter is hanging on in NE Pennsylvania! Great time to spend at the workbench-or planning projects for spring. Hope you have a copy of "How to Master the Radial Armsaw" opened on your bench! September 4, Be sure to visit www.- t on Facebook! February 4, Radial Arm Saw Table Alignment -- an Easier Way: Mr Sawdust Radial Arm Saw Table Plans Table This is my 10" Craftsman Radial Arm Saw, vintage. It is very important that the arm is exactly 90 degrees to the fence at the back of the saw table. Note the square. Custom MFT/Table Saw Extension Table. Mr. Sawdust Presents "How To Master The Radial Arm Saw". Mr. Sawdust presents the definitive how-to guide to mastering the radial arm saw. From basic to professional with over detailed drawings and illustrations - including how to turn an old, used DeWalt into a precision instrument. Workshop and Jig Plans. Make your woodworking shop more productive with these project plan downloads. From hand tools to power tool accessories and workbenches, you're sure to find a plan for your shop. Setting Up a Radial Arm Saw. This is my 10" Craftsman Radial Arm Saw, vintage. It is very important that the arm is exactly 90 degrees to the fence at the back of the saw table. Note the square. Pull the motor along its travel and see if the blade teeth follow the edge of the square exactly. The photo shows the blocks with their screws mounted in place under the saw table. The tips of the screws rest against the frame of the saw. With the table hold down screws loosened (Step 5), push the table forward so the screw tips rest against the saw frame. Tighten the hold down screws slightly. Secure the fence against the front edge of the saw table.


|
Drawer Slide Replacement Parts 04 Vise Grip Clamps Woodworking Factor Woodworking Turning Kits Group |

H_Y_U_N_D_A_I
06.07.2021 at 23:57:57
Naile
06.07.2021 at 22:26:46
NeznakomeC_23
06.07.2021 at 20:11:10