Making Wooden Boxes With Secret Compartments Guide,Good Woodshop Projects,Pocket Hole Jig Ideas English,Ulmia Jointer Plane Mac - PDF 2021

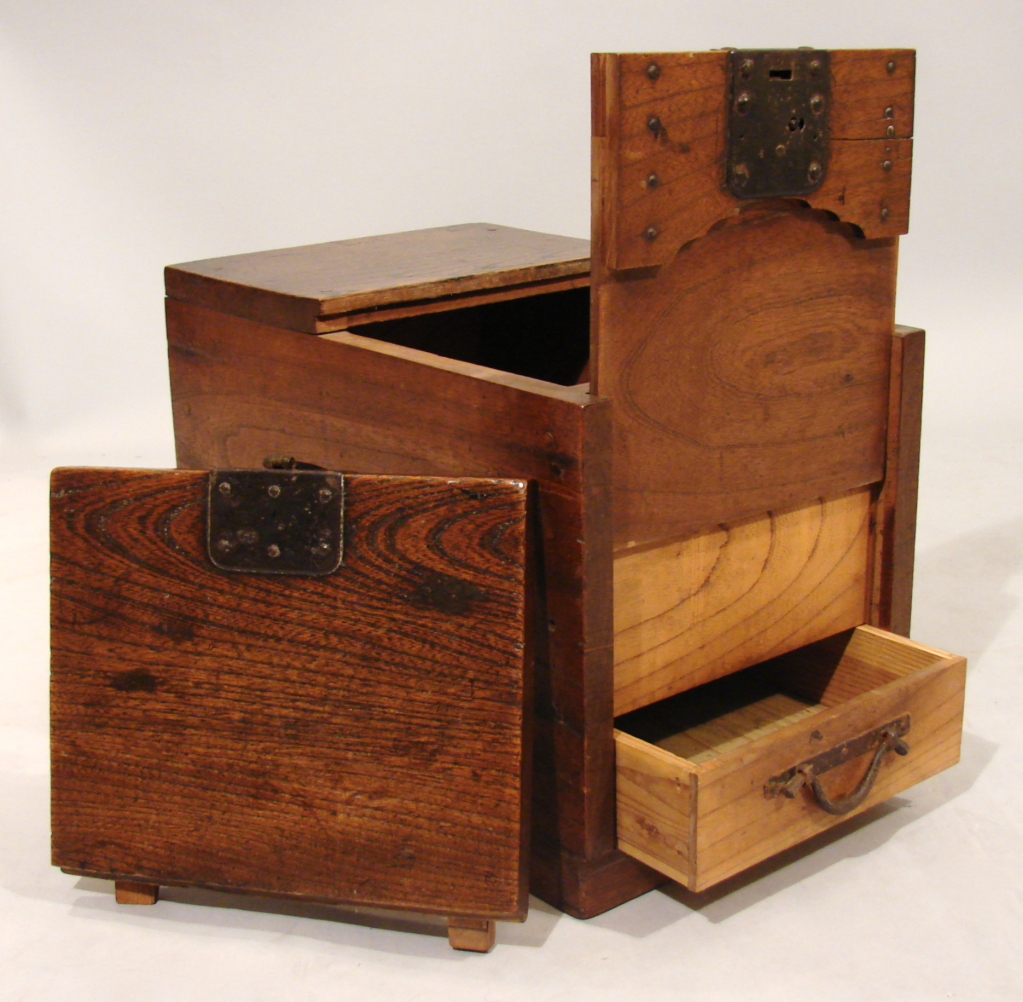
Bruce Wayne hid the entrance to the Batcave behind a bookcase, operated by a button hidden in a bust of Shakespeare. Ever wanted to make your own? Here at instructables. This guide features 16 projects built by our users made to keep your stuff safe and hidden from view.
From hidden rooms behind bookshelves to secret compartments in furniture, hiding your stuff has never been more fun! You could dig a hole and bury your stuff, or build an Arduino-powered secret knock detecting lock to stash your stuff.
Why not try a few of these projects the next time you've got some secret stuff you want to stash? Batcave plans not included. I've had this idea for a jewelry box with a secret compartment rolling around in my head for a few months. There are no metal mechanisms, all movement is caused by wooden springs activated by an unassuming key.
I used a Walnut for the sides and Curly Maple for the back, front, top and bottom. The key is made of Ebony. The amount of lumber needed will depend on the size of box you intend to build. You will need two blocks, roughly the same size, for the sides and thin stock for the back, front, top and bottom.
Using a bandsaw, slice off the two sides of block you intend to have the secret compartment in. Mark them with pencil so you don't mix them up.
I use a the triangle method. With the two large sides cut off, cut the other short side to the same thickness. Mark them with a pencil as well and lay them all aside. The remaining block you have will make up the top of the block and the secret compartment itself. The extra cut off will give you room for the pop out spring mechanism. Using a wood glue, glue the pieces back together lining up the woodgrain and your marks as best as you can.
Clamp it together and set it aside. Using a router or a chisel, cut a groove in to the side of the compartment, this will hold the spring to lock the compartment in place. Cut a small piece of wood along the grain and sand a slight taper on one side. Glue the taper in to the groove you cut to make a wooden spring. Once its fully dry, drill and chisel a hole into the block. This will become the hole for your secret stuff to be hidden. I offset my hole away from the wooden spring so i had room for the pop out spring to push up against it.
This is very similar to the locking spring, but it will have to be sized to fit in to the top of the compartment housing. Measure the depth of the cut out and subtract your hidden compartment, this is your window to fit your mechanism. Cut a small strip of wood along the grain, sand or cut a taper on one side, glue it to a block of wood that will fit in the gap you have at the top of the housing. Once you have it cut to size, glue it into the top of the housing.
Now use a small chisel or carving tool to cut a lip on the inside of the housing. When the secret compartment is pushed up into the housing the locking spring should click into the groove, keeping it in plane and not letting the pop out spring push it down. This may take a few tries to get right but take your time. Don't make a key yet. Because of the cutting done on the housing, your two end pieces will be different sizes.
Cut the two blocks so the are the same size at this time. I used a router to cut a small Making Wooden Boxes With Hand Tools Limited grove in the end blocks and glued and clamped the front, back, and bottom in place. Any method you like can be used to assembly the box, it spend on your application. Mount the lid to the box with hinges. This should be on the inside of your box, near the bottom. Using a small piece of wood, or other object should you so desire, line it up against the nail and mark it so you know the location of the nail.
This should like up exactly with your hole in the housing. Mine registers against the bottom and front of the box so its very easy to line up. I've burnt my initials into the bottom of the box and the key to give a slight clue on how to reveal the secret.
Once your box is complete and you've made any adjustments that need to, you can finish the wood and bring it back to life. Sand your box with , or higher, grit sand paper and apply stain of finish. This box was finished with Beeswax and Mineral Oil. Thank you for sharing this. I learned something new from almost every step, and I particularly like your wooden spring concept and key.

|
Lie Nielsen Jointer Plane Ebay App Diy Wood Burning Tool 2019 Best City For Woodworkers Limited |

Nigar
16.08.2020 at 12:19:28
krassavitsa_iz_baku
16.08.2020 at 21:22:32
Playgirl
16.08.2020 at 10:26:55
Sevka
16.08.2020 at 19:43:53
Ramin4ik
16.08.2020 at 15:53:43