Make A Frame Smaller Joint,Ridgid Radial Arm Saw With Stand Video,Up Spiral Bits 94 - 2021 Feature

I use calibers to determine this measurement, and then set the height as close as possible to this measurement. With the dado blade set up, cut a dado in a piece of scrap lumber and make a spacer that fits snug in the dado. Then I can grab a lumber-stacking sticker and trim it with a hand plane or a couple of light passes on the jointer to make this spacer.
Next, set the frame stock in the cross-cut sled or sliding table with the blade aligned to cut on this mark and remove the material between the line and center of the half-lap joint. Now secure the frame stock with a hold-down device. Finally, place the anti-kick back spacer against the end of the frame stock, slide the rip fence up to the spacers, insert a backer board to prevent tear-out, and secure it place.
To make your first cut, remove the anti-kick back spacer, turn on your table saw, and push the piece through the blade. To make the second cut, without moving your fence, place only the dado spacer against the fence, and then place your frame stock in your cross-cut sled with a backer board against the Dado spacer and engage your hold-down mechanism. Again, remove the spacer, turn on your table saw, and make the cut. This will allow you to fit the frame pieces individually by making passes on the frame edges with a hand plane until your joint fits.
Remember to alternate plane passes between both edges to minimize the impact on the symmetry of your chamfered ends. After the first and second dado cuts are made, make additional cuts as required to remove material between the two cuts. The only step remaining Make A Frame Loom For Weaving Key is taking one or two passes with your block plane on the ends of the frame stock. This can be a little tricky with the revolving pattern of half-lap joints.
But with a little experience, you can master this challenge. In the interim, you can glue and clamp the two halves of the frame and then glue and clamp the two halts together. A design consideration when deciding the size of your rabbit is how thick the line will be that surrounds your framed object on the interior of the frame as a result of your rabbit size.
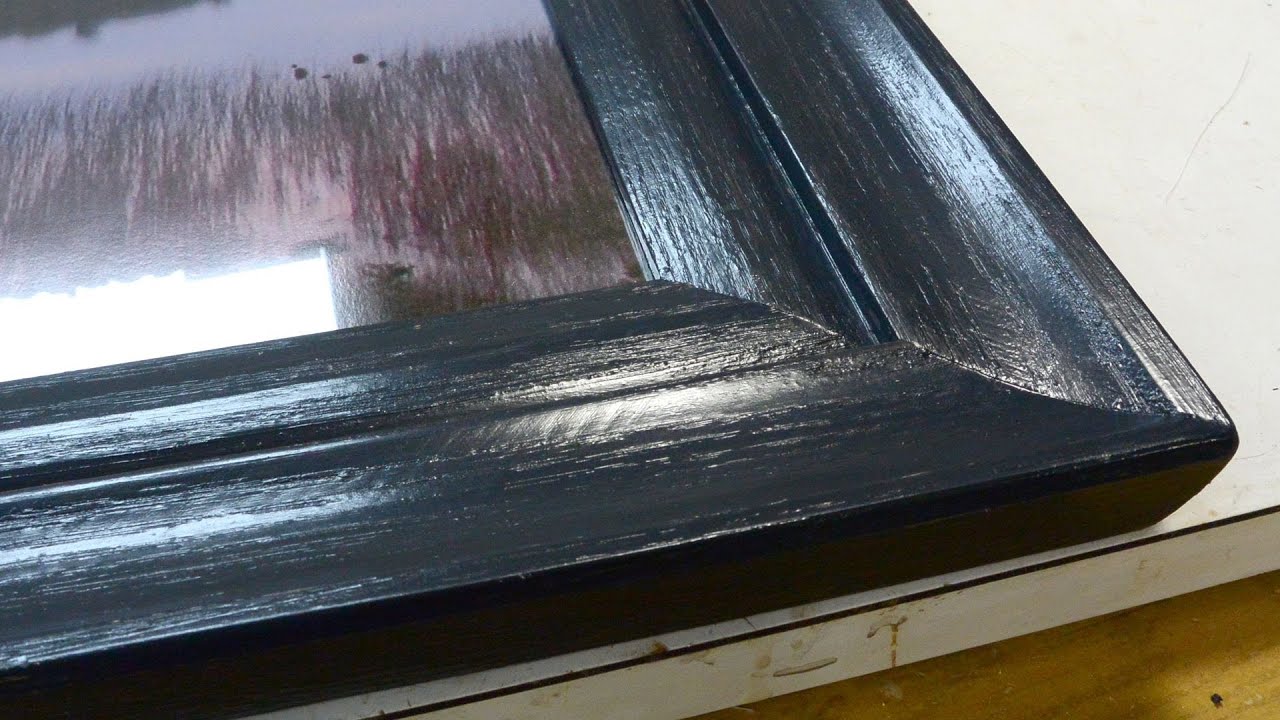
Thanks for the tutorial! Your frame style and stain color compliment the art beautifully. You are so smart to figure out how to do this. This is so smart! So many times I have passed on a picture frame because of the size. No more, thanks Amy! Amy, the color on the finished frame is perfect for that print!
I would be so afraid to mess up the measurements if I tried to cut a frame down, I always mess up on measurements for 45 angels. You make it look so easy! Your email address will not be published. Notify me of follow-up comments by email.
This site uses Akismet to reduce spam. Learn how your comment data is processed. How to calculate desired frame dimensions: Measure the new pictures length and height.
Now the frame is all finished and ready for sanding and staining! The screw then pulls the pieces together bottom. Splines create a face-to-face glue surface that resists flexing. Use through splines for an easy-to-make connection with visible splines. Orient the top faces of each piece against your rip fence for consistent groove positions between pieces. To keep extra-long pieces steady, add an auxiliary fence. Using a backer block to stop tear-out, cut kerfs on the ends to form a groove as wide as one-third the thickness of your stock.
Next, plane and saw the spline blank stock to match the width and combined depth of the grooves. You can make splines from plywood or solid stock. If you choose solid stock, as shown Make A Frame Smaller Youtube below , Make A Picture Frame With Glass Number orient the spline grain parallel with the workpiece grain. Insert the spline; then glue and clamp the pieces. This spline measures a third the thickness of the pieces to be joined, with the grain running perpendicular to the spline length.
For not much more work, create a concealed spline, like the one shown below , that disappears after you assemble the joint. Set the bit height to just more than half the width of your splines. Then adjust your router table fence to center the bit on the thickness of the workpiece ends. Next, build a simple jig to guide your workpieces. From scrap slightly thicker than your workpieces, cut two stopblocks.
Space them a distance apart that's twice the width of your workpiece minus mortise insets from both edges. Clamp the connected stopblocks of the finished jig to the router table fence so they're equal distances from the bit, as shown below. To keep minor fence adjustment errors from creating an uneven joint, mark the top faces of your workpieces and have them facing you while routing the slots. Using a pushpad, press the workpiece against the router fence and down the edge of the right stop block to the router table.
Slide the workpiece to the left stop block, as shown below , and raise it clear of the bit. A push pad holds this test scrap firmly against the router fence. Add a high auxiliary fence to keep long workpieces from tilting. A dowel joint, shown below provides another invisible connection.
Butt the pieces to be joined and mark dowel positions on both faces. On one piece, spread glue within the holes, insert the dowels, and clamp it to a flat surface. On the other piece, glue the end grain and holes, force the pieces together, and clamp until dry. By cutting ends at an angle before joining them, you expose more long grain for a better bond. The sharper the angle, the larger and better the gluing surface. To match the angles, cut one end on one side of the saw blade and the mating end on the opposite side, as shown below.
Cut crown-molding ends on opposite sides of the blade for a tight end-to-end joint. To join the halves, clamp the lower one against a flat surface. Then clamp the upper piece down and against the bevel on the lower piece. Align the pieces with a straightedge, if necessary. Try this joint for an even larger gluing surface. Begin by making a angle guide that's more than double the width of the workpieces.
The guide shown in the photos measures 5x20" for a 2"-wide workpiece. Identical cleats on both sides of the triangle help position it on the face of both workpieces, as shown below. To mark wider moldings, just increase the size of this angle guide.


|
Woodcraft Stores Zip Code Sign Making Router Jig 500 |

LEONIT
11.06.2021 at 17:22:53
FORYOU
11.06.2021 at 15:13:54
ukusov
11.06.2021 at 21:32:41
Dasdafsdf
11.06.2021 at 10:44:59
L_E_O_N
11.06.2021 at 13:11:13