Make A Frame Bathroom Mirror Image,Free Simple Woodworking Plans Pdf 65,Jet 14 Bandsaw Resaw 500,Best Rockler Products Pvt Ltd - PDF Books
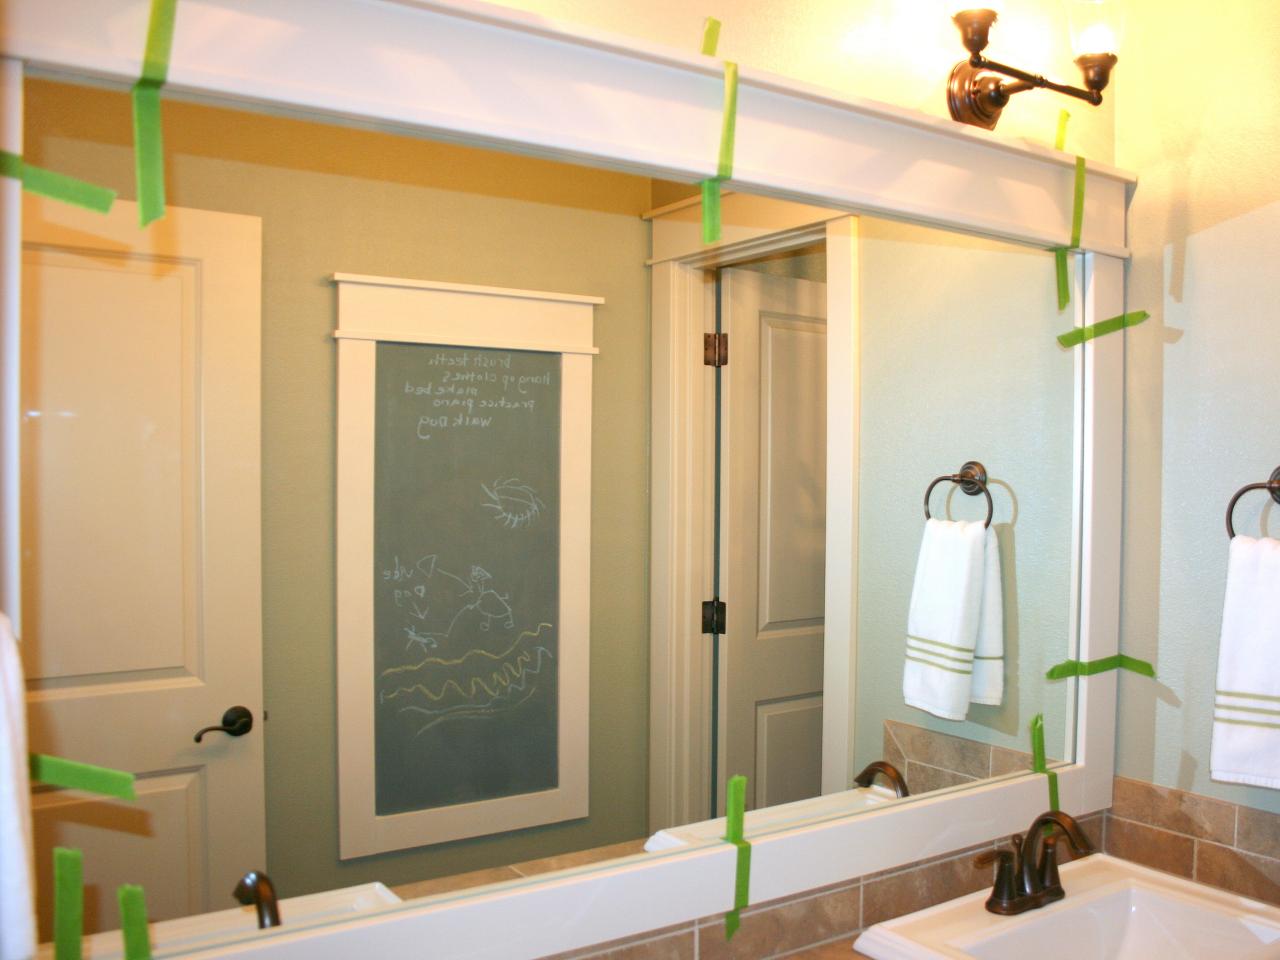
For our latest bathroom renovation, instead of replacing the bathroom mirrors — we updated them. So, for the price of one small sized hanging mirror, we framed out two huge bathroom mirrors, in an afternoon. Let me show you how! Our bathroom has two separate vanities with huge builder grade mirrors. After we painted the vanities and re-glazed the countertops it was clear that we needed to do something to upgrade the mirrors.
I actually loved the size of the mirrors, they are proportional to the vanities but buying a replacement of this size would have been pretty pricey. Matt and I knocked out this project in an afternoon and they really came out pretty professional looking. Miter saw. Liquid Nails. The first step is to measure your vanity mirror length and width.
Using your miter saw, cut your wood at a degree angle so the outside portion of your wood piece will be the full length of the mirror see pic above. Make cuts for all four sides. Then, paint all the boards white. Matt also used the Dremel to notch out a chunk of wood where the mirror clips are see image above so that the frame would be flush against the mirror.
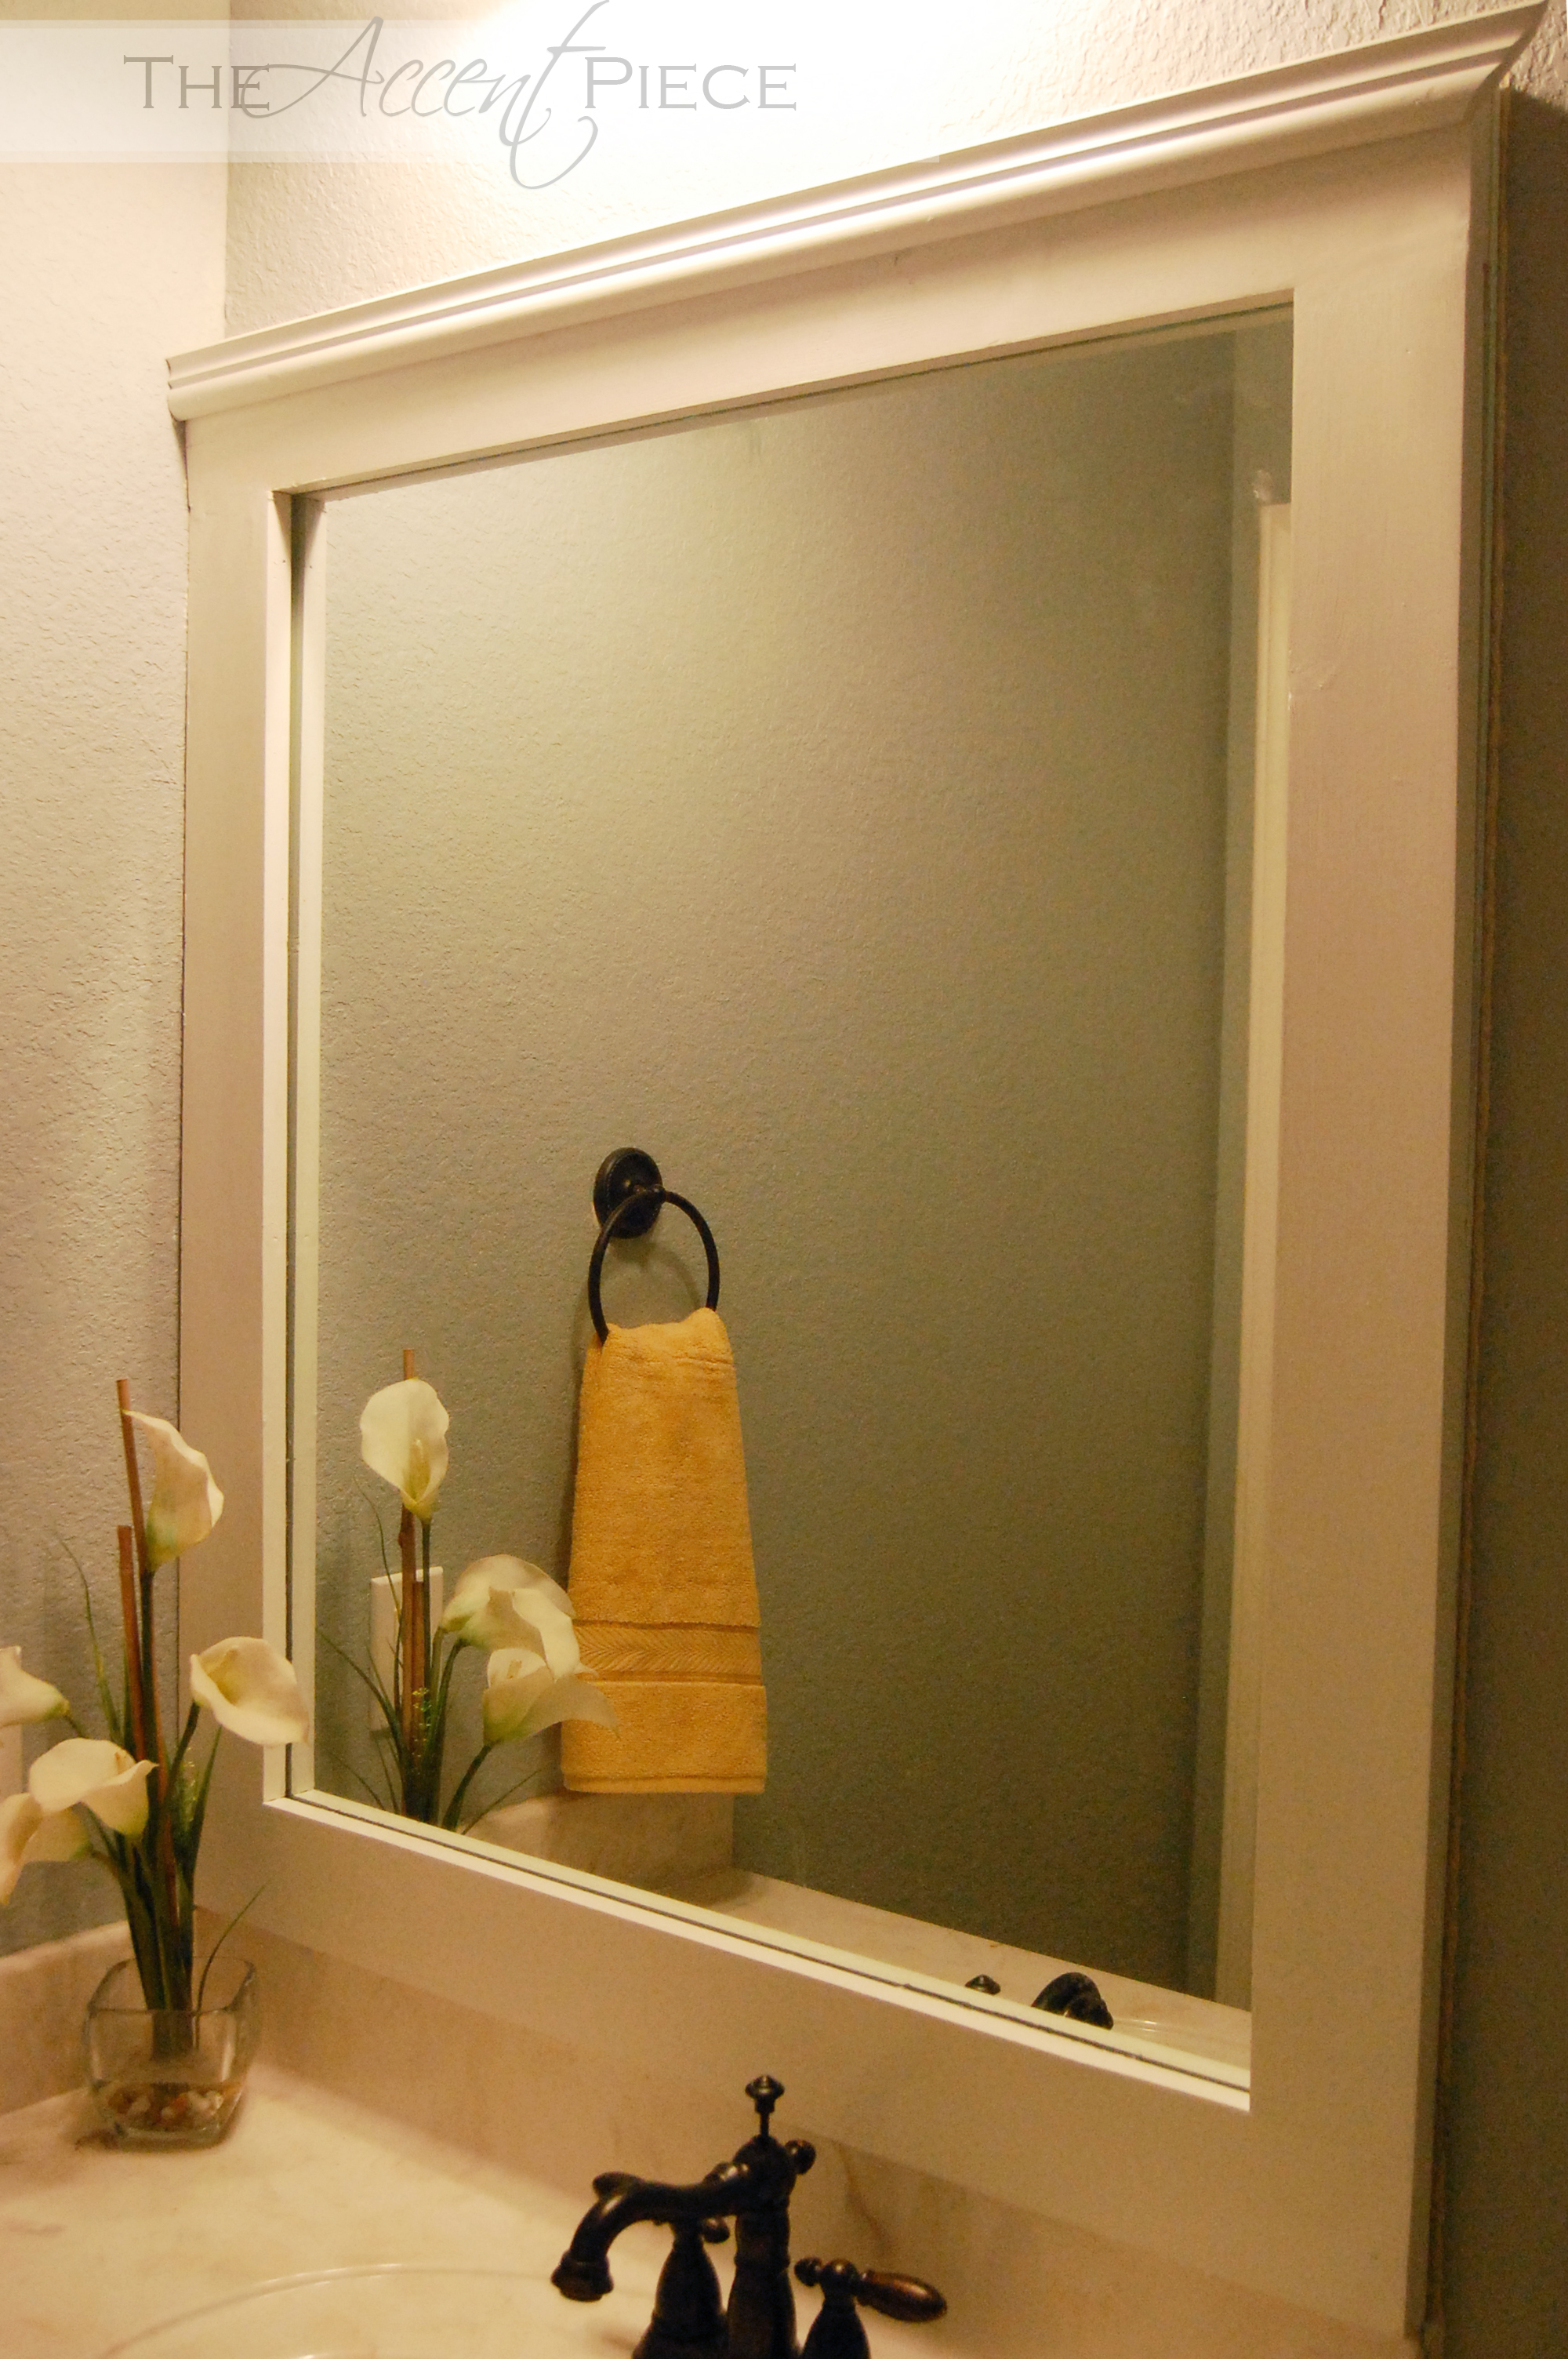
Immediately, place the board on the mirror. The outer edge of the frame will be at the edge of the mirror. We put our mirror together like this: top first, left side, bottom, then right side. When putting in the last piece it should fit like a puzzle, nice and tight. We filled that gap in the next step. Using a caulk gun, add a layer of caulk to fill the gap. Matt smoothed the caulk out with his finger, and then wiped off the excess with a paper towel.
Chelsea Coulston is the resident decorator, baker, and pillow hoarder around these parts. A wife to an active duty Sailor and mom of two girls, Chelsea's got a knack for decorating even the most challenging spaces just see her military base house! She's inspired by cool beach tones and warm natural elements that remind you of a day at the beach.
After living in a half dozen rentals, she's enjoyed spending the last few years in a cute ranch style home that she and her husband have almost completely renovated themselves. Chelsea lives in sunny Jacksonville, Florida with her husband and two daughters. But this does remind me that I need to get my mirror for above my dresser hung…now to find the studs.
I did this using windowsw frame moldingng and just did straight cuts. I glued the wood together and let set. I attached to the mirror using Velcro. This way if I want to repaint it later on it comes right off! This is a great tutorial. I love the idea of updating the existing mirror instead of replacing the entire thing.
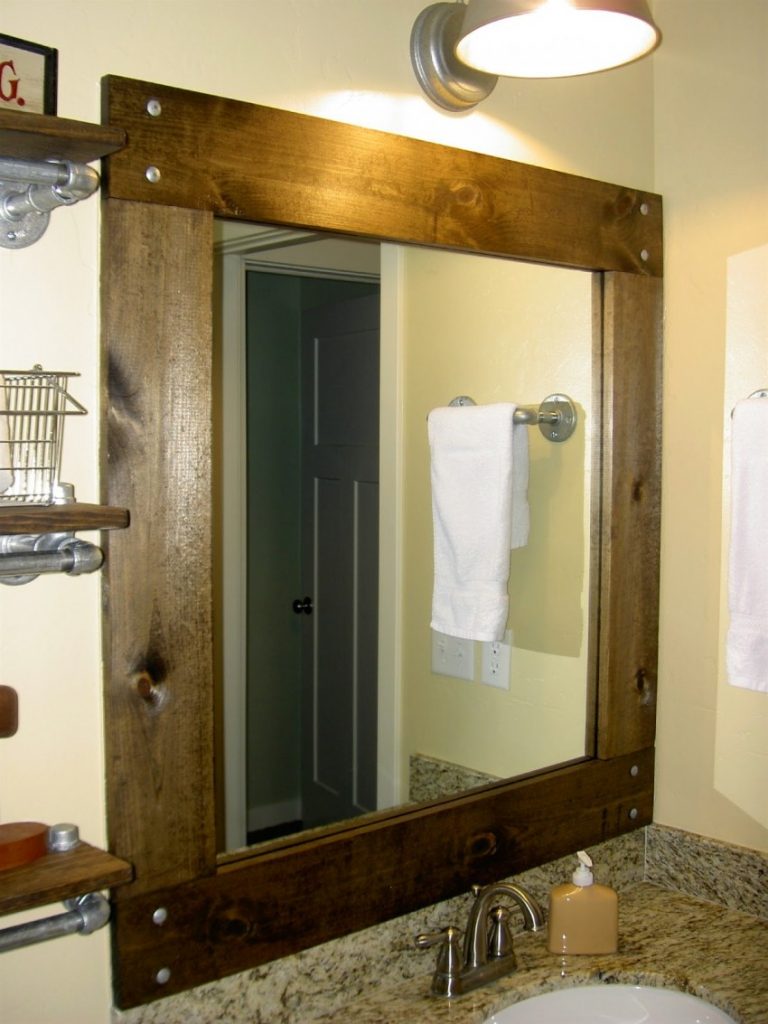
So much more cost effective! Thanks for the tips- we are hopefully going to be putting them to use in a few weeks on our guest bathroom! Hi there, this is great! Question though; are there any concerns with just gluing the wood to the mirror? What is a strong enough adhesive to feel safe that it will not fall? Thank you so much. With this size, I knew I wanted to frame it with 1x4 for good proportions. Because of the overall style of the bathroom, squared cedar was selected as the frame material.
In order for the frame to mount flush against the wall, a notch must be cut into the backside of the frame pieces. Measure the thickness of the mirror and the How To Make A Wood Frame For Bathroom Mirror bottom track if any. The deeper of the two will be the depth of the notch.
Using a table saw, set the rip fence to remove that width. Next, reverse the saw settings. Make the blade height the rip width and the width the height. This will remove the remaining portion of the notch. Using a miter saw, cut each end at a 45 degree angle. Using a pocket-hole jig, drill a screw hole in each end of the short or side pieces.
Make sure to drill through the center of the full-depth portion. Layout the frame, face down, onto a flat surface.
Make sure each corner fits clean and Make A Frame Bathroom Mirror Data tight. Spread a small amount of wood glue on each face, and join with a coarse thread pocket screw. If any corner is slightly twisted, an gauge finish nail through the corner can be used to pin it until the glue dries. Allow to dry for at least two hours. Once the glue has dried, finish the front with your choice of treatment. In this case, I wanted a white wash to show the beauty of the cedar grain while toning down the reddish color.
To white wash, apply any white paint with a brush, and then wipe back with a wet rag.

|
Clifton No 7 Jointer Plane Mode Build Your Own Rv Frame Year |

SABIR
13.10.2020 at 23:20:28
kroxa
13.10.2020 at 15:34:28
1
13.10.2020 at 20:10:38