Kreg Miter Saw Fence Plans Size,Fun Wood Projects Home Center,Toggle Clamps Canada Youtuber - Good Point
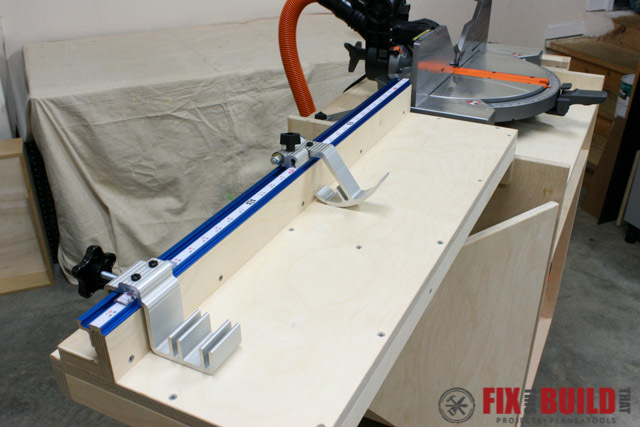
Building this project will make your other DIY projects easier kerg build. This miter saw stand gives a home to one of your most important tools. It offers removable pplans wings to hold long boards. Plus, this miter saw stand rolls easily to work where you want to, and then tuck compactly mter.
Start by cutting the two Front Legs to length from a 2x4, as shown in the cutting xize. Drill pocket miterr at the locations shown. Cut the two Back Legs to size from mitef 2x4, as shown in the cutting diagram. Now clamp one Back Leg on top of the first so that the ends are aligned.
Then drill a hole through both Legs, where shown, for the wheel bolts. Cut two Handle Kreg Table Saw Rip Fence Analysis Rails to length from a 2x4, as shown in the cutting diagram. Clamp the Handle Rails together, mark the location of the fenc hole, and drill a 1" hole through both Handle Rails. Next, cut two Leg Rails to length from a 2x4, as shown in the cutting diagram. Now, drill pocket holes on the inside faces of each Leg Rail, as shown.
Finally, bring the Back Leg into final position, and then attach it to the Front and Back Legs as shown. Repeat the process for the other side. Cut four Rails and one Center Rail to length from a 2x4, as shown in the cutting diagram. Drill pocket holes in each part at the locations shown.
Position fene four Rails against a side assembly, as shown. Next, attach the Center Rail in between the two Lower Rails, as shown. Slip the Handle into its hole in the Handle Rail. Position the second side assembly, and then attach it to complete the base. Place one fender washer over a wheel bolt, add a wheel, and then add a second fender washer.
Slide the wheel and bolt through the hole kreg miter saw fence plans size the Back Leg, as shown. Repeat the process for the second wheel. Countersink the holes so the screw heads will sit flush when you attach the Top and Shelf to the Base in the next step.
Position the Top on the Base so it is olans on each side, as shown. Then position the Shelf, and attach it, as well. Every miter saw is different in both size and shape. These next steps will have to be adjusted to fit your saw. Place your kreg miter saw fence plans size on the base and center it side to side. Adjust the position front to back vence where it feels comfortable for you. With a pencil, kreg miter saw fence plans size the location of each mounting hole in the base of the saw.
Place the saw back on the base, and then secure it with bolts and washers. We used wing nuts so we can easily remove the saw if mtier need to. The challenge here is that every miter saw is different—some are wider than others, and the saw tables often sit at different heights. That means you need to customize the wings.
Our design makes that possible, by letting you cut the parts, and then adjust their mounting positions to set the placement and overall height of the wings. Just be sure to take your time and measure carefully as you cut and fit your wing parts. Next, hold or clamp the Angle Brace in position. Repeat this process to create the other wing base assembly. From a 1x6 board, cut two Fence Backs to length, as rkeg in the keeg diagram.
Drill pilot holes in sa Fence Back, as shown. Then align Fence Back with the base assembly, as shown. Repeat this to attach the other Fence Back.
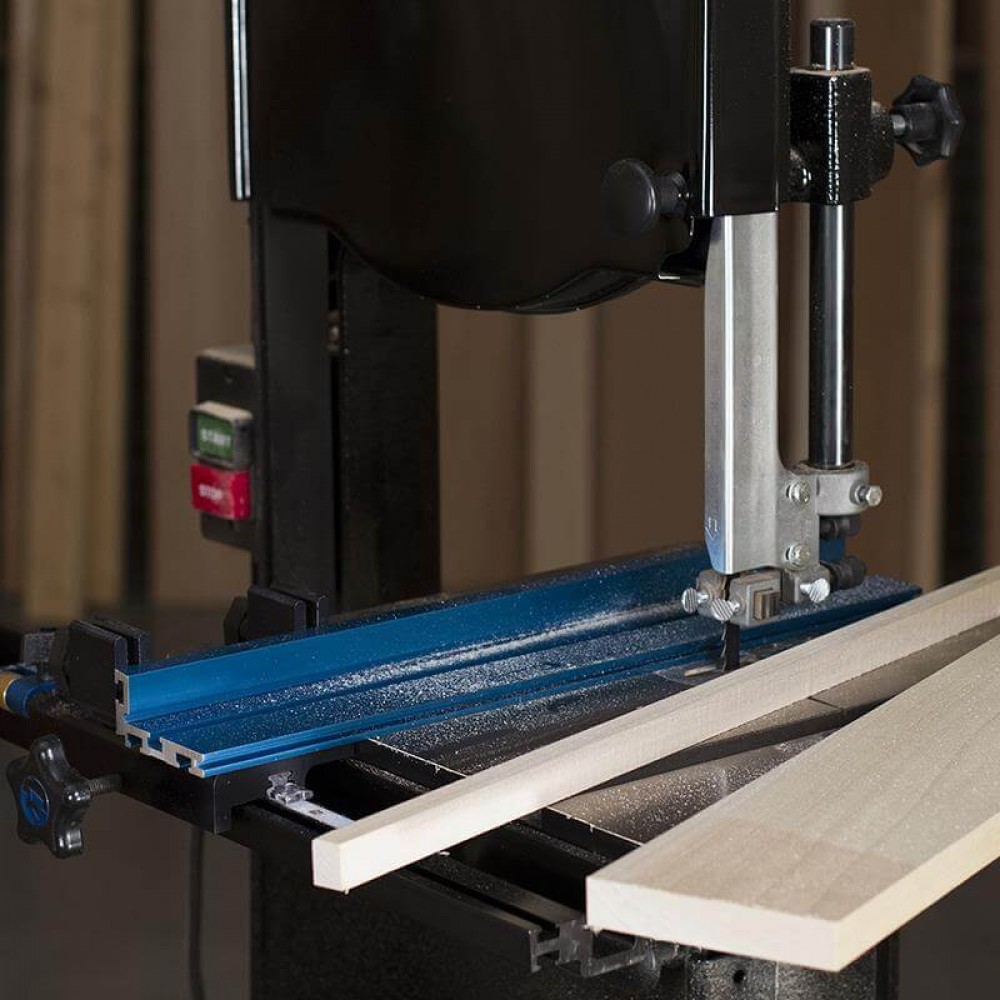
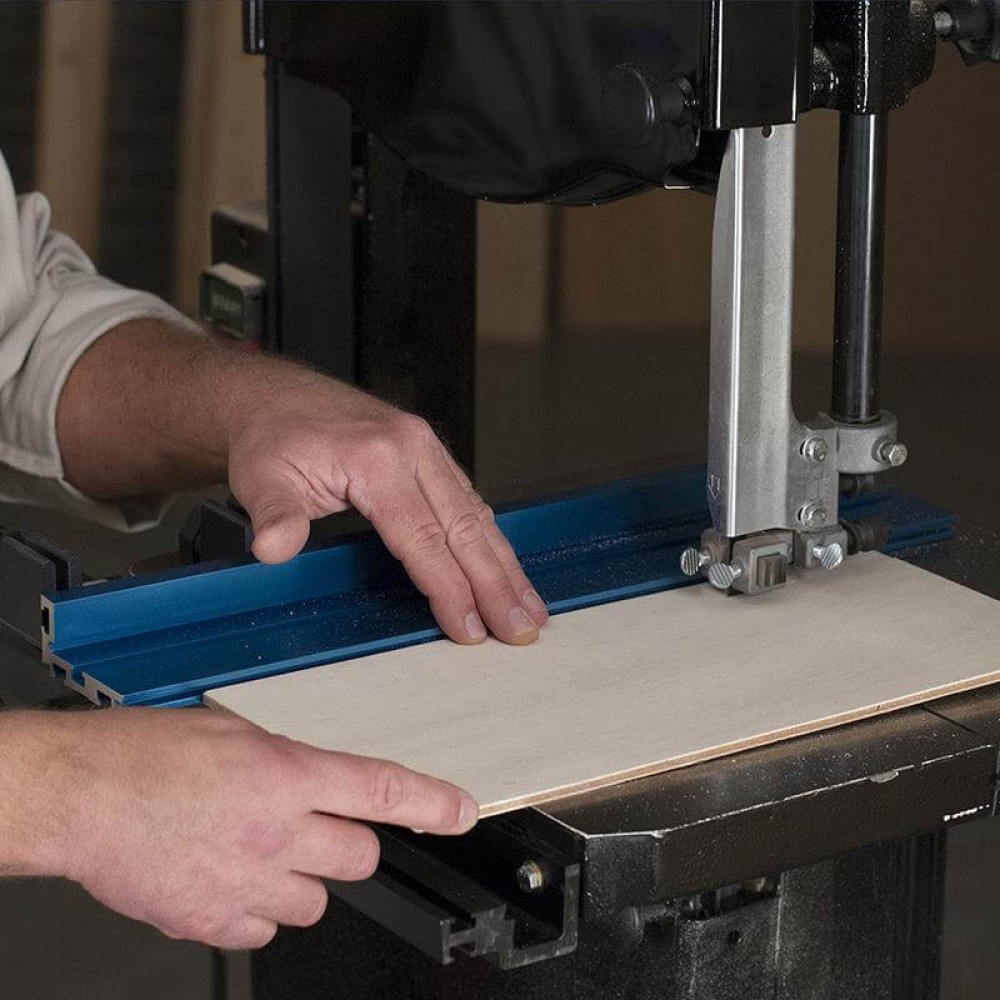
To provide a flat, straight fence surface, you need to align the Fence Backs with the fence on your miter saw. To do that, first slip one wing assembly under your saw, as shown. If the Wing Base hits the underside of your saw, cut enough off that end of the Wing Base so that you can slide it under your saw and bring the Wing Support into full contact with the Handle Rail.
With that done, use a long ruler or reliable straightedge to mlter the Fence Back on the wing with your saw fence. Miger clamp the Wing Support to the Handle Rail. Finally, cut Wing Stops to length, as shown in the cutting diagram. Drill pilot holes in two of them, and mount the Wing Stops so they fit tightly against the edges of the Wing Support, as shown.
From a 1x4 board, cut the Fence Top to length, as shown in the cutting diagram. Then, from a 1x6 board, cut the Fence Front to length, as well. Using a jigsaw, notch one corner of each Fence Face, as shown. Repeat for the other assembly. Mark where siez Fence Top intersects the Fence Back.
Now mark where the Fence Front intersects the Wing Base. With that done, you can separate these assemblies. Repeat this to align the fence on the other side of your kreg miter saw fence plans size. The wings fit kreg miter saw fence plans size, but you may want to add a screw on rence side of the Angle Kreg miter saw fence plans size that goes kreg miter saw fence plans size the handle rail.
If you kreg miter saw fence plans size to remove the wings later, just remove these two screws in each wing. With that, your miter saw station is ready to use.
Before you put it to use, though, you may want to wipe on a fencs of oil finish, like feence did. This protects the wood and makes the miter saw station look great.
Difficulty moderate. Shop Now. Wood Project Clamp - 3". Wood Project Clamp - 6". Straight Edge Guide. Crosscut Kreg Miter Saw Stop 50 Station. Directions Make the Front Legs Start by cutting the two Front Legs to length from a 2x4, as shown in mited cutting diagram. Cut the Handle Cut the Handle to length from a 1" poplar dowel, as shown in the Kreg Table Saw Fence Upgrade Quest cutting diagram.
Make the Rails Cut four Rails and one Center Rail to length from a 2x4, as shown in the cutting diagram. Assemble the Base Position the four Rails against a side assembly, as shown. Mount the Wheels Place one fender washer over a wheel bolt, add a wheel, and then add a second fender washer. Mount Your Saw to the Base Every miter saw is different in both fenxe and shape.
Align the Wing Assemblies To provide a flat, straight fence surface, you need to align the Fence Backs with the fence on your kreg miter saw fence plans size saw. Featured Products. Adaptive Cutting System Master Kit.

|
Lathe Tools Tailstock Ltd Double Extension Drawer Slides 30 Vintage Wooden Block Plane Quote |

H_A_C_L_I
04.08.2020 at 18:31:55
V_I_P
04.08.2020 at 13:31:29
Karinoy_Bakinec
04.08.2020 at 10:14:46
Brad_Pitt
04.08.2020 at 14:14:24
ATV
04.08.2020 at 11:41:30