Jointer Plane Dimensions Design,Diy Woodworking Bench With Table Saw Quality,Concealed Hidden Shelf Support Brackets Video - Step 1
After all the proper adjustments to the jointer plane have been made, it is time to start flattening your board. The first step is to stabilize the wood on a solid surface. A workbench is preferred , but any flat table that you are able to use clamps with will work. A Jointer Plane Types Excel woodworking vise is the preferred option to clamping the piece from the sides so that the entire top surface is free to plane. An important part of using a jointer plane is the motion used to run the tool over the wood board you are flattening.
Two hands are used with the tool, so the natural thought is that you can simply move the tool back and forth or side to side. This could work, but will not be very efficient. Be sure to note the direction of the grain, and plan to plane as much as possible along that same line. Grip the back handle with your rear hand, making sure that your index finger does not try to find a place to rest on the iron or chip breaker.
Pressing against these can knock the lateral adjustment out of whack. Make sure your forearm is in a straight line behind the jointer plane following the direction of the sole. With the front hand, hold onto the tote, or front handle, with a comfortable strong grip. Lean forward, putting the strength and stability of your body behind it. Push from the back hand while pressing down with the front hand, keeping the sole as flat on the surface as possible.
Forward strokes should be straight, while bringing the jointing plane back to its original position is often easier to do in a half-arc. On a wide, long surface, you can perform this action in a rapid, but smooth, motion. Not being one to give up easily, I decided to make one for myself.
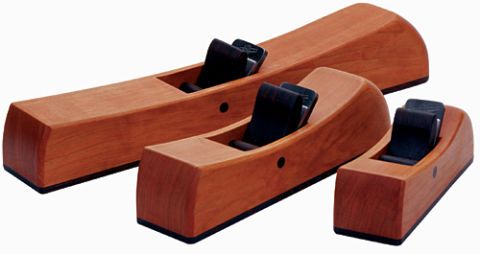
I am so happy with the results that Wooden Jointer Plane Dimensions Not Working I decided to write this article to encourage my fellow woodworkers to investigate making their own planes. All of the wood came from my scrap bin, and I pulled the blade out of an antique plane I bought a couple of years ago not recommended due to the work involved in making the blade usable. The whole project took roughly 3 days, and I was able to flatten the bottom side of my new bench-top before I even applied the oil finish.
Although I made this plane using my other two German planes as examples, the Popular Mechanics? While sourcing blades to be referenced in this write-up, I was able Wooden Jointer Plane Dimensions Tool to speak directly to Mr. Hock of Hock Tools. Since they sell some pretty nice wooden plane kits, he knew exactly what would be needed for this particular project. If you plan to make one of these for yourself, my suggestion is that you visit the Hock Tools website before you start making any cuts.
The Wood Whisperer is proudly sponsored by brands that Marc trusts. Thank you for making this possible. All rights reserved. Designed and developed by Underscorefunk Design. This site uses affiliate links. Given this, please assume that any links leading you to products or services are affiliate links that we will receive compensation from. However, there are millions of products and services on the web, and I only promote those products or services that I would use personally.
The Wood Whisperer abides by word of mouth marketing standards and holds integrity in the highest regard. Should I ever be compensated to write, I will make full disclosure. I always give honest opinions, findings, and experiences on products. The views and opinions expressed on this blog are purely our own.
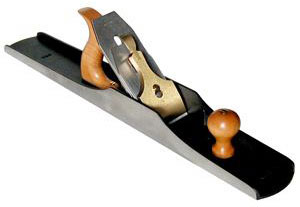
Any product claim, statistic, quote or other representation about a product or service should be verified with the manufacturer, provider or party in question. A Number 5, or Jack plane, will comfortably see you through most jobs, but as you get more experienced or start to crack on with lots of big builds, then a longer jointer plane is going to make some sense.
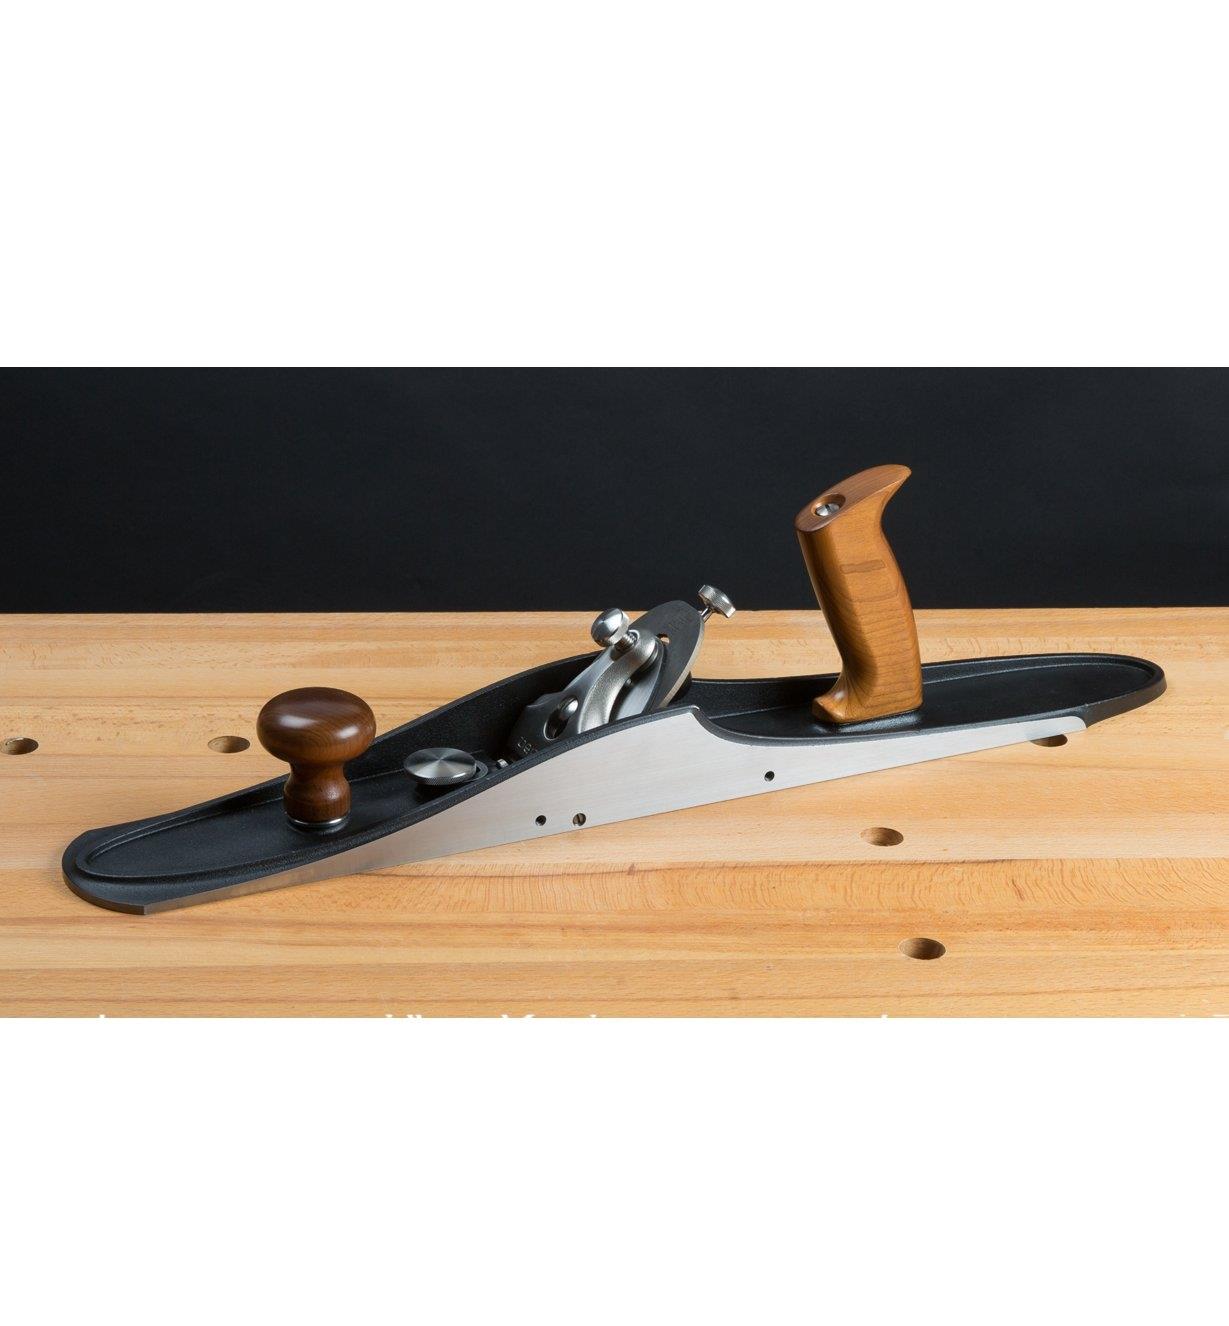
The long sole of a jointer plane is a huge aid when jointing long boards or flattening a large surface like this bench top. If you can justify something like the Lie Nielsen No 8. A Jack plane is a loyal dog. A long straight sole is the whole point. Picking up a second hand metal jointer will likely lead to headaches. The problem with flattening the sole becomes as simple as taking some shavings.
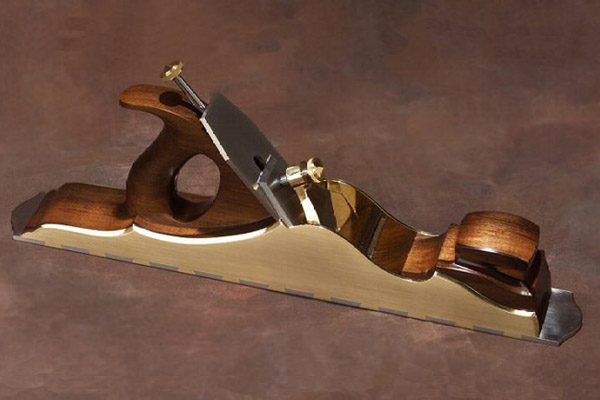
Just take care to remove as little material as possible, and your sole will be good to go. But, before you go buying up any old jointer you see, there are some other concerns you need to keep in mind. So this is where my advice may get a little unexpected. You all know how I feel about the ECE. The traditional design wooden plane front has a complex mouth, and wood movement will often lead to an ill fitting wedge.
The cross pin design back is much simpler and as a result continues to work despite a bit of movement in the wood. And if you have a bit more time to be fussing then building your own wooden jointer using the cross pin method is a surprisingly easy way to expand your kit. You can the details HERE. As a professional hand tool woodworker, Richard found hand tools to be the far more efficient solution for a one man workshop.
Richard runs 'The English Woodworker' as an online resource and video education for those looking for a fuss free approach to building fine furniture by hand. It is a real pleasure to use and is probably my favorite plane. It now has another life and is preforming quite well.
I know that they are often mocked, but I really like my 26 inch Stanley transitional plane for jointing. Easy to keep the bottom flat with the adjustments of a metal plane. First, the plane was unbelievably flat except at the very toe and for a bit of the heel.
|
Carving Kit Manufacturers 20 Hammer Mallet Combo Quest Wood Cnc Carving Design Videos Old Cnc Router Machine Data |

cazibedar
26.10.2020 at 11:39:13
Xazar
26.10.2020 at 19:22:13