Jointer Plane Bevel Up Or Down Not Working,Automatic Wood Designing Machine Uk,Best Rap Duos Of All Time Guitar,Rear Mount Drawer Slide Bracket Grid - PDF Review
The bevel of the blade then contributes to the overall cutting angle. For example, a bevel up plane with a 15 degree bed angle and a 30 degree angle on the blade would have a cutting angle of 45 degrees.
If you don't understand how the geometry of a plane affects it's cutting ability, or need additional knowledge about setting up a new plane to cut well, I'd recommend The Handplane Book by Garrett Hack Taunton Press. A plane that is not tuned or adjusted properly will be a pain in the neck every time you use it, and may ruin your work as well. A good quality plane that is tuned, adjusted, and sharpened properly is a thing of beauty and is a pleasure to use.
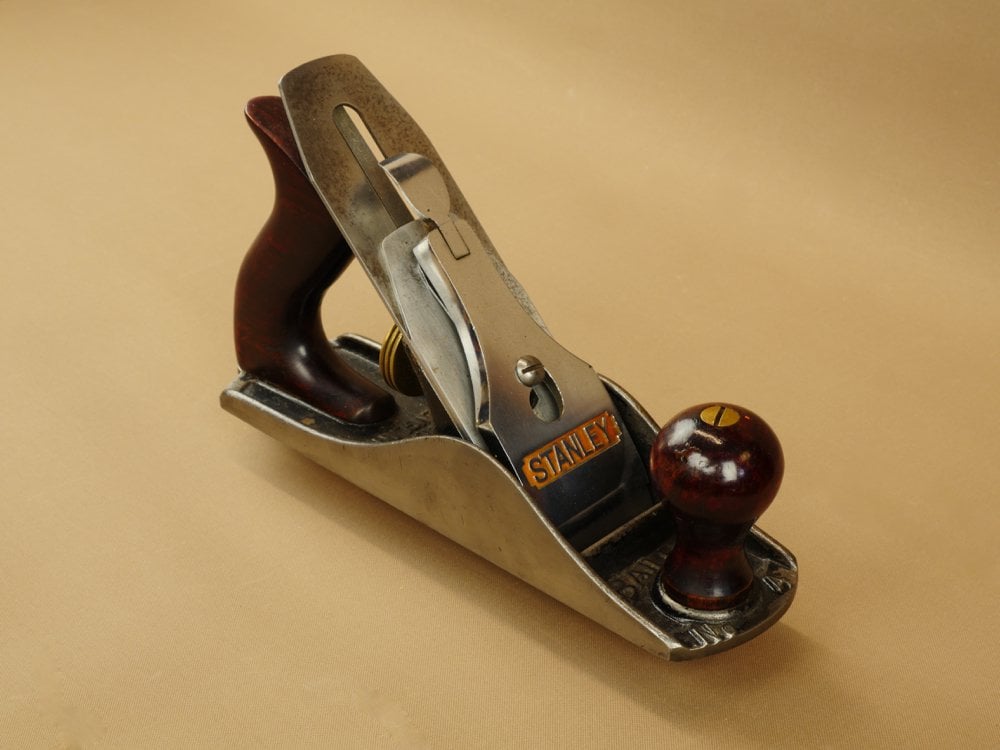
Mario Turcot Posts: At one point Rob dis-assemble the plane and you can see the blade position. It's not the same plane you have but the same type of configuration. Billedis Posts: HarveyWildes Great explanation. I too am getting into more hand woodwork after having taken a class at the Florida School of Woodworking on the "minimalist woodworker". One question I failed to ask is I see on Lee Valley's catalog many planes can be either bevel up or bevel down.
Is there a preferred plane? Or are they for using on different types of wood, ie: curly, burl, birdseye or just highly figured? Thanks as always for your expert input. Thanks so much everyone for all of the fast and informative responses! This weekend I will tear it down, clean everything and start adjusting and making test cuts.
Thanks again! Hand plane cutting angles can be got down to about 37 degrees on a bevel up plane like Lee Valley sells. These low angles are arguably a little better for polishing cuts on end grain than the standard 45 degree angle of regular Bailey-style bevel down planes. The low-angle bevel-up planes have a bed angle of 12 degrees and when you add 25 degrees for an iron with no 30 degree micro-bevel you get 37 degrees.
That 25 degree bevel is a little fragile. In standard use if you honed a bevel up plane with a 30 degree micro bevel and then you're cutting at 42 degrees. This is why I think the purported advantages for working end grain are over stated and the distinction between the two types of planes is most splitting hairs. Bevel up planes are cheaper to manufacture than Bailey pattern planes with the bevel down. With bevel up planes you can do a trick of sharpening the iron to a more obtuse edge which results in more of a scraping cut.
With a bevel down plane you can do this too, by putting a back-bevel on the iron, or by learning to use the chip breaker better. High angle planes were common among 19th century cabinet makers who would have different fine planes Spiers, Norris, etc.
These fine planes were expensive and you might need more than one for different situations. When the chipbreaker was invented these planes became less popular because this one improvement could make one plane adaptable to working a wider range of wood. So, you can fuss around with switching irons sharpened at different angles, acquire different planes, work at mastering the chipbreaker, use scrapers or a scraper plane, or perhaps a combination of these approaches, which is what I do.
I don't switch irons that much though. If I can't get the result I want by tweaking the chipbreaker on my best smooth plane I'll switch to a high-angle wooden plane I have or just go to scraping if I don't feel like adjusting the high angle plane.
Both BU and BD planes have their pros and cons. The world of plane design and use is very rich, and there is always something new to learn.
For example, over the past 6 years there has been a re-awakening of interest in the chipbreaker as means of controlling tearout. A few years ago I wrote a 4-part article on plane design choices, which centred on the then new Veritas Custom Planes, but also included other BU and BD alternatives.. I chalk this up to what you are used to. I have become more comfortable with the balance of the bevel-up planes over the years, but I still favor the top-heavy feel of the Bailey.
Also, the bevel-up configuration allows you to change the angle of attack of your tool by honing a different angle on your cutting edge. With the bevel-down planes, this is harder to control and involves back bevels or shims or other work-arounds. Bottom Line. Get a bevel-down plane if you have a fair-sized arsenal of planes and like tools that are dedicated to one function alone.
Here are some supplies and tools we find essential in our everyday work around the shop. We may receive a commission from sales referred by our links; however, we have carefully selected these products for their usefulness and quality. Thank you for your article. As a beginner, I have found it very useful. I find it not only awsome, but so versatile as well.
Thanks for your dedication. By Christopher Schwarz. Chris is the former editor of Popular Woodworking Magazine. He continues to blog and publish woodworking books at Lost Art Press. He's a hand-tool enthusiast though he uses power tools, too. Louis September 19, All rights reserved Privacy Policy Terms of Use. Start typing and press Enter to search. Then plane a valley down the middle of the convex side until it is even with the sides or a bit lower.
After that, plane the board diagonally until it is level on that side. For boards that are bowed from one end to another, place the concave side facing down and, with your jointer plane, make successive passes down the length of the board until you've achieved flatness. You will get best results if you cut the board into shorter pieces before planing. This reduces the amount of bowing that has to be removed. If the board is severely bowed, you may need to start by planing crosswise to reduce the high spot to the level of the rest of the board before planing along its length.
Once you have one face flattened, turn the board over and work on the ends, which will be thicker than the middle, to bring them down to the desired thickness. Twisted boards present the biggest challenge.
You may need to shim opposite corners so they will be stable on your benchtop. Sight along winding sticks--perfectly flat sticks positioned at different points on your board--to see where the high spots are. Mark these, then plane them down until your winding sticks are in perfect alignment all along the length of your board. Once you have one face flattened, plane the edges flat and perpendicular to the first face.
This is not as hard as it appears. Once the edge is smooth, test it with a square at several points. If one side of the edge is high, center your plane over that side and take a couple more strokes. Repeat until the side is square. With one face flat and the sides square to the face, use a marking gauge to scribe a line indicating the thickness on all four edges.
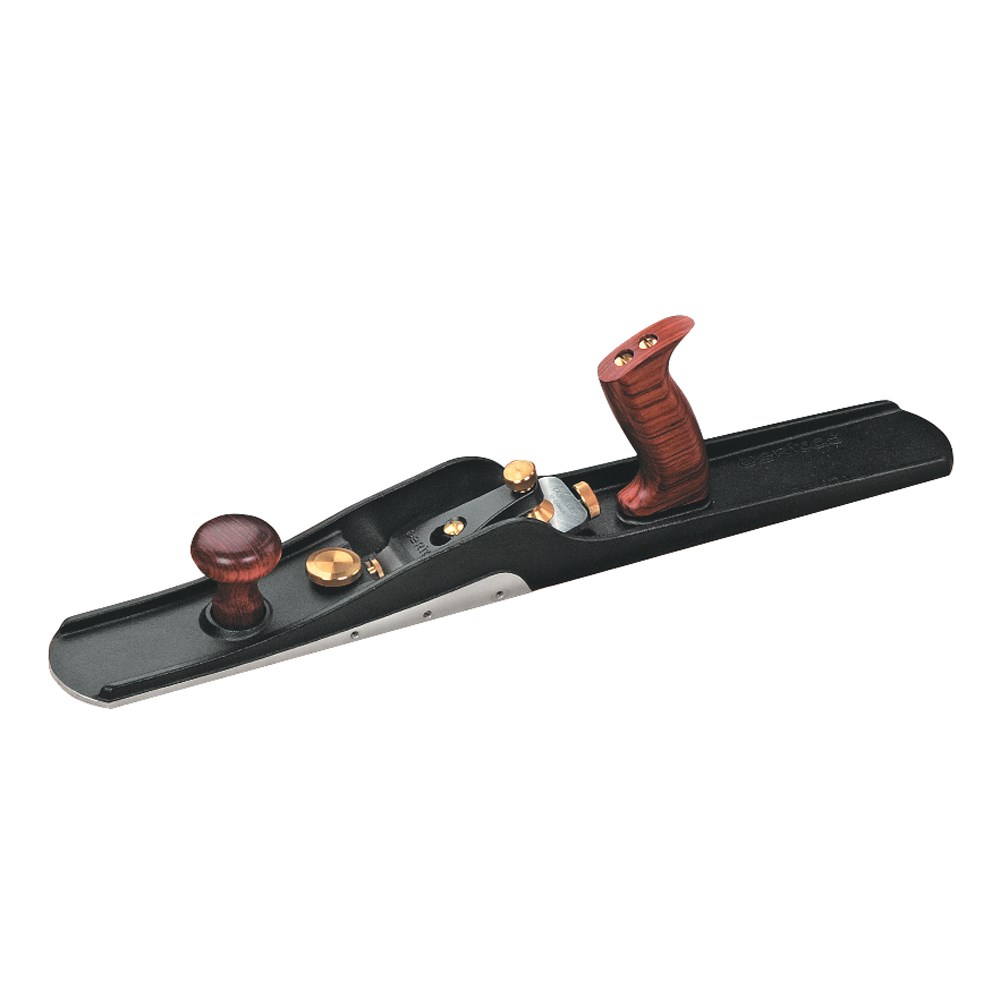
Then plane the board down to that line. If you have a lot of material to remove, consider starting with a scrub plane, a narrow plane with a deeply curved blade that excels at fast stock removal. Used Stanley scrub planes are widely available; Lie-Nielsen also manufactures one. The final step is to plane the ends square to the rest of the board.
Because you'll be cutting end grain, extra care is needed. A low-angle block plane works well here. Work in from the leading edge and plane to the center of the board, but avoid planing all the way across the board. Otherwise, you risk tearout spelching at the trailing edge. You can aid cutting by moving the plane with a circular motion, which slices the grain at an angle. Above all, keep your blade extra sharp for the tough end grain.
You can make your own shooting board. That's all there is to it.


|
Makita 23 Gauge Cordless Pin Nailer Xtp01z For Band Saw For Large Logs 60 Miter Gauge Track Methods |

QaQaW_ZaGuLbA
10.08.2021 at 20:41:13
EDEN
10.08.2021 at 22:25:54
BARIQA_K_maro_bakineCH
10.08.2021 at 11:11:49
mamedos
10.08.2021 at 22:20:57