Fine Woodworking 279,Cnc Router Machine In Nigeria Visa,Raised Panel Bit Set Zero - Step 3

Metalworking vises usually mount to the top of a bench. Generally, once you decide on a particular style of vise, the more you spend, the better the quality and effectiveness of that vise. As the name implies, these mount to the front long edge of the bench, typically on a left-hand corner. Left-handed folks usually prefer a front vise mounted on the right corner. These come in two styles: one with steel or cast-iron jaws you can use as is or add auxiliary wooden jaws [ Photos A and C ], and the other with no jaws, requiring you to build wooden jaws [ Photos B, D, and E ].
The first typically costs more, but installs easier. Your benchtop must clear the bench base or legs for mounting. Bolt or screw this type of face vise onto an existing benchtop in less than an hour. You might have to shim it to flush the jaws with the benchtop and notch the benchtop to align the inner jaw with the edge. A pivoting-jaw vise holds irregular-shape stock without racking the jaws. You also can remove the pivoting jaw for parallel-jaw clamping. Magnet-lined wood jaw pads stay in place without screws.
A cast-iron-jaw vise can be recessed into the bottom of a bench for maximum strength and stability. A thick outer jaw distributes clamping force over a wide surface area. Add shop-made accessories to your workbench. The benchtop or apron serves as the fixed jaw, while the movable jaw travels on a single screw [ Photo F ].
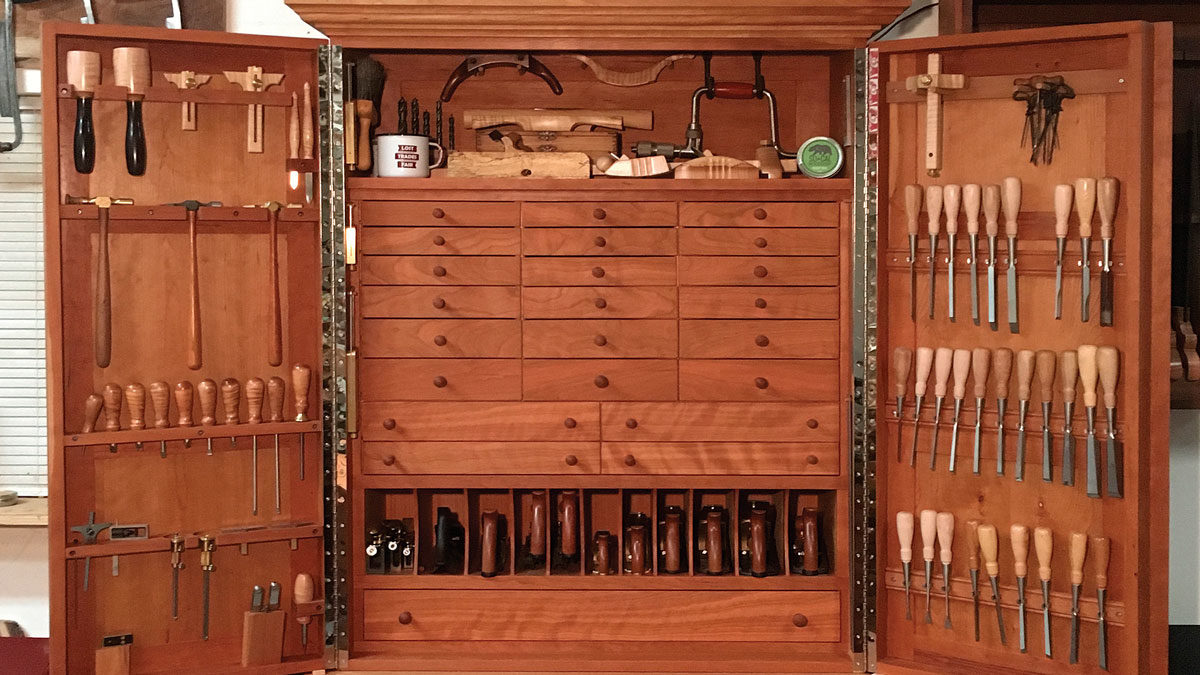
Because the outer jaw has a tongue that slides in a groove on the fixed arm, it has enough play to let you clamp uneven-shaped workpieces. A shoulder vise gives you floor-to-ceiling clamping space between its jaws. A threaded bushing mortised into the vise shoulder unseen keeps the screw on track. I started adding planes and chisels to my collection and soon ran out of room. This cabinet was inspired by the H. Studley cabinet published in FWW years ago.
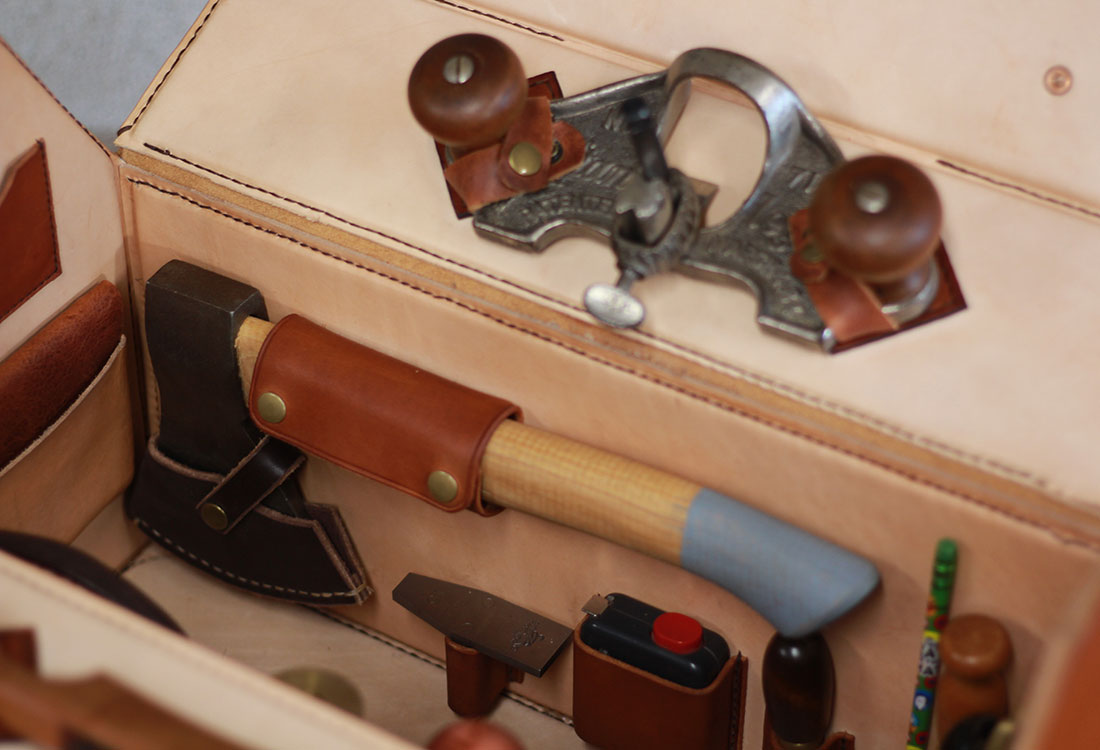
From FWW All students are required to design and build a toolbox within the given parameters. Photos: Lance Patterson. As our most recent issue was going to press, Brian Noel was hard at work opening a gallery, found on Instagram whidbeymade, which will focus on his woodworking products as well as other products made on his home turf, Whidbey Island in the Puget Sound.
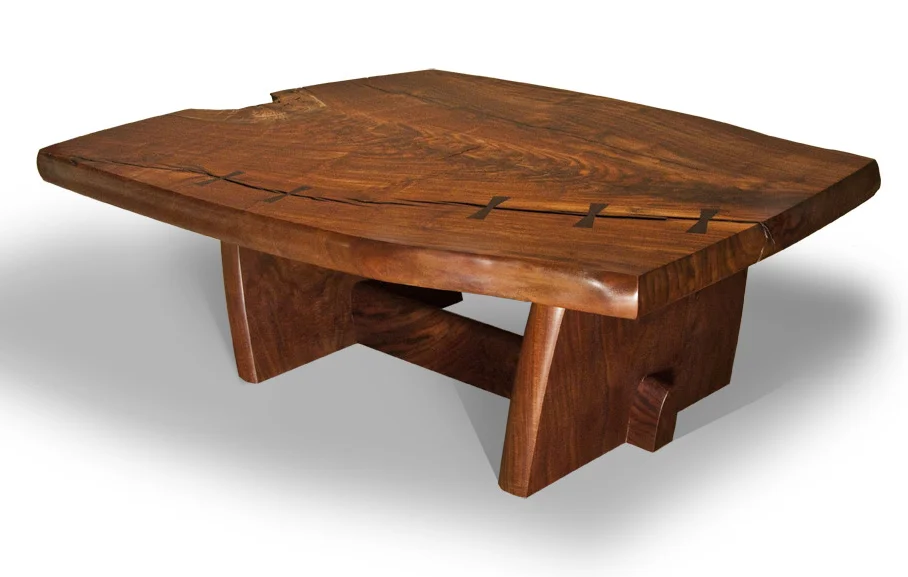
The ground floor hholds a furniture gallery and Fortune's design office. The second floor isa studlo apartment. Ho loctures regularly at museums such as Wintorthur and Colonial Wiliamsburg, and at gullds across the country. No matter how intense the work, inthe grand scheme of things, a piece of woodwork is just a piece of woodwork.
That means the entire force of the vise is resisted only by that small tenon. Am I missing something? He mentions that a drawback of these two specific vises is the inability to clamp large and thick workpieces in a vertical position, overcame this by adding a sliding leg ise.
I Is nearly Kdentical to the fed leg vise, but can slide along the front of the beneh, making it incredibly useful. The blade is bedded at 60" and used bevel down in normal circumstances. Becksvoort's Shaker stool Hooray for Christian Becksvoorts excellent Shaker stool article jn the fas issue. Featuring ergonomic rubber-molded handles, pre-sharnened Carbide cutter heads and a stable ftened, stainless steel shank, these tools make turning easier and more rewarding Just rotate the carbide head when cutter seems dull, and you'll be creating crisp crs and ribborvike shavings Strap bara clamp books, Protective corner blocks for a band clamp Recently my son and I were gluing up a mitered base for a hope chest using a band clamp.
I needed some blocks to avoid, damaging the mitess under the clamping pressure. I came up with this simple, effective solution using stufl around my shop.
Join each pair with wo pieces of aylon webbing rom an old ratchet tie-down or backpack. Staple the webbing to the blocks, leaving about 1 in, between them. Knock the lon wesbing sharp comers off the bottom of the blocks with a plane or staples sandpaper. This is a challenge, because the knee section sticks up.
You can use a rasp or rabbeting plane and sandpaper, but L hhave an easier method. Place two cauls parallel with the leg, one on each side.
Clamp two more eauls on wop of and at right, angles to the first two, positioning one so that st will stop the travel of your router hase at the Dogs junction of the knee and the block.
Rout the leg holdieg. You can use either PVC or iron futings; in, dia. The WooTive Wo. To testi, repeated the tests used for shop-vacuuum review we did last year eww , Afler removing the optional paper ddust-collection bags and seasoning the Fite, F measured the working aiflow at the end of the The powertoo! Peter Bre profession! No problem. MopeL asa wnt pec joel Grenson of 1x Ptetbegmar ssn prism. The Quadra-Cuxt bits were exemplary performers in each case, especially when routing tearOult- and burn-prone end grain.
None of he edges routed needed any Quadra-Cut router bits by Freud additional work or sanding. This new nalts wines. Many cexton ikems from woods such as oak when excess oll socks to unlenwear contain Hint—residual coves from the pores long afer you've Necks of fer dat gradually come loose wiped the surface dry. Any lint will show up on the polishing, in which 4 ruber a pad glass and will mar your project if you use made from several layers of cotton A linty cloth to apply a finish, cloth is used to apply the multiple Aside from lint marring a wiped thin layers of shellac that make up this c fon finish, you may also encounter a classic finish Synthetic- brisle brushes can also be used for other finishes and many consider them almost as good as top-of the line natural- ent brushes, ral or synthetic, look for filaments that are split and frayed at the ends.
On the ferrule should he made of brass or stainless steel to avoid rust that eventually can contaminate the finish any brush yeas intend 1 kee Leam what to say before you spray Spraying may leave a great finish, but learning all the terms makes i hard to get started, There are three areas yout need to know about, The fist is the source of compressed air for the spray gun, elther a turbine a self-contained Unit with a built-in blowes or an air compressor. Both systems are defined as HVLP high volume, low pressure.
Hefore you reach that nirvans, you «will probably experience some problems. To fix it, you can cut back the supply of fluid and either increase the air pressure to the spray gun or reduce the viscosity of the finish. A less formal low-luster finish is easier to achieve, Any high-gloss finish must be perfectly fat, so the first step is 10 level it by wet-sanding with wetor.
This foam-backee abasive disk works well on flat and curved surfaces. My technique is fast and pives perfect resus.
When it meets a bevel that's just as polished, tho blade wil be truly sharp. Get ready You need coarse grits to fatten a biade back efficiently, but coarse waterstones are sft and go out cof fat vory quickly. Use spray glue, whlch Is easy to apply and can be removed easily when i tine to replace the paper Easy off. To pull of the sandpaper cleanly, u Eun or hairdryer fo soten the adhesive.
By Hatening. Flatten, smooth, then polish Preparing the back is really a three step process. Work ap through the grits. Here's how to do it without ruining the fatness. Use sharpening stones. Start wth 2 medium tke , and fish up witha polishing Stone gttor higher. A sacond granite surface plate for polishing is nee, but nat necessary. The payolt. The Dac fs now ready for work, and you won't need 0 flatten it again.
Expafenced uecduertars know fiat reat odes sea or 1 rerodaing hghend ktchers P and baths. Plus ger ERE project plan when you sign up today. Rine Weed Working ign up: FineWoodworking. The best way ing: Start with the right stock Straight grained, dimensionally stable stock—as in rift-or quartersawn lumber—s the right cholce for door frames. Latta uses a sot-cutting bitin the router ttle. Use the grooves to guide the mortising.
Lata cuts tha groove tothe exact width af one of his hollow chses. The same would work if you were routing the mortises, sides to minimize and balance wood movement. Throughout the process, keep.
Letting the pans sit al- lows the newly exposed grain to acclimate to the shop and lets the wood move. If a piece keeps warping severely, replace it with one of your extras. This leaves room for excess glue or debris atthe hottom, which otherwise might prevent the tenon shoulders from mating squarely with the stile during glue-up.
Tout tenons at the ablesas, starting with the shoulders, To ensure consistent results, Too tight fs Just right. When machining the tenon, you want It to barely fit the mortise. Let itacclimate ovemight, then fintune the it litho rabbet or shoulder plone.
The Job Is best done with a rabbet block plane, which Is wide enough to plane the entire tenon in most cases, but a shoulder plane works, too.
|
Kbc Tools Lathe Ios Jet Benchtop Lathe Editor Best Australian Wood For Turning Vale Server Cabinet Locking System File |

Keremcem
08.08.2020 at 19:54:42
RaZiNLi_KaYfUsHa
08.08.2020 at 22:18:24
dfd
08.08.2020 at 13:38:28