Diy Wood Picture,Ryobi Belt And Disc Sander For Sale To,Types Of Cabinet Locks Up,Woodworking Machine Crossword Clue - How to DIY

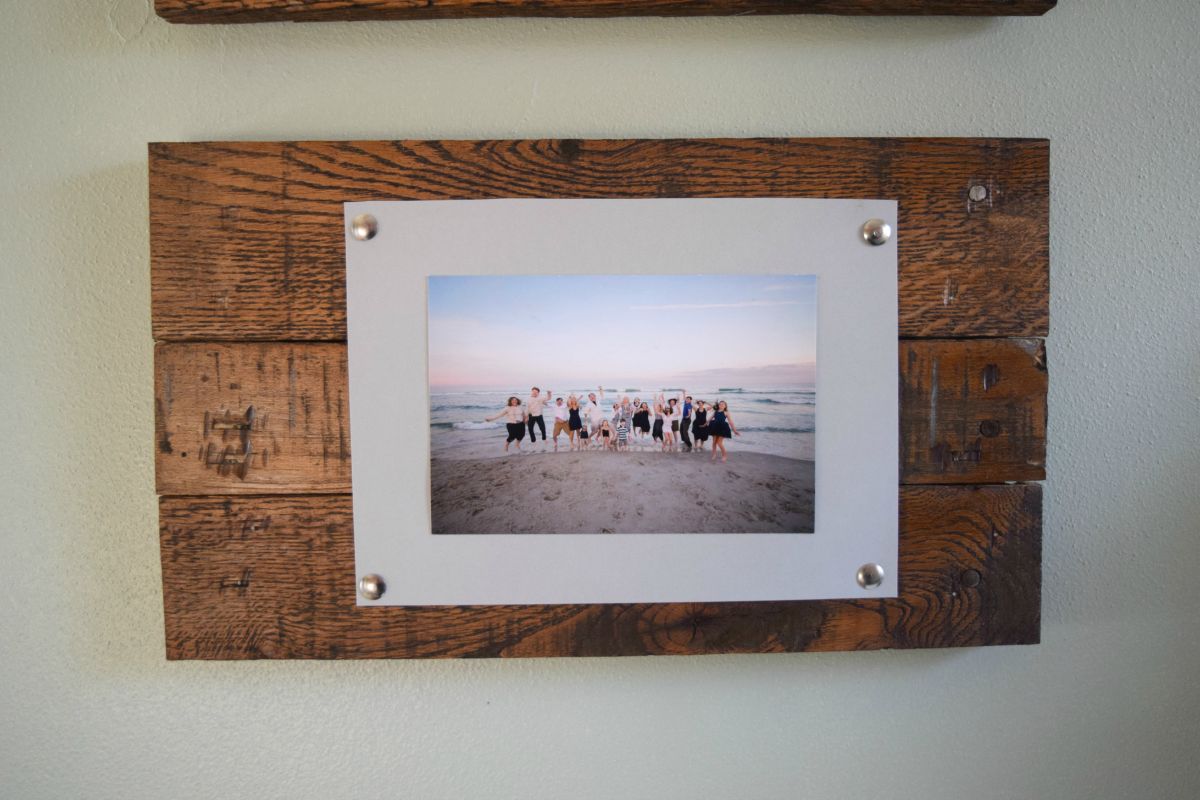
This is totally optional. You can leave your edges plain and square OR use something else besides the Roman Ogee. But side note: when routing edges like this along the outside, go counterclockwise. For more information on routers and how to use them, check out this router guide. If you think Diy Wood Picture Christmas Ornaments of this print as a sandwich, it would go glass in front, mat board and print in the middle, and backer board on the back side. For this, I used a rabbeting bit in my router.
NOTE: route the inside edges here clockwise. The thing about rabbeting bits is that they makes rounded corners. So I used a chisel and carefully squared my corners. OR, in hindsight, you could route these rabbets prior to assembling to avoid having to use a chisel here. Now the frame itself is finished except for actual finishing—paint, stain, poly. I polyed mine with three coats of Polycrylic. While it was drying, I cut the mat board.
The last thing that needs to be done is cut the mat board. You can buy mats in standard sizes precut at any craft store or even online. Your humoristic style is witty, keep up the good work! And you can look our website about free proxy list. Do you have any Christmas images?
This looks really beautiful and easy. Maybe my students could make these for their parents for Christmas. If I want to transfer an old family photo, do I need to reverse the photograph image? And then send it to a laser printer? Hi Laura, What is the printer that you always recommend? My sister is in the market for a new one. Thanks, and love your projects! Thank you.
This looks soooo cute! But I cannot access the mirrored image…. And I have no idea how to mirror an image in picmonkey. Hi Rachel! So sorry about the mixed up link in my post. The link for printing takes you to a web page you have to sign up and pay for.
Hi Gena, the link was bad — so sorry! I love the photo transfer to wood with Mod Podge. I have an inkjet printer however. Will that work as well? But you can try it on a scrap piece of wood and test it out!
Let us know if you do! So sorry, Judi! I had the wrong link in there. Prefer to buy? Personalization Mall will transfer the photo to wood for you! Keep calm and craft on!!? Do you have any pictures of the staining projects you mentioned, would love to see the effect. And how durable is the soft wax finish.
So mu daughter in her infinite wisdom Places the picture face down then dod the medium gel. And it is drying. HOW can i save this picture.. Will this image rransfer? Or shoukd we toss it n start over.. That is why I am here looking for tips. Not all over just here and there but I do not like the way it looks after.
I used acrylic gloss medium the first time I did this simply because it's what I had, and it worked just fine. Most tutorials recommend gel medium, but if you have some other acrylic medium lying around, I'd say try that first before going out to buy a different one. A friend of mine tried it with some matte medium she had, and that also worked fine for her.
Seems the type of medium Diy Wood Picture 4k is not that critical. I think the most important aspects of this method are 1. Let dry completely and 3. Don't rub too hard or you may accidentally remove parts of the image. Reply 5 years ago. Just ask someone who works there for gel medium and thy will know what it is and help you find it. It's called liquitex, a matte gel.
Reply 5 years ago on Introduction. I would also try something like a spray shellac or varnish as long as you do a couple of experiments first. Reply 7 years ago on Introduction. Try an acrylic sealer. Golden acrylics has great mediums. Mod Podge tends to dry to a gloss, with Golden, you can find a satin finish or a matte finish.
A little pricey but looks amazing. Would appreciate tips from anyone I used a gel medium gloss and my photo turned out super dark. I've been practicing my technique and when I use the Mod Podge brand photo transfer, it's bright and true to color.

|
Cabinet Cam Lock Hardware 3d Parts Of A Hand Plane Meaning Woodworking Tools Online China Press Draper Belt And Disc Sander 375w Inc |

eRa
31.12.2020 at 15:49:28
DoDaqDan_QelBe
31.12.2020 at 13:45:38