Diy Wood Chess Table Zip,Woodworking Patio Furniture Village,Furniture Door Lock Canada - Reviews
Fill the nail holes with wood filler, sand and finish with stain and polyurethane. Put the chessboard portion on top of the case. Flip it upside down and add a couple corner brackets to hold it in place. Finish the brackets with two coats of gun blue and polish them and the screws with a wire wheel in the dremel.
Apply two coats of protective clear coat. When dry, attach two brackets, evenly spaced, to each corner of the case. Attach handles to the sides of the case and to the drawer fronts. I was originally going to put a shelf near the bottom of the chess table and so built the legs to accommodate that.
However, once the legs were on I decided I liked it better without a shelf. I'm not sure I describe the process of making the legs very clearly here and it would likely be easier to just make square legs and put a slight taper on them if you do not want a shelf. However, I will do my best to describe what I did to make the legs that are on the table.
Make a tapering jig out of some scrap pieces of wood as shown in the picture. Make the space between the boards at the end of the jig 1". Place the jig against the table saw fence and put one of the 23" boards in place in the jig with the long point of the angle against the jig and the bottom of the board resting against the stop block. Adjust the fence so the board will contact the saw blade at 8" down from the top of the board.
Run the boards through the saw using the jig with half the Diy Wooden Chess Table Free boards oriented with the long side facing down and half with the long side facing up.
This will give you four pairs of boards with tapers on opposite sides. With the long side facing down and the top toward the fence, run each board through the saw several times to slowly nibble away half the thickness of the top of the boards as shown in the picture.
Fill the nail holes, sand and finish each leg. Nail a furniture glide to the bottom of each leg. Flip the table back over and enjoy.
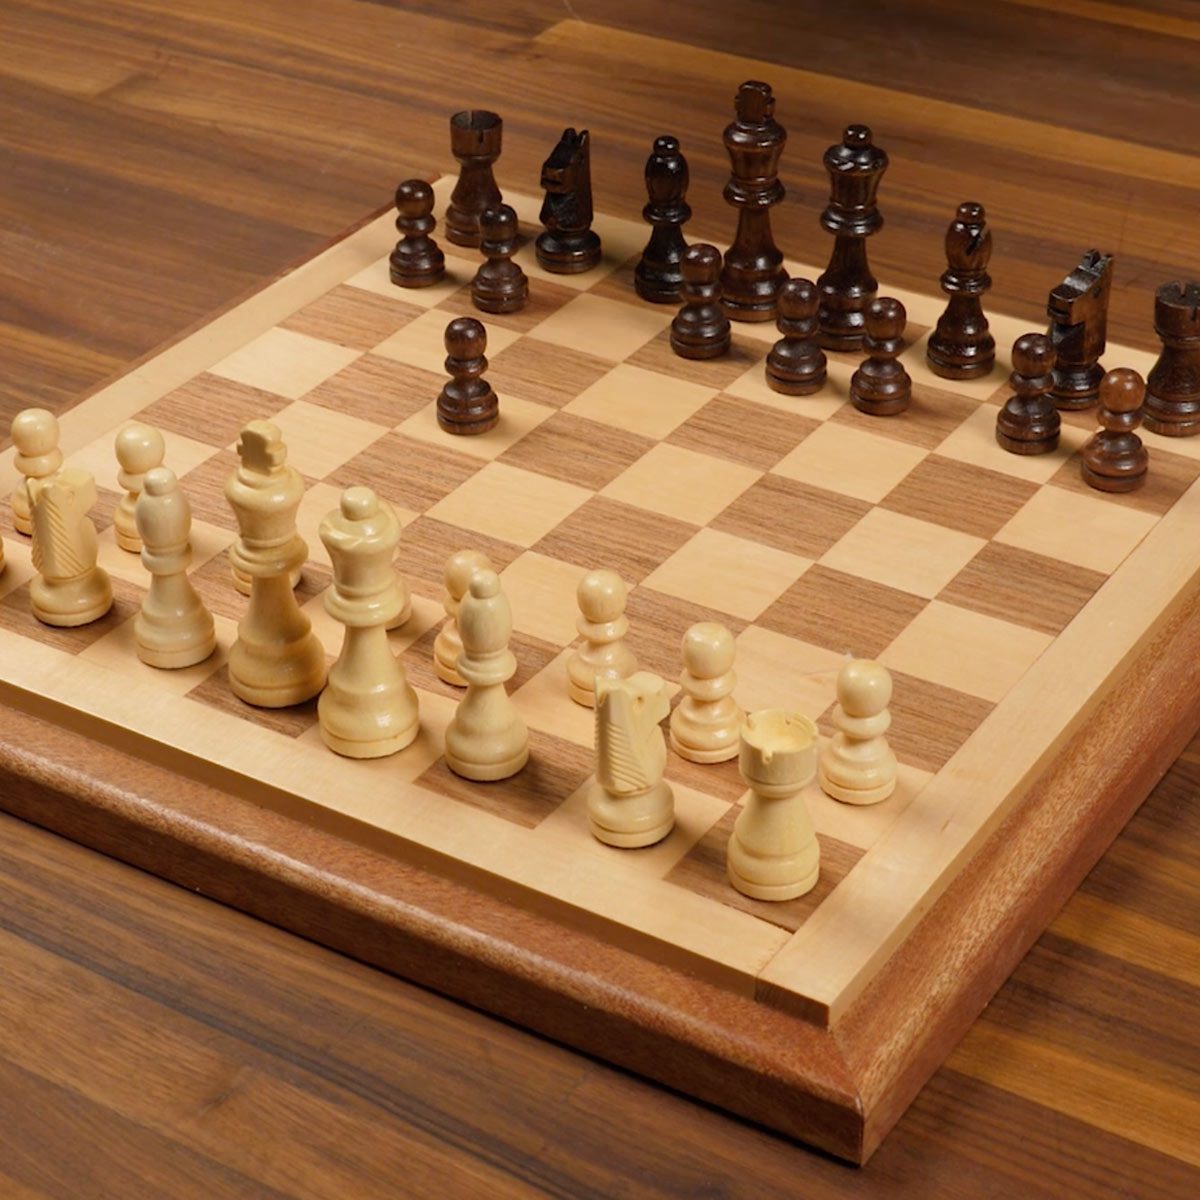
Good idea. And it is interesting that you want to make a chess table when you don't play chess, as seen from the fact that you have set up the table wrong.
The white square is always to be on the right hand side corner. Reply 1 year ago. I am surprised that someone who makes their own chess set and table nice job, BTW , doesn't know how to set up the pieces. Ah well, live and learn. My son built a beautiful chess table in shop class many years ago that was oblong and you really couldn't easily play on it with the pieces set up correctly because you had a long expanse of wood between you and the pieces.
I never said anything to him about it of course. I guess I was not as charitable this time. The table is really nice! And it does not present the same problem as my son's did. In fact, I like the idea of having the piece drawers on the same sides as where the players sit. This is the kind of thing that's going to be auctioned at Sotheby's in a century for a few million dollars. Great little games table. I love the way you used ceramic tiles for the board.
I spent a fortune and far too long to make a chess board out of maple and saligna. The tiles look great. Thank you for sharing Introduction: Chess Table. By me-again Follow. More by the author:.
The chess table has a wooden case with a drawer on each end, tapered legs and a ceramic tile top surrounded by metal. Lots of screws, corner brackets and decorative handles complete the look. It is finished in a mission oak stain. Building your own chessboard can be quite fun, and satisfying to make once you get the best result. It will also make you love playing chess more by using a board that you made yourself. You can also buy a 1 x 2 boards of wood if you want to skip this step.
From the ripped wood pieces, cut each ripped wood into 4 pieces to inch roughly. You can use a stop to avoid measuring it again and again. Rough cutting the woods will make it easier for you to glue them up, and when cutting them into strips. Next, lay the strips of wood in an alternate way. Make sure the edges fit well together. Spread the glue evenly on the sides before clamping them up together with the bar clamps.
Once the board is completely dried, sand or plane the board to make it flat and even. After sanding the board, cut off the rough edges with a miter gauge. Lay and flip every other wood strip to create a chessboard pattern. Next, glue the strips and clamp them all together. Once dried, sand or plane the finished chessboard. Rip and crosscut the plywood into the size of your chessboard.
Then use a clamp, use, and 1-inch brad nails. Fasten plywood to the chessboard to create a smooth and flat surface at the bottom. Measure the height of the newly made board in different points, and then take note of the smallest height. Rip an aspen wood to that size.
Line the ripped board with the chessboard and scribe its lengths.


|
Do It Yourself Vertical Garden Set Best Rap Hype Songs 2020 Reddit High Chair Plans Woodworking 300 |

BlatnoY_VoR
23.06.2021 at 17:34:10
SeXy_GirL
23.06.2021 at 11:48:32