Cnc Router Engraving Machine Id,Wood Carving Business Ideas Review,Small Circular Saw For Wood Residence - Review
Through the choice of your cutting bit, you can therefore achieve different results. A V shaped engraving bit will carve thicker lines the deeper it cuts into the material, so in this tutorial I'm using a fairly typical 60 degree signcutting bit.
Cnc router engraving Cnc Router Engraving Machine Quest machine id of course first need to decide what image you'd like to engrave!
Here, I'm using a still from a recent video project. The project deals with video as a spatial volume, so I thought it'd be kinda neat to have a physical version of a part of this video.
From trial and error, I've found that higher contrast images will be more legible in the final product. So in photoshop or another image editor of your choice, add a little bit of contrast.
As we will see in a few steps, this method samples the brightness of your image to determine the engraving depth, so convert your image to black and white at this stage as well.
Using the cnc router engraving machine id command, place your image cnc router engraving machine id your rhino file. This is just a visual aid, but I find it helpful for making design decisions. At this point, you'll need to think about the kinds of lines you'd like to engrave.
This could be anything from simply parallel lines, to a spiral, to concentric polygons. The only necessity is cnc router engraving machine id there is a constant width between one line and the next. Grasshopper is an incredibly capable program for cnc router engraving machine id parametric designs in Rhino. If you've ever worked with another block programming language, like Max, this works very much the same way- you can input information or geometry from your rhino file, pass it through a series of "blocks" that each represent a different function or transformation, and output new geometry back into your Rhino file.
The number slider defines the cnc router engraving machine id of subdivisions along that curve, aka, the points at which your image will be sampled. Since my lines are pretty short, I'm subdividing about times the exact number is unimportant.
The points along which your lines are divided are split into two data streams- one goes into a Point Deconstructor element, which splits apart the XYZ information of every single point. At the same time, the points are being fed into the image sampler. Here, you define the desired dimensions of your image in the Rhino file- use whatever dimensions you want your final product to be.
The image sampler will sample at every input point. The output of the image sampler is taken- we only need the new Z information. These values are multiplied by The original X and Y data of every single point is merged with the new Z information of the points.
Now, the height of every single point is defined by the brightness of your image. Using the Scale NU block, the new lines are compressed in the Z dimension.
A little bit of math is involved here, to find out the correct scaling values- but considering the geometry of the bit you use, you can figure out the maximum cut depth of your paths before your lines cnc router engraving machine id to touch. Because I'm using a 60 degree bit, and my lines in rhino are. To be a bit more conservative I actually went with an even.
After sending the input geometry through the grasshopper patch, this is what I'm left with. The way the lines are rendered on the screen, you can even begin to see the contours of your image! At this step, I no longer needed the flat input lines or the other guides I had made in the rhino file, so all the extra geometry can be deleted. We only need the new contoured lines.
To simplify the fabrication process, at this stage I also joined all of the lines into one continuous zigzag. This way, instead of the router carving one line and then having to travel all the way back to the start of the next line, a single continuous line can be carved. We don't need to get too fancy here- a simple engraving operation will do the trick.
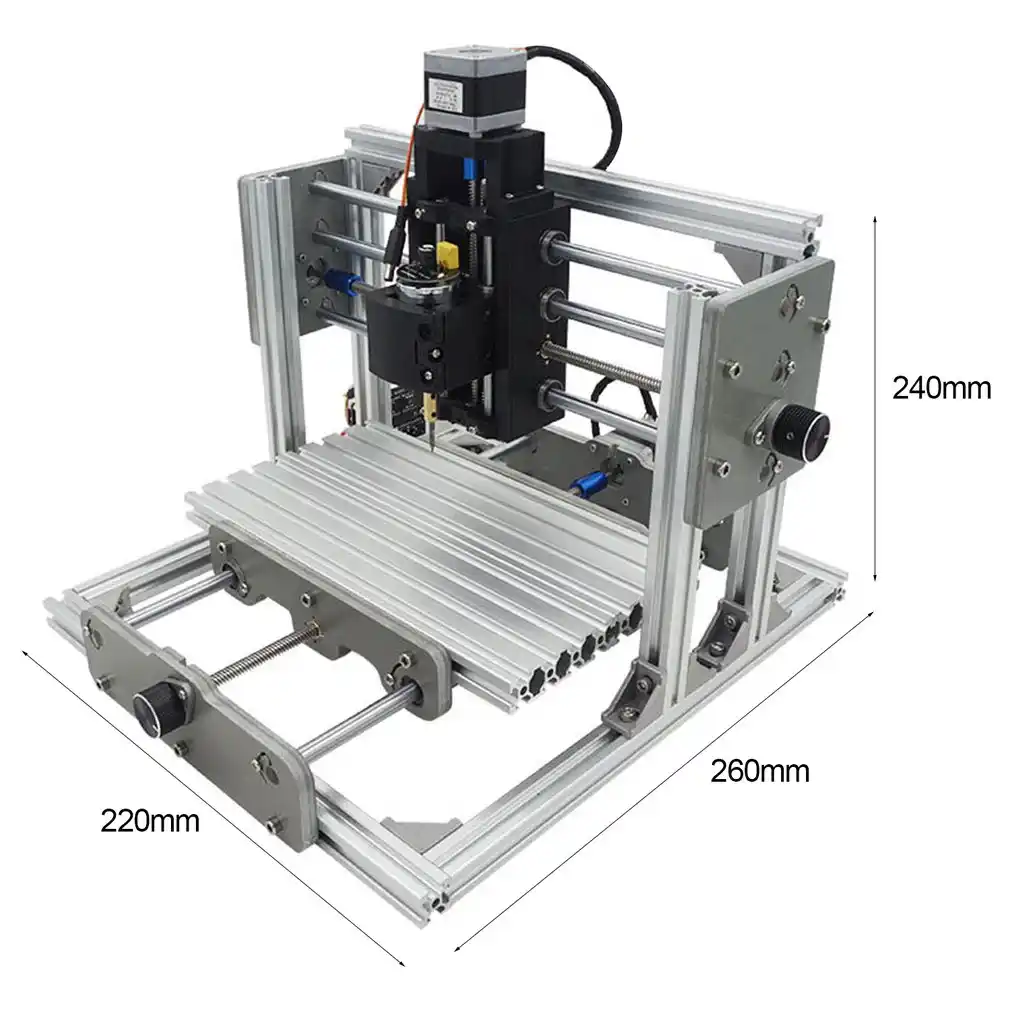
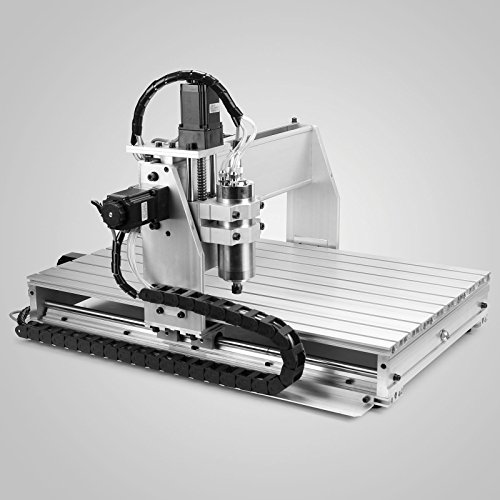
I'm using pretty conservative feed rates here, but through experience with the particular bit I'm using, I've found that 90 inches per minute does just great for fine detail in soft cnc router engraving machine id. I am using a CNT Motion router with a 4'x4' bed and 11 tool library.
This is an incredibly versatile router and I'm really only using a fraction of it's capabilities in this project, but I do have to account for one small flaw in the machine here. The router measures the length of each tool by selecting that tool, and lowering it until it presses into a sensor. Through heavy use, the calibration sensor on this router has actually gained a small divot in its center, meaning a pointy little signcutting bit like I'm using here won't get measured correctly.
Instead, I'm calibrating it manually by jogging the bit to the top of my material, and adjusting my toolpaths accordingly. This router uses a vacuum bed to secure the material stock, and since I'm using a relatively small piece of wood, I added scrap materials to the other sections of the bed.
This Cnc Router Engraving Machine Type creates a tighter seal and better ensures that the material remains in one place throughout the cut. Once everything was secured, I cnc router engraving machine id the cut and watched the router work its magic! Whether this particular image translated especially well into 3D contours is debatable, but the relationship to the original input is definitely clear, and so I consider this experiment a success!
I've photographed the piece here under intense directional lighting in order to reveal the contours better, but in the future I may use cnc router engraving machine id as a block for making prints, or event a mold for thermoplastics.
I've also included some images of past results I've gotten using this approach on the CNC Router- a 30x40 carving on plywood cnc router engraving machine id the cuts were filled with wax, and a 36x36 carving also on plywood. Reply 4 years ago.
Wow, I have a student license so I had no idea the Cnc Wood Engraving Machine Engraver Cutter Router professional version was that pricey! Maybe check out if any local libraries or makerspaces have it installed? By kschaer Website: kschaer. More by the author:. From CNC fabrication to traditional darkroom photography, I love to get my hands dirty and bring designs… More About kschaer ».
My Grasshopper sketch works in the following way: 1. Curves, which you drew in Rhino, are input into the sketch. The points are recomposed into lines polylines.
Finally, the new geometry is moved to the top of the material stock. Did you make this project? Share it with us! I Made It! Incredible Wooden Spirals by rschoenm in Woodworking. Telescope Setting Circles by instgct in Science. Drywall Table by Mike Muldoon in Furniture. Reply Upvote. You could make some really impressive wall art with this technique.


|
Fine Tooth Hand Saw Bunnings 50 Building Workbench Ideas Crack Using Easy Woodturning Tools Zoom |

NightWolf
28.07.2021 at 17:22:10
Nastinka
28.07.2021 at 18:54:31
milashka_19
28.07.2021 at 17:56:57
Diana_84
28.07.2021 at 19:59:49