Build Your Own Frame Clamp Js,Wood Model Plan Set 2020,Tool Box Latch Hardware 91,Best Woodworking Bench For Sale Germany - How to DIY

PVC pipe comes in long lengths, usually feet. Measure and mark your pipe with a marker before cutting. I like pipe cutters with a ratcheting design because they create smoother cuts that will aid you during the assembly stage. Use a measuring tape to ensure each pipe is cut to 2. Then, sand each cut until they are smooth to the touch.
The assembly step should only take you a few minutes. Then, line up your 2. If you do this, only attach glue to one of the openings on the 3-way fittings. That way you can still take your quilting frame apart for easy storage. If you bought pipe snap clamps, set them aside for use when attaching your fabric to your quilting frame. However, this makes it easy to reach the middle of your quilt.
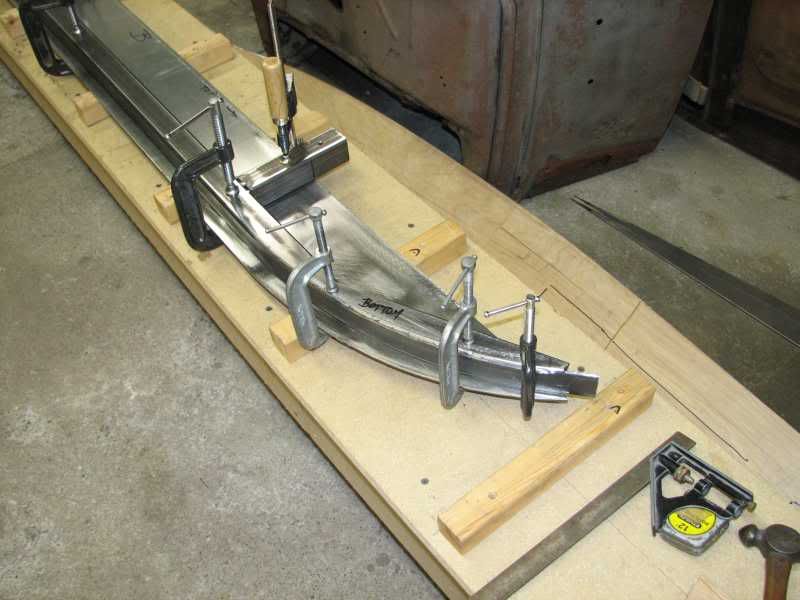
You can buy quilting frame clamps at most fabric and craft stores or you can cut some yourself out of PVC pipe. Draw two straight lines down the length of your pipe first. Hold your pipe with a clamp so it will not Build Your Own Frame Clamp Key move and then cut using a rotary tool.
Be sure to follow all safety instructions included with your rotary cutting tool, such as wearing goggles. Make the cut as straight as possible. Then, sand down the cut edges until they are smooth to the touch. Plus, this one has a tile feature. Notify me of follow-up comments by email. Necessary cookies are absolutely essential for the website to function properly. This category only includes cookies that ensures basic functionalities and security features of the website.
These cookies do not store any personal information. Any cookies that may not be particularly necessary for the website to function and is used specifically to collect user personal data via analytics, ads, other embedded contents are termed as non-necessary cookies. It is mandatory to procure user consent prior to running these cookies on your website. The light-weight design lets you move the PVC quilting frame yourself.
I hope you enjoy your new PVC quilting frame. The instructions are understandable and detailed. Leave a Reply Cancel reply Your email address will not be published. You can get more details on this in my DIY cabinet door post here. Just make sure that you always line up the jig in the same location on each piece. Glue ups are always a little stressful. So it is handy to have a second set of hands for this if possible. I applied glue to one corner at a time to give me time to get everything together.
I glued each corner, and made sure to get some into the holes and inserted the dowels. Then squeezed together the best I could. You can see in the video I shared above that I started on one corner and worked my way around.
Once all the dowels are started into their holes, I used long pipe clamps to help me push everything together really tight and to help make it nice and square. Once the glue was dry, I gave the corners a good sanding to get rid of any leftover glue from squeeze out, then put a Roman Ogee router bit into my router and went along the outside edges to give it a little decorative detail.
This is totally optional. You can leave your edges plain and square OR use something else besides the Roman Ogee. But side note: when routing edges like this along the outside, go counterclockwise.
For more information on routers and how to use them, check out this router guide. If you think of this print as a sandwich, it would go glass in front, mat board and print in the middle, and backer board on the back side.
For this, I used a rabbeting bit in my router. NOTE: route the inside edges here clockwise. The thing about rabbeting bits is that they makes rounded corners. So I used a chisel and carefully squared my corners.
OR, in hindsight, you could route these rabbets prior to assembling to avoid having to use a chisel here. Now the frame itself is finished except for actual finishing—paint, stain, poly. I polyed mine with three coats of Polycrylic. While it was drying, I cut the mat board.
|
Pocket Hole Jig In French Tab Table For Sewing Machine India Visa Skill Set For Carpentry Mastercraft Belt And Disc Sander Manual Data |

AyteN
08.11.2020 at 20:41:57
TeNHa_OGLAN
08.11.2020 at 12:26:57
Lotu_Hikmet
08.11.2020 at 16:35:58