Wood Gate Plans Yoga,Cnc Router Machine For Sale South Africa Linkedin,Flush Cutting Router Bit Grid - For Begninners

Giving buried end of post some form of water proofing protection will greatly extend life of post. Post should also be proved before using. Proving is allowing post to lay exposed to elements for at least 4 or more days to assure that it won't warp or twist the longer the better, 2 weeks is best.
This is especially important for 'treated' posts that have been bundled unbundle, separate posts and allow to dry and wait to see if they will remain straight -proving. One doesn't want to come back and find that a post has warped after a week or so. Measure the frame. The frame for a basic wooden fence gate should be a simple box with 4 sides, usually somewhat smaller than the gate opening.
If you've got a 3x5 opening in the fence, build a 3x4 box out of a weather resistant wood. The box Woodworking Plans Subscription Unit should be about an inch less wide than the rough opening to account for hinges and the thickness of gate as it swings.
Typically, you'll want to use the same variety of wood used on the fence. If you want a different color, redwood is sometimes used for large gates. Whatever you choose to use, buy more lumber than you'll need to make sure you've got enough for the job.
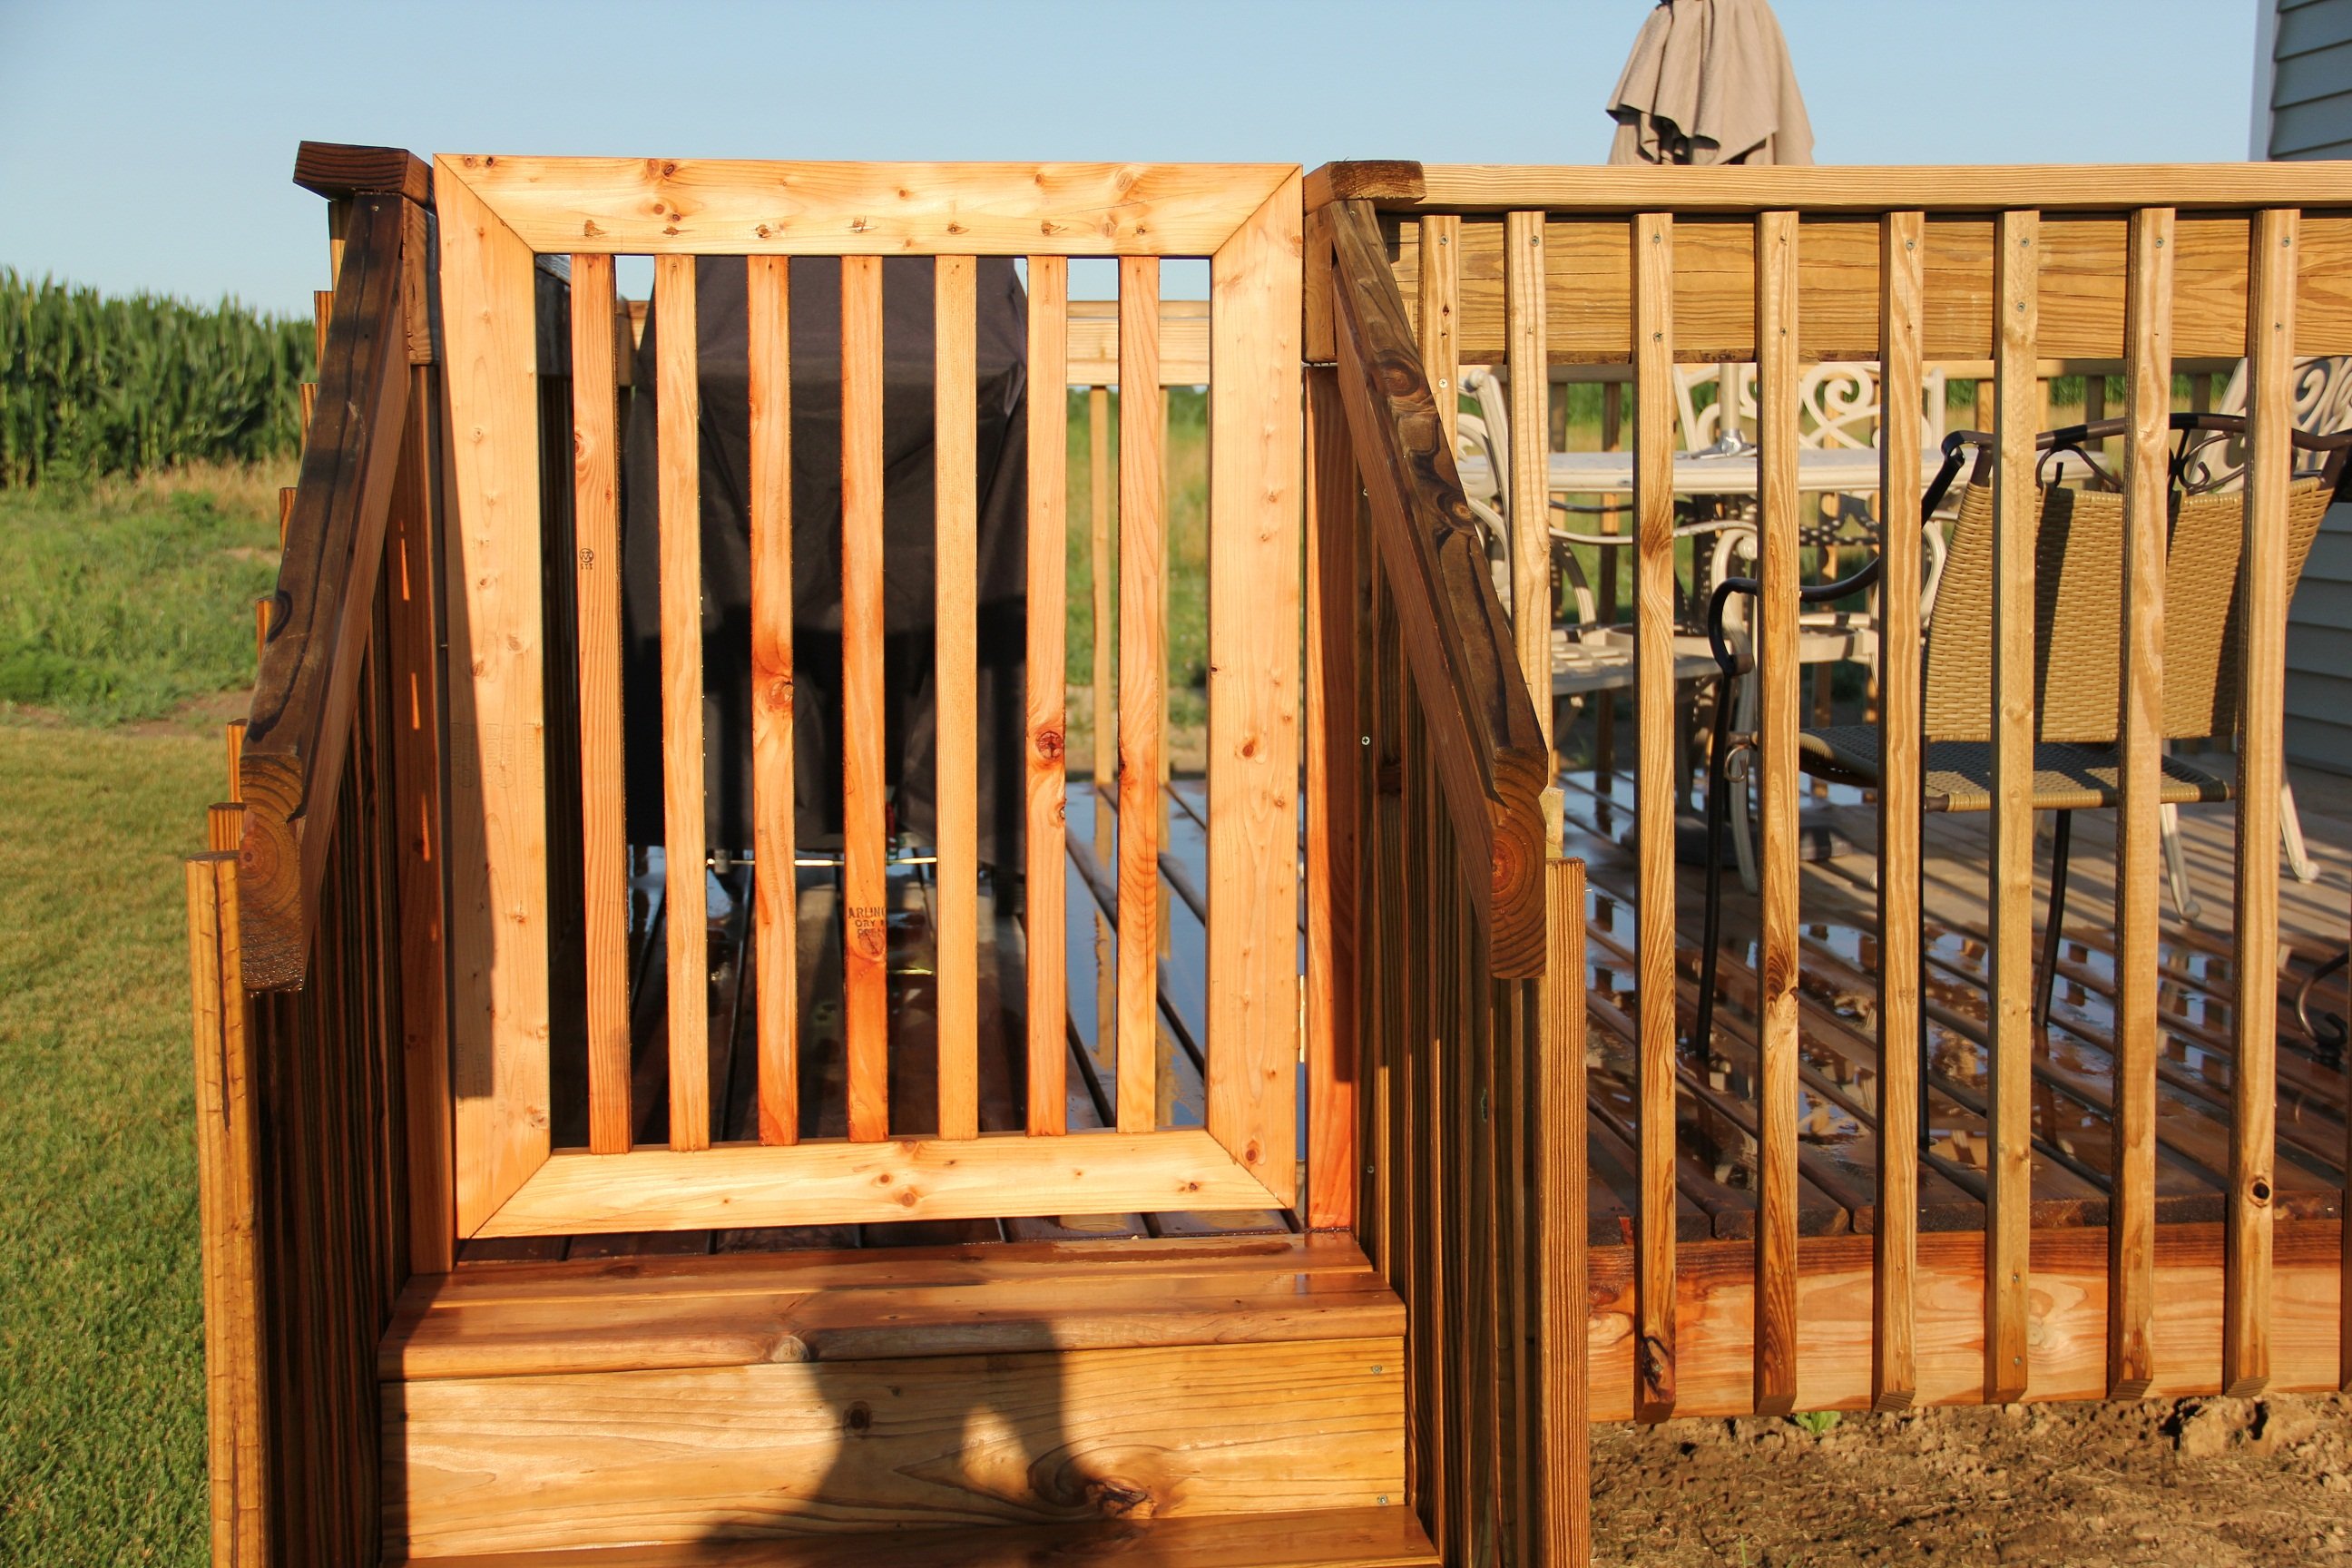
Part 2 of Cut the upright side planks about 3 inches shorter than the height of the gate. Screw in the top and bottom planks. Drill a pilot hole for the screws before putting them in so that they do not split the wood. Fasten with deck screws, pre-drilling to keep the wood from splitting. Measure from the top bend to the opposite bottom corner. Both sides should measure the same. Typically, as you start assembling, the gate framing, it's good to lay it out on a flat surface, such as a patio or driveway.
Attach the top and bottom rails to the side rails, Wood Projects Free Plans Pdf 01 making sure it is square. Cut an angled cross-brace and attach it to the top and bottom rails.
This helps maintain strength and rigidity. Connect these to the frame boards that match the rest of the fence by using deck screws, pre-drilling as before. Make your diagonal cut with a mitre saw.
Place the diagonal onto the box and trance with a pencil where the angles go. Place the cross-brace at a 45 degree angle extending from the bottom corner of the gate to the opposite corner of the top of the gate.
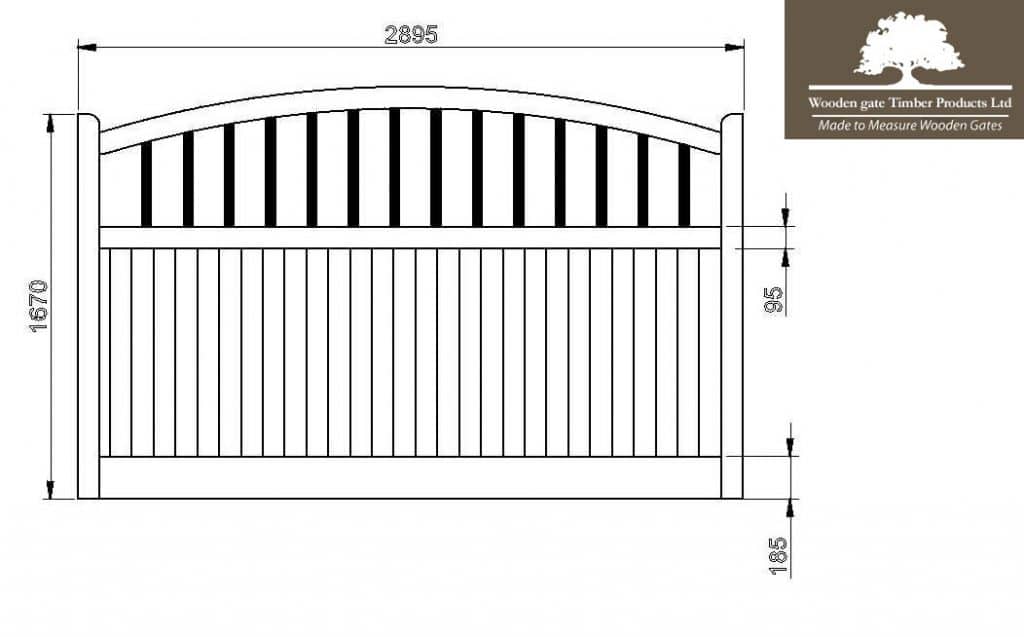
Cut and install the planks. Once you've designed the frame and built it, all you need to do now is attach flat planks evenly over the front of the frame to finish your basic wooden gate. Measure planks from the top to the bottom of the frame and cut them accordingly. Cut planks using a table saw and secure them using deck screws, drilling pilot holes to keep your planks nice and clean. Part 3 of Design the top of the gate. Most people like to take a little time to design the top of the gate and add a little decoration to it, using a jigsaw.
If you don't want to take the time to, it's not necessary, but it's a good way to make the fence look nice. Generally, a beveled edge, an imprint of your last name, or other little decorative markers are popular. To start, draw an arc across the top of the fence using a string and a pencil, filling it with decorative curves according to your taste. If you're a woodworker, feel free to get fancy with it.
Use the jig to cut along your pattern. Install hinges and attach the gate to the fence. Put the gate into place, supporting it on the bottom with a 2x4 1.
Use a pencil to mark where the hinge should go on the post, and then put the gate down. Predrill where the screws will go. Prop up the gate and screw the hinges into the gate and attach the hinges to the post. Install a gravity latch. Most Wood Fence Plans Pdf Yoga easy-to-use fences will use a gravity latch, which you can install after you've hung the fence.
Mark where the screws will go with a pencil, then drill pilot holes and install the latch. Get the fit first before you put any finish on the gate. Seal the wood. Try to hit every exposed surface with your sealer, using a paintbrush or garden sprayer to apply. Most home retailers sell pads that are basically a sponge on a stick that you can use to spread it around, if necessary.
Try to cover the whole surface evenly, making sure you hit the bottoms of the planks, which tend to absorb more water than the face grains. This is the area most likely to rot or become discolored. Let dry for a couple hours in dry climates or a day in more humid climates. Use your gate. After you finish sealing the wood and have given it plenty of time to dry, your gate is ready to use!
Open and close it to test it out. Anthony "TC" Williams. You have a couple of options here. Your first option is to purchase a 'Hasp Lock' at a hardware store. Attach the base plate with screws and then attach the Hasp plate. Put the padlock on through the Hasp. Another option is to get a length of chain padlock that will go through links, loop the chain around the post and gate, put the padlock loop through the links of the chain and lock.
Wood is a live material! Even though it was cut from a tree long ago, it still bends, twists, shrinks, and expands constantly, through varying humidity levels.
The more support added through structural elements, the longer your gate will stand. Next consider the width of the gate. A single gate should not be built much wider than 42 inches, or 3. A wider gate will lower the angle of the cross-brace and the gate will sag as described above. To ensure a cross-brace angle of greater than 45 degrees, the door height must be greater than the width. If the gate is 3. But, as mentioned, the best way to keep the gate true is to structure it that way.
In most regions, there are two basic lumber choices: pressure-treated lumber PT and non-pressure treated NPT. Pressure treating is the process of adding chemical preservatives to the wood, to resist rot and bugs. Both PT and NPT are readily available, although the species available can change, depending on your area.
When choosing a NPT lumber, because there are no added preservatives, you would want to select a wood that has natural anti-rot properties. The chart below shows North American species that have these properties. PT lumber, often spruce, is cheaper than most NPT woods, and has a lower natural resistance to rot or bugs.
As mentioned above, it is treated with chemicals to give it those properties. Recent environmental regulations have changed the chemical compounds used in PT, so ensure you are using approved fasteners with a rating for ACQ alkaline copper quaternary, a wood preservative , since the wrong type of fasteners can rot when in contact with the compounds in PT lumber.
Non-ACQ fasteners can turn the wood black as the fasteners oxidize in the wood, which makes for an ugly detail. When selecting lumber for your gate construction, look for the straightest possible pieces to start off with. It is ideal to find kiln-dried wood, meaning the moisture content of the wood has been lowered; this reduces the chance of warping or twisting.
With PT lumber, the wood is often freshly cut, with high moisture. Gates open approximate degrees in each direction. Easily adjusted. Very heavy duty and strong hardware. Gates hung between the posts must be hung on a square post. Requires 0. Gates open degrees to fold back against adjacent fence. Cape Cod Board Gate. Maine Board Gate. Newport Picket Gate. Newport Picket Gate Plans.

|
Undermount Drawer Slides Soft Close Zara Lee Valley Concealed Drawer Slides Red |

NapaleoN
28.10.2020 at 15:33:54
KENT4
28.10.2020 at 18:48:58
miss_x
28.10.2020 at 20:19:44
Almila
28.10.2020 at 21:42:14
FK_BAKI
28.10.2020 at 19:47:32