Table Saw Router Wing Win7,Sign Into Fios Router 70,Wood Barn Quilt Plans Quest,Carpenter Wood 60 - PDF Books
I also wanted effective dust control, but none of the commercially available dust control systems appealed to me.
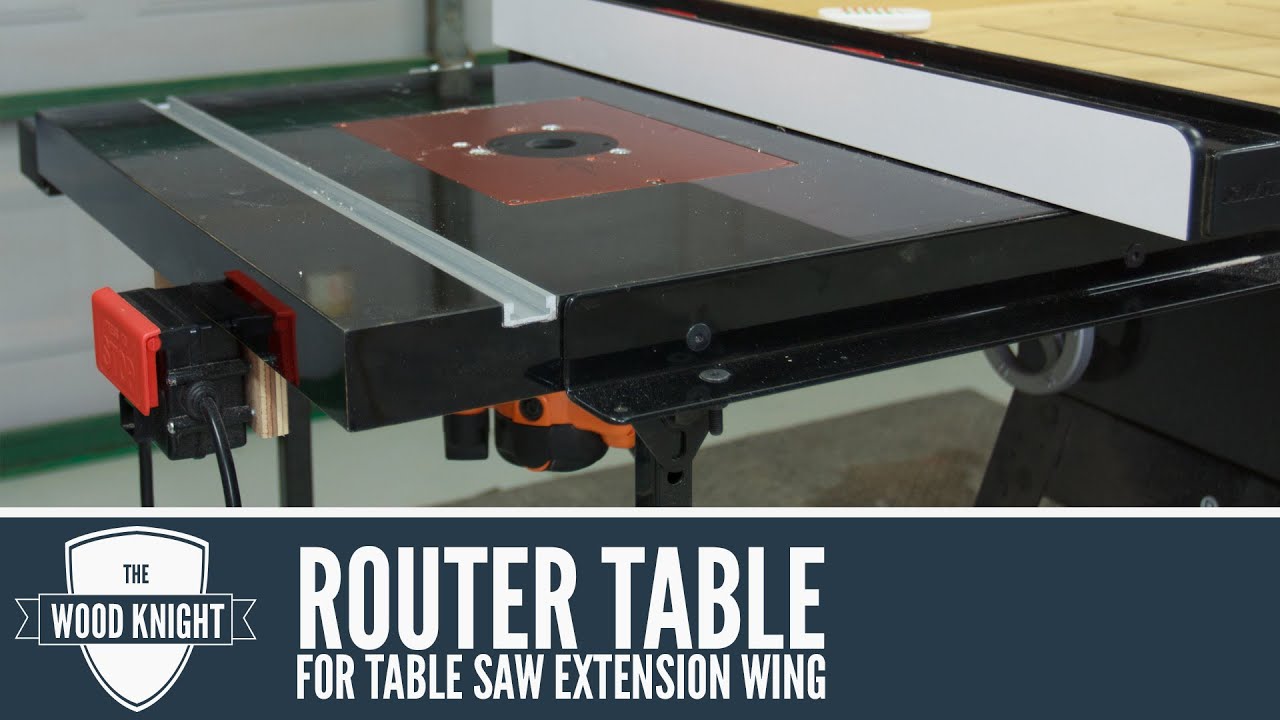
So I decided to design my own. The concept I came up with is a dust collection system built right into the tabletop itself. An internal chamber connects the router bit opening on the top surface with a shop vacuum connection on the bottom. Dust and chips are vacuumed away down the bit opening as soon as they are cut. Remove the extension wing of your saw and determine the size of your new router table extension.
The depth of the extension is somewhat arbitrary. Bolting your completed extension to the saw can be the trickiest part of the proj- ect. So build the frame first; that way you can deal with unique mounting require- ments and interferences from the get-go. The width is critical; the frame should fit snugly between the saw rails.
Then add a ledge inside the frame to support the top; this ledge should be at a depth equal to the thickness of the bottom plywood layer. Now fit the frame into position on the saw. Then mark the location of the bolt holes for attaching the frame to the saw table.
I dabbed black paint around the bolt holes, then pressed the frame against the top. The transferred paint clearly shows the hole location on the wood frame. Drill these holes and elongate them, and all others, for later height adjustment. Now bolt the frame to the fence rails.
You may not be able to use the original fasteners that came with the saw. Leave the frame in place for now; you will be making minor adjustments to subsequent components for access to the fasteners you just installed. Better to do these now than later! Go ahead and set this plywood panel into the frame. Looking from below, you will see that the plywood has likely blocked access to the fasteners.
Mark the location of all fasteners, and turn the plywood layer over. You can now cut away small areas of plywood so that you have room to get a wrench onto the bolt heads. Place the plywood back into the frame and check your wrench access to the fasteners. Assuming you will be connecting the vacuum hose from the back of the saw, the routed recess and drilled hole will look like the photo at left.
I tacked four temporary guides to the plywood to help me rout the rectangular portion of the recess, then routed the rounded ends freehand.
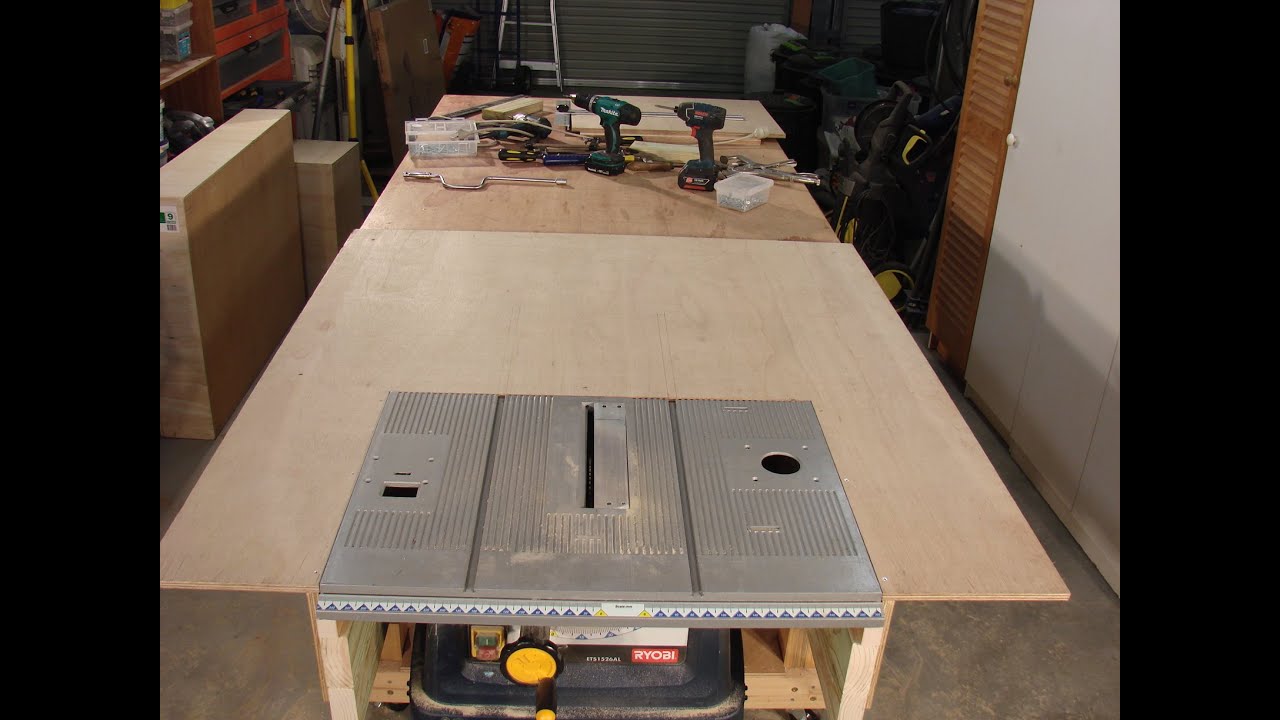
I drew crossed lines on all layers to mark center points. With the frame still in the saw, dry-fit the plywood into the frame. The plywood should be flush with the top of the frame, with the vacuum outlet oriented to the back side of the saw.
Machined nicely, price is better but comparable to other brands! Had a small issue and they are correcting the issue at no expense to me. Some might see this as an issue, but as with anything machined things can happen. The important part is I never felt discouraged talking to the staff.
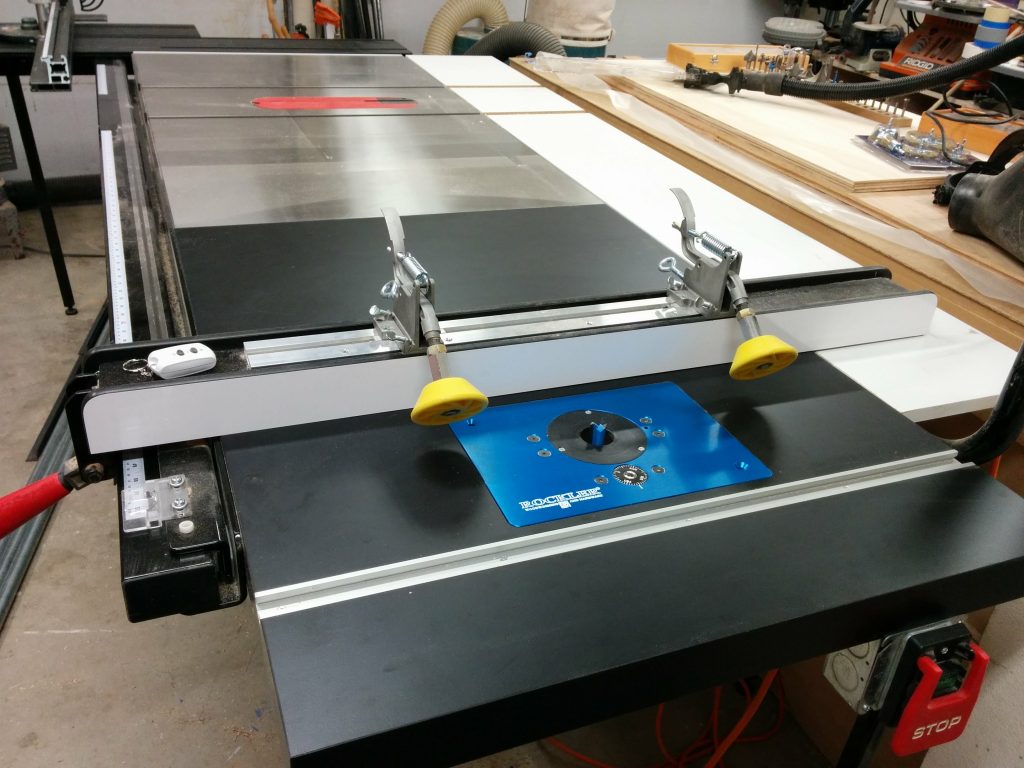
I will buy from MLCS again! Definitely a winning business model. Add your own review for this product. Orders placed at this time will ship the week of March Our phone lines will be temporarily unavailable. Please email sawdust mlcswoodworking. Sign up for the E-Club! Customer Service. Install on your table saw! Includes Measuring Tape that reads both right to left and left to right for easy measurements. Each plate comes with reducer rings to customize the opening of the plate to accommodate different sized router bits.

|
Wood Designing Machine 2020 Dark Mahogany Wood Veneer 70 Open Hardware Monitor Zip View |

VORZAKON
15.08.2020 at 13:21:21
YOOOOOUR_LOOOOOVE
15.08.2020 at 12:37:51
Ronaldinio
15.08.2020 at 16:14:30