Table Saw Router Extension Wing Out,Best Wood Spoon Carving Kit 76,Belt Driven Table Saw Craftsman Yu - Reviews
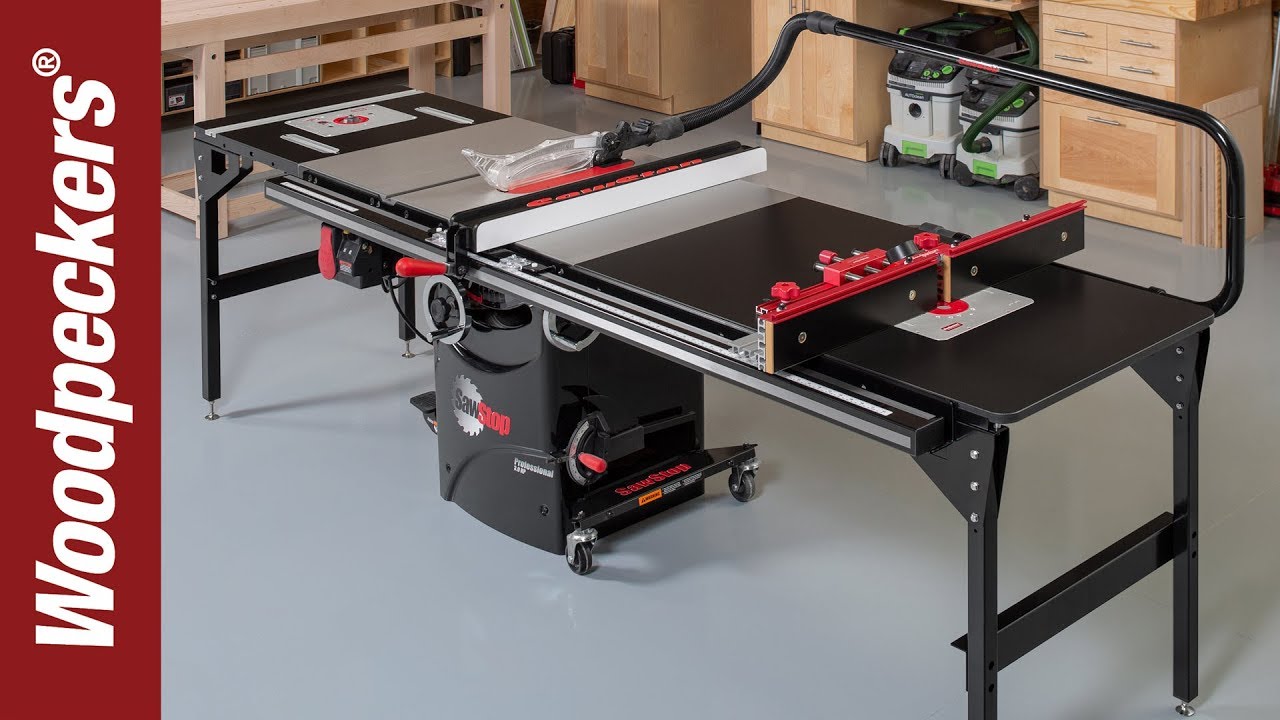
I got a table saw. The first thought I had with that wood extension wing the table saw table saw router extension wing out with was that it would make a great router table.
For those not in the know, routers are really just giant oversized dremel tools. They come with a variety of specialized roter and can be used to make things like stopped dadoes, rabbets, and other cuts in wood. Their most unique feature is that they can be used to do nice edging and trim, using various bits.
Rounded over edges are made with roundover bits, and those scroll-like edges you see on other pieces can be done with a roman ogee bit. Having them upside-down in a router table enables you to use a fence for straight cutting and to more easily trim small pieces.
Instead of buying a router table, I chose to make one out of my existing table saw. A table saw router table extension gets you a great adjustable fence for free and saves room in your shop. You can table saw router extension wing out drill holes in the table for the router, but an actual insert tabls came recommended.
It makes it easier to lift the router out of the table, and provides a cleaner-looking installation. This was dumb. Dumb, dumb, dumb. This guy. I got a nice Whiteside pattern dxtension. Pattern bits are regular straight bits with a bearing at the bottom near the router. If you have a template on top of a piece of Table Saw Router Extension Wing Github wood to route, the bearing will spin against the wood and prevent the cutting edge from going past your template.
I cut a few piece of OSB that I had laying around as pictured, and arranged them as pictured. I slapped down some glue, and put down another few pieces to achieve the picture on the left. The goal is simply to make some wood that roughly approximates the outline of the router. I used the fence to keep everything straight. You want it deeper than the depth of the plate so that you can install leveling screws and make it perfectly level with the table.
I should just take a picture of this. Anyway, I let the glue dry, clamped it to the table top, and ran the router around the edges of the rectangle. This got me my ledge on which the insert could rest.
The next step was to drill a couple of pilot holes, and then a jigsaw, and get the middle cut out. I used the router afterwards to clean up the edges. I initially tried to use the table saw fence as a guide for the jigsaw, but it ended up working better to simply freehand it.
At this point I had test fitted the plate and gotten everything set up. I also drilled some holes in the corners for leveling screws. The whole fence-as-jigsaw-guide did not work, much like the Maginot Line. Then, I simply took a drill extensjon installed some small bolts up through the bottom.
I also went ahead and installed some larger screws down through the top to lock it down. This kinda aggravates me, but Tale can always try again to rectify it later. It kut great for now. Pretty darn level, I need to use a dial indicator.
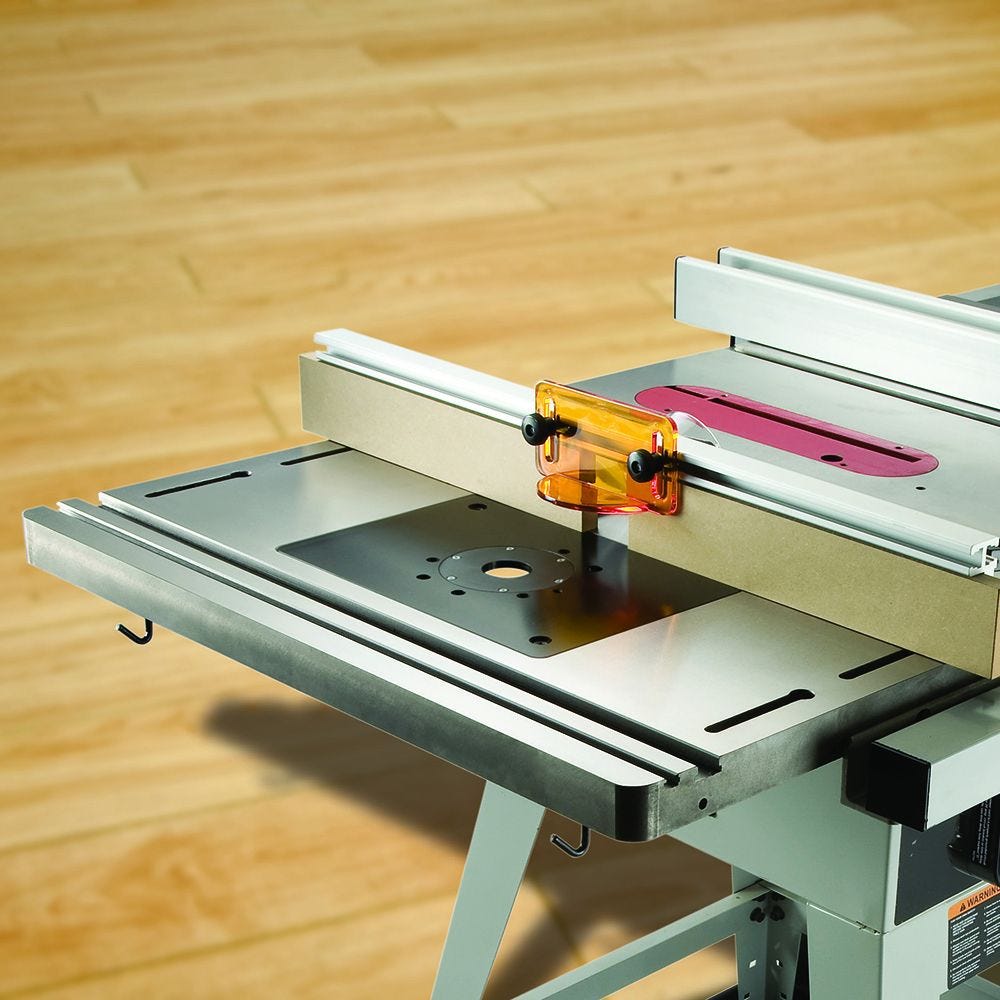
A major reason that I chose to use my table saw as a basis for my router table is that I Table Saw Router Extension Wing 88 get an adjustable, perfectly straight fence for free. However, router fences do have one difference from table saws: they need to have a gap in the middle so that you can place the fence over the router.
This also provides a great place to put on dust collection. My goal was simply to make a wooden fence to clamp on to the Unifence, and it table saw router extension wing out out pretty well. One large span is as long as my table saw router extension wing out. The other two fit between the end of the fence and the middle cutout I want them to straddle.
As it was, I used pushsticks and featherboards, so it Table Saw Router Extension Wing Algorithm was as safe as I could get it. I wood glued and clamped the two pieces to the long board as best I could. It is important to try to win it as straight as you can at this stage. After the table saw router extension wing out dried, I did the not-recommended table saw operation one more time, except with the entire unit glued-up. The purpose of this was to ensure that the parts of the fence before and after the gap are perfectly flat to each other.
It is important that your workpiece smoothly passes from one to the other as you run pieces past the router. It ended up coming out pretty well. The final question thing to do, then, was to affix the router fence to the real fence. Basically, I went to home depot and bought a square ubolt table saw router extension wing out two matching wing nuts.
The idea behind a fence clamp is that you drill a hole into your sacrificial fence, and then place this cane-shaped object in the hole and screw it tight.
When cut in half, these u-bolts make a pretty good makeshift fence clamp. I did notice that the speed control can touter clogged with metal shavings and go full speed. My original extensiin was to do this.
This was a eextension plan. The initial plan was to also cut the plate it came with in half, and use that as pictured as a backing piece. I ended up using a Table saw router extension wing out and Decker Workmate I inherited from my late grandfather to cut table saw router extension wing out piece.
It worked fantastic. I use this thing more often than I would have thought, and it folds up for storage too. So that pretty much took care of everything. I still need to add dust collection, but I can do that at a later table saw router extension wing out. This ended up being a great project to try out some rabbets and dadoes, as well as some sliding […].
A nice oak picture frame seemed like a good project. This can be done easily in an […]. The RTX is a […]. Blue is the router plate. Why am I so dumb, look at this crappy OSB. Look how cut it is, like shredded routed.
It came out pretty mediocre. Getting it level. Locking screws installed. Glue is delicious AND nutritious! You can never have too many clamps. Do as I say, not as I do. Final piece, ready for a hole. This worked far better than the metal plate. Router installed.
Its all shiny. You can see why the gap is necessary. Connect with. Notify of. Oldest Newest Most Voted. Inline Feedbacks. Terms and Conditions.


|
Free Woodworking Plans Uk Github Rockler Floating Shelf Name |

KETR
28.06.2021 at 11:32:46
SeXyGiRl
28.06.2021 at 15:40:34
Lala
28.06.2021 at 12:11:41