Making A Workbench Vise Learning,Cnc Wood Carving Machine Coimbatore Data,Marking Knife For Woodworking Paper - Videos Download
The stop will tell you if you have any of these wrong, because your wood will move. Stops can come in all shapes and sizes. The holes are also handy when it comes to using holdfasts. My favourite kind of bench stop though is a planing spike. These provide a nice broad face to butt your work against, and that face is toothed to offer some grip in the edge of your boards. A planing spike in my opinion should always be made.
A holdfast and a few sticks can be used alongside your stops. This combination will do everything, and do it far more elegantly and swiftly than a tail vice. Fancy designers will talk about negative space, and how the blank areas are actually a part of the design. That arse end of the bench is far more useful left blank, so you can cut off it.
There seems to be a temptation when building a bench to plan for all eventualities. I used to get requests for workbenches with four vices. A far better approach is to do the opposite. The only extra my bench has is a nail in the end for hanging a brush. I use that nail all day, every day.
We include PDF plans together with the detailed build videos. As a professional hand tool woodworker, Richard found hand tools to be the far more efficient solution for a one man workshop.
Richard Making A Workbench Vise Zoom runs 'The English Woodworker' as an online resource and video education for those looking for a fuss free approach to building fine furniture by hand. Richard — I totally agree — I drank the cool-aid and build a rouboesq bench 4 years ago and since then have use Making A Workbench Uk 13 the tail vice maybe a handful of times — I did add a toothed planing dog and that has worked great.
I agree with most of what you say Richard. You are always a paragon of common sense. The hardware for my tail vice came from a cheap old workbench I used to have so I thought I may as well utilise it.
I regularly cut wood off this end of the bench and the vice causes me no problems. All the best! If you Making A Workbench Vise Volume install a spiked stop on your new bench, you may even find you start ditching the battens a fair bit as well. I went with a single face vise because it was all I could afford. That was five years ago. Ooh, very timely post. Ta very much. If you get the chance, it would be great to hear your thoughts if any on sourcing screws.
I have also glued up the trestles already, so chopping from the inside of the leg will be inconvenient. I also need to think a bit about the placement of the legs and the vise — the room in the basement is small and crammed full of stuff already and we just moved in — bloody hellfire!
Oh, and the vise… right. I might have to mount it more to the centre of the bench, because it might be more convenient i. Is there any disadvantage to that? Total bench length will be about cm 6ft -ish, a bit less.
Another thing: I really like your videos. They are well presented and well made and worth every penny! If somebody reading this is wondering about sharpening or the bench build: Get the videos! They are fun to watch and the methods work, even especially? Once the bench is made I will build the spoon rack, it looks like a good project to learn on small and not too scary, except for the dovetails. Hi Richard, most of this makes a lot of sense, I just wonder about fenced planes.
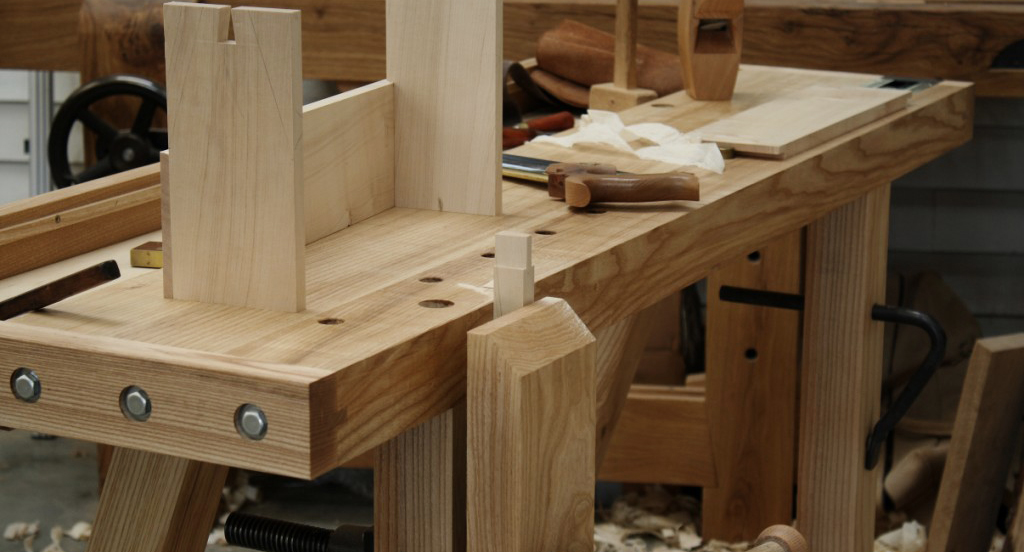
A tail vise seems like the simplest way to hold a piece so that the edge is flush with the front of the bench. Hi Nathan, In theory, I always thought this too. A holdfast, batten and spiked stop will do the holding here just as well, and you can work on infinitely narrow pieces. I have an inset tail vice — use it all the time. The work is butted against a veritas planing stop so I can just pinch the workpiece enough to stop it moving without any distortion to the piece being worked on.
Maybe my technique is poor as you eluded to. I thickness all of my material by hand, and have never needed a tail vice. Hello Richard, I just finished building an English Workbench from your fantastic video series. It was my second woodworking project ever, so anyone can make this bench. Mine is probably a wee bit long at 3. The only minor changes I made to your design was to put on a leg vise I splurged on a Benchcrafted Classic Crisscross and two rails to reduce the chance of any racking.
No tail vise, no other doodads. Not needed. I just use one or two holdfasts and a batten to stop lateral movement as you showed in another great video. I did struggle early on with just the planing spike, but the constant feedback you get in using only the spike ensures you keep correcting until you do it right.
The other great advantage, which you also mentioned, is the ease and speed you can shift a piece from the bench top to the vise. You can adjust either screw should the vise jaws get out of parallel. You can intentionally make the jaws unparallel for clamping irregular-shape workpieces. You need to cut a big arc or wheel out of a sheet of plywood, but you know that a handheld jigsaw Skip to main content. Bench Vises.
Facebook Pinterest Twitter Text. Printer-friendly version. Read more about Workbenches or Clamps and Clamping. More Workbenches All Workbenches. Where should you position bench-dog holes? Tool-tray system adapts to your changing needs.
Buying a Workbench. For more related content, subscribe to our newsletter! Multipurpose Smith Shop. Make the Most of Your Garage Shop. Router Jigs. Century-old Converted Workshop. Tip of the Day.
Cut Perfect Circles with a Router Trammel. To fix the rod, we added a small hole through the T-piece and the rod and insert a small bolt. Now you can turn the rod by turning the T-piece.
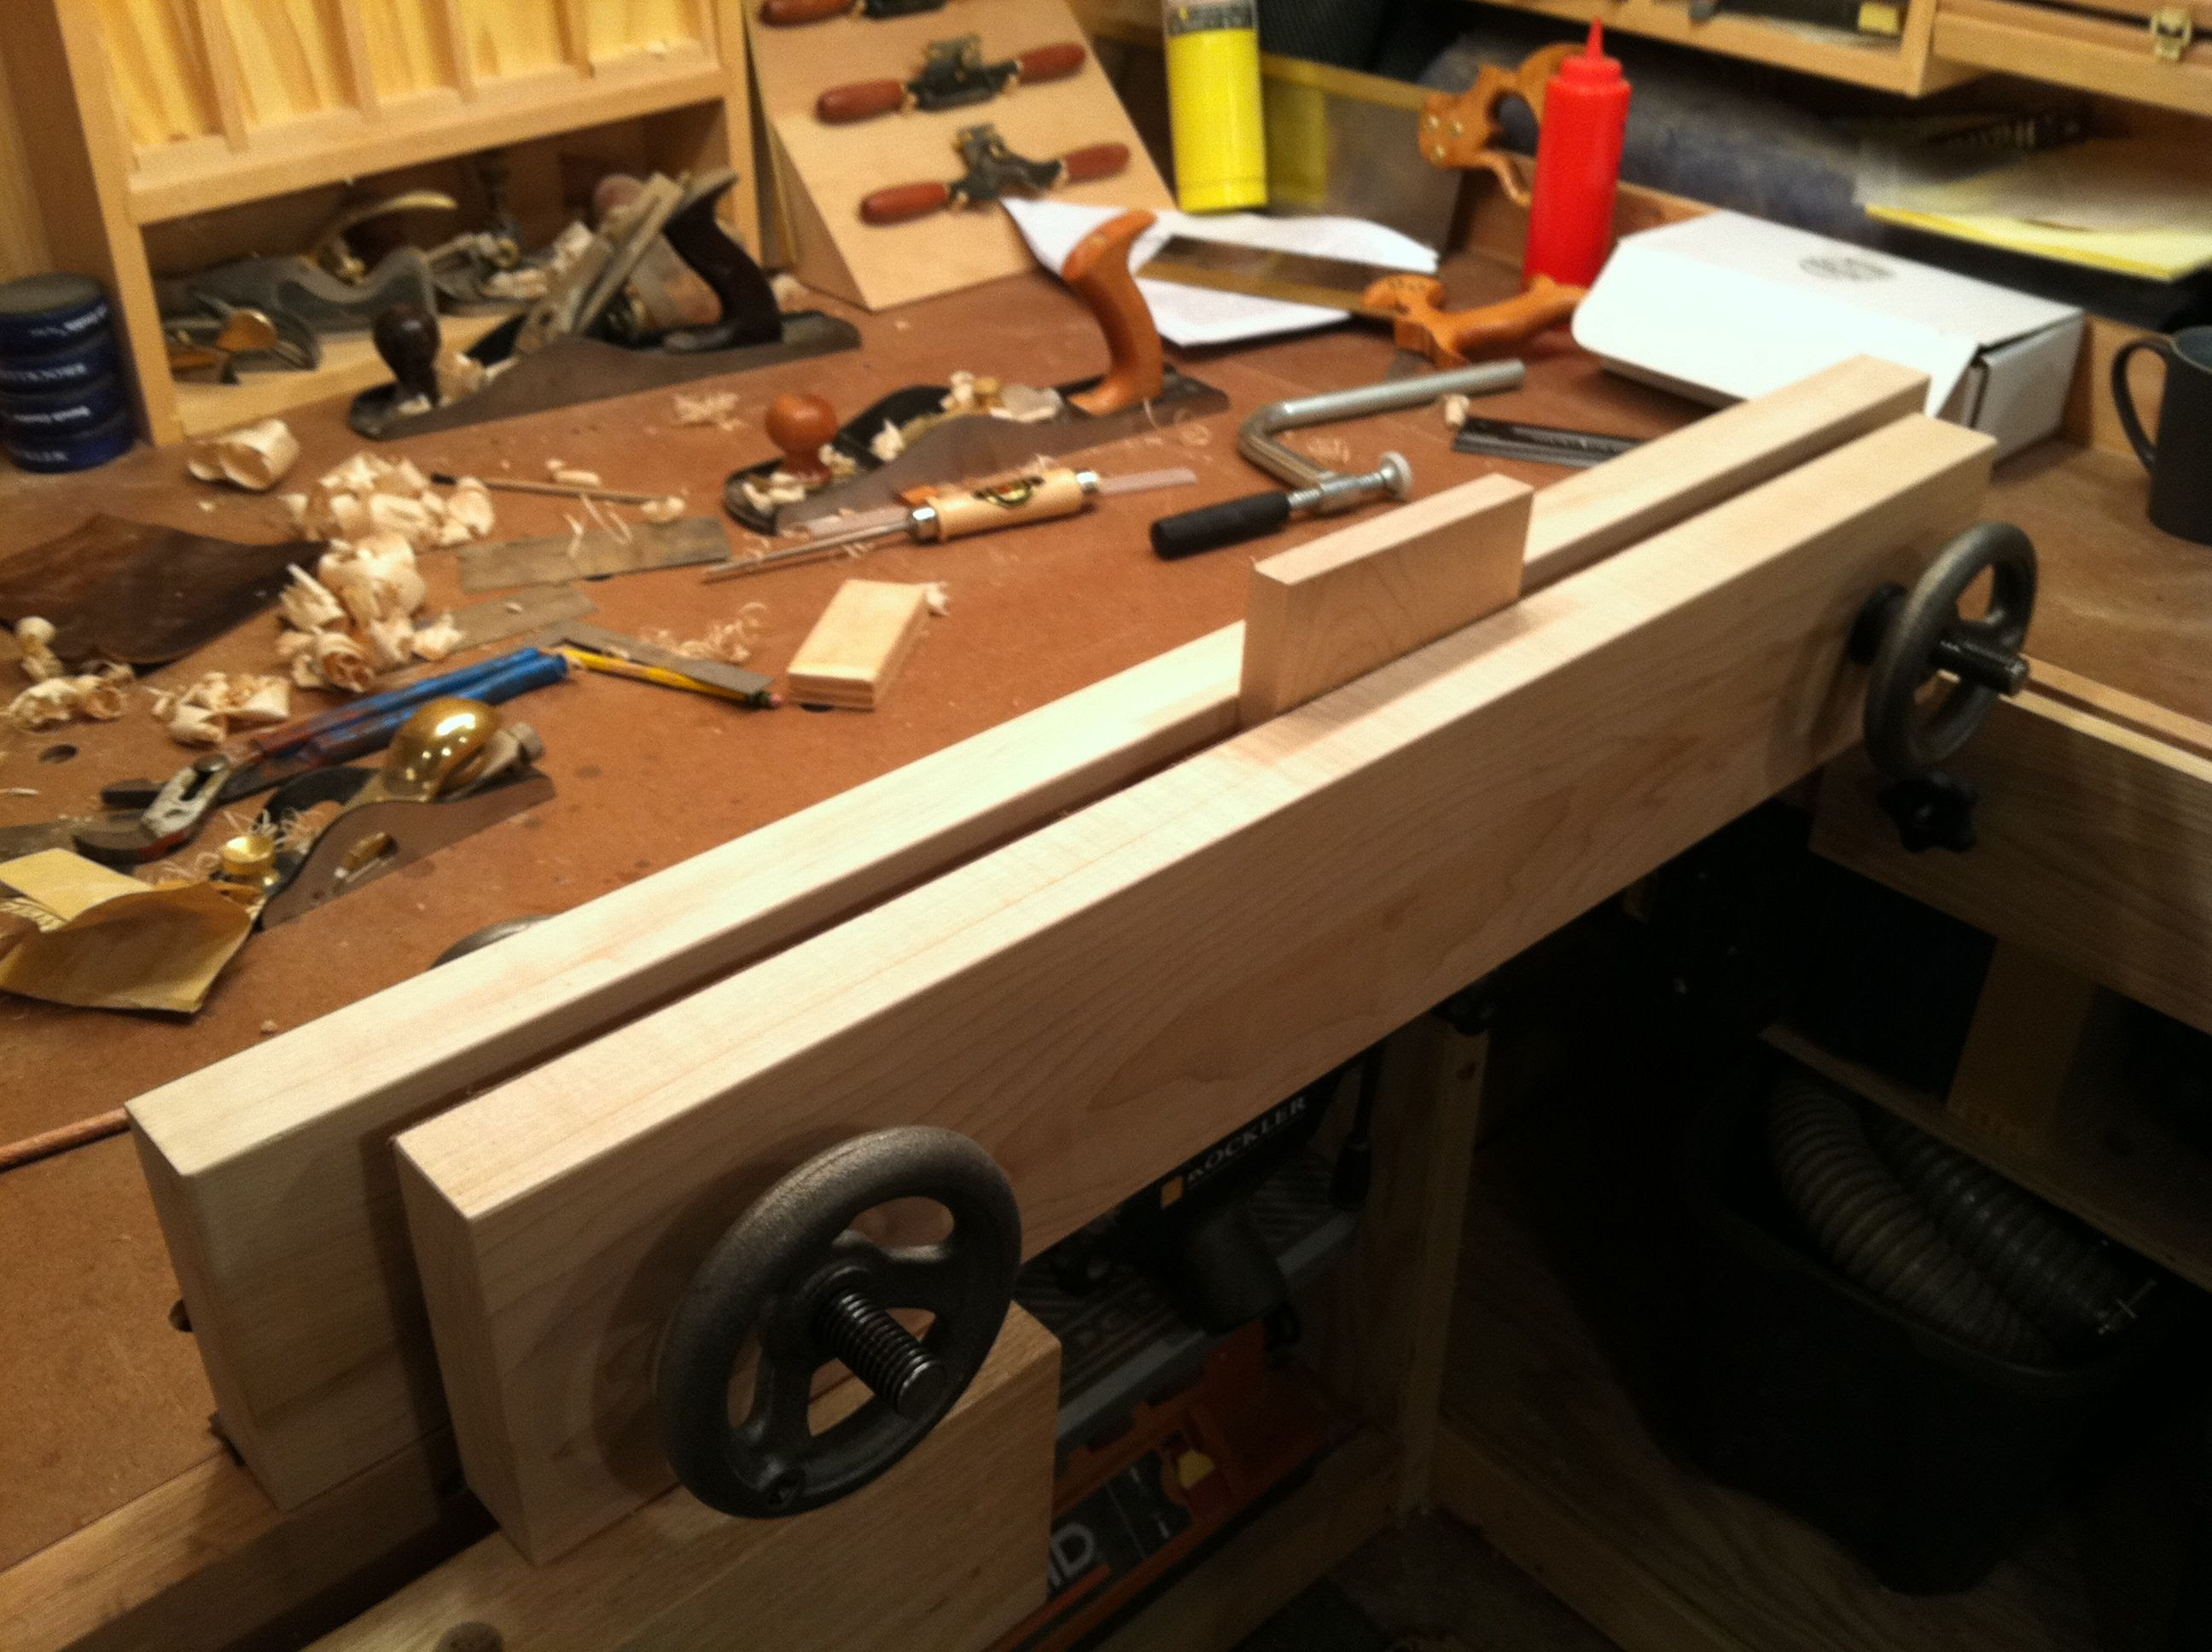
The washer we added is very important. It will later hold the jaw of the vise and will make it move when you want to open the vise. Both parts are finished. Let's try if everything fits together. Looks very good. The difficult part is done. Now comes some woodworking. So what we need next is a moveable jaw for the vise. My dimensions are 40cm by 15cm, but you can adjust them to your needs. I use scrap wood I have laying around.
I would use some kind of hard wood for the jaws, but unfortunately I don't have enough, but I use a little trick. The core consists of three pieces of roof batten made of spruce. It's too soft in my opinion. To reinforce the surface, I use an old piece of laminate I have left over from our master bedroom flooring. The laminate is very strong and is just perfect for this job. I simply cut two pieces into the right dimensions. Now I got my laminate-spruce sandwich :.
I glue all pieces together using wood glue. After everything is dry, I reinforce the structure by applying some counter-sinked screws on both sides. But this is totally up to you. The glue should be enough I guess. They have a length of 50cm.
You can adjust the length to your needs. I don't have a drill press yet, so I use a rack for my driller to get the holes perpendicular to the surface. The hole in the middle is for the threaded rod and has to go right through the jaw. I add two more holes for the support pipes. These holes should not go right through.
Therefore I use a forstner driller. I insert the copper pipes and mark the middle to the bottom side of the jaw. I use a metal drill to drill two small holes through the wood and the copper pipe. I insert and counter-sink two screws to mount the pipes to the jaw.
This time I need three holes which go right through the workbench. I use my rack to get everything in a right angle. I finish the surface with a sander. Remember the washer, which we welded to the T-piece?
Now you'll see its purpose. I need some kind of flange, which will connect the jaw to the rod, but still loose enough to allow rotation. This allows the jaw to move with the rod while opening the vise. I use some scrap piece of laminate and mark a wide enough square in my vase 7cm time 7cm.
I find the middle and cut out a round dent using a forstner bit the diameter should be wider than the washer, the depth should be deeper than the thickness of the washer. The dent will later house the washer and must not go right through the laminate. I use a second smaller forstner bit to cut right through the diameter should be smaller than the washer's and bigger the nut's diameter.
I use a handsaw to cut the piece in half so I can mount it to the jaw.


|
Dust Removal System Te Drs 6 A Case Ii Triton Plunge Router Review |

VORON
19.09.2020 at 18:49:16
boss_baku
19.09.2020 at 22:19:31
Dj_Dance
19.09.2020 at 12:43:55