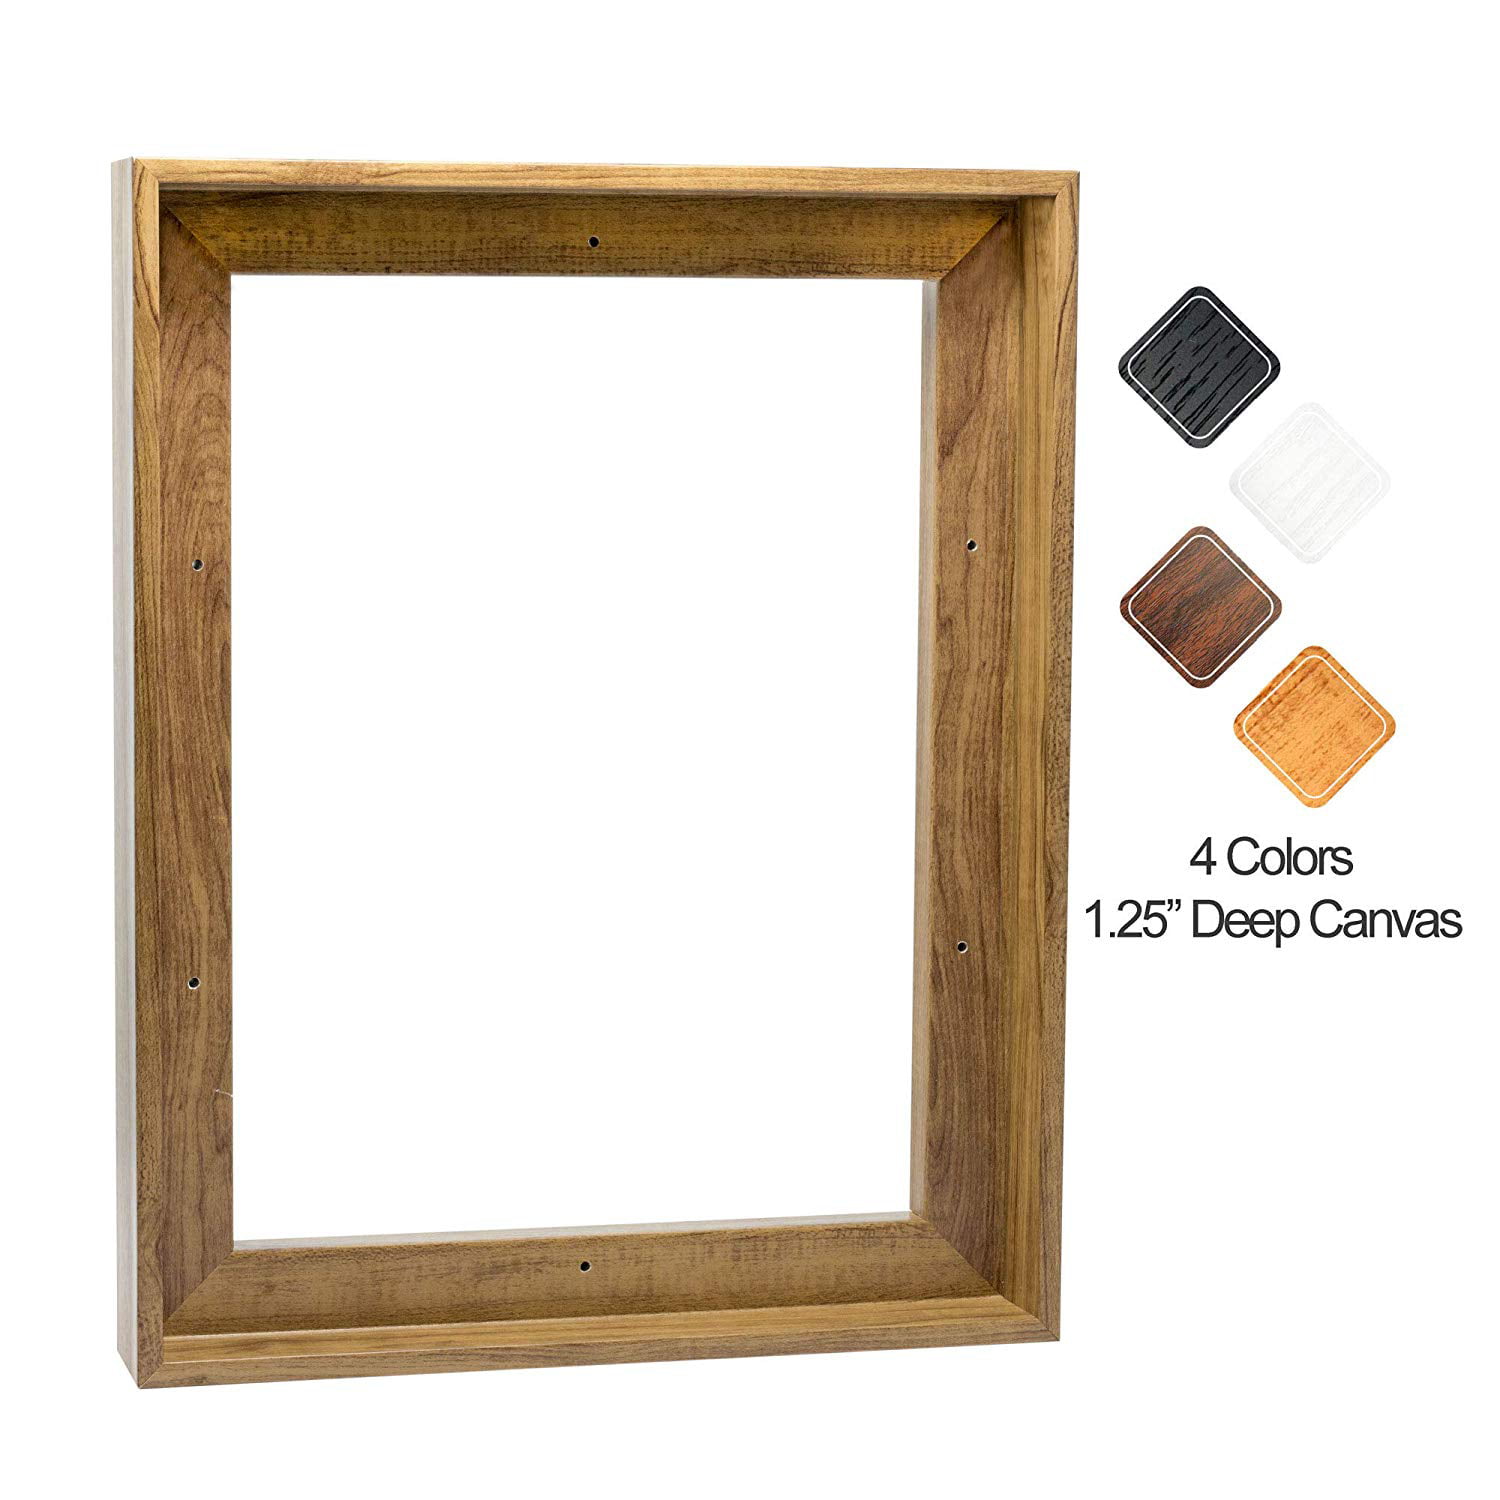
Make A Floating Frame For A Canvas Painting Or Print,Cabinets Door Knobs And Pulls No,Mafell Chain Mortiser For Sale 50 - Plans On 2021
We decided to nail into just the the top and bottom frame pieces only, instead of the sides which would be more visible. Once each corner had one nail, we flipped the frame over to add a second nail because the nail gun can only get so close to the ground and you have to nail straight in.
The frame took eight nails total. If you looked closely, you could see the wood corner braces in the gap behind the canvas, so I painted the visible areas black to hide them.
I gave mine a light coat of Minwax Driftwood , which is mostly transparent but gives it just a hint of color and makes it look more finished. Below you can see the natural wood on the left and Driftwood on the right:. Now place the canvas back into the finished frame, and use spacers to evenly center it. A cut up Amazon box did the trick for us.
Now, flip the canvas and frame over onto a hard, even surface. We had to elevate ours slightly since the canvas was recessed back from the frame. We found a wood shelf bracket in the garage, and placed a towel in between to protect the art.
With the canvas against a solid surface, we hammered a couple finish nails through the back of our braces. We would have used our nail gun, but our 1. Nothing wrong with an old school hammer and nails! Two nails per corner brace into the canvas does the trick.
So glad we took the extra steps to make the canvas frame floating instead of attached directly to the art. And that wraps up this painting project! I Build A Frame For Canvas Youtube can finally reveal the project that I started a month ago and many of you have been asking about on Instagram.
Hi Jenna Sue! I love your blog! My husband and I are closing on a house tomorrow and we will need to furnish, decorate, etc. Do you have a list of your favorite companies that How To Make A Frame Print 8th you ordered online thru? Congrats Angela! I bought essentially everything for our new beach house from these stores this past month. Hope this helps and best of luck to you! I was wondering if you could clarify two measurements for me in your tutorial. Since you mention the boards should be 1x2x8.
Was your scrap wood different dimensions? Hi Caroline! Miter cut each edge at a degree angle. Create the frame by placing the 1 x 3-inch boards in a square or rectangle. Use wood glue to hold them together and clamp.
Let dry. Add two panel nails per corner to secure the frame. Apply wood glue to the back of the frame, then lay the precut plywood piece on top. Make sure all edges are properly aligned and let dry. Add panel nails around the back edge to secure.
Stain the 1 x 3-inch boards and part of the back panel that will show. Use a staining rag to wipe away excess stain. Once dry, paint the inside lip of the frame with your choice of accent color. We used gold. Make sure to use painters tape to create a crisp line. Determine a place to set the screws that will hold the frame to the wall.
They should be low enough on the plywood sheet so they're hidden by the canvas. Once marked, use a level to ensure the frame is straight on the wall before drilling screws to secure.
Use adhesive hook-and-loop tape to attach the canvas to the frame. Editor's Tip: If you're framing large artwork, use a stud finder to mount the frame to wall studs. How to Make a Floating Canvas Frame. By Hannah Bruneman June 06, Each product we feature has been independently selected and reviewed by our editorial team.
If you make a purchase using the links included, we may earn commission.


|
Kreg Table Saw For Sale Usa Router Pattern Guide Windows |

ASK_MAFIYASI
21.11.2020 at 21:56:47
Princessa
21.11.2020 at 23:41:30
BLADEO
21.11.2020 at 22:23:29
Diams
21.11.2020 at 12:11:51
Rambo666
21.11.2020 at 10:34:55