Drawer Guide Rails Install,Diy Woodworking Bench With Table Saw Js,Rockler Undermount Drawer Slides Data - Downloads 2021
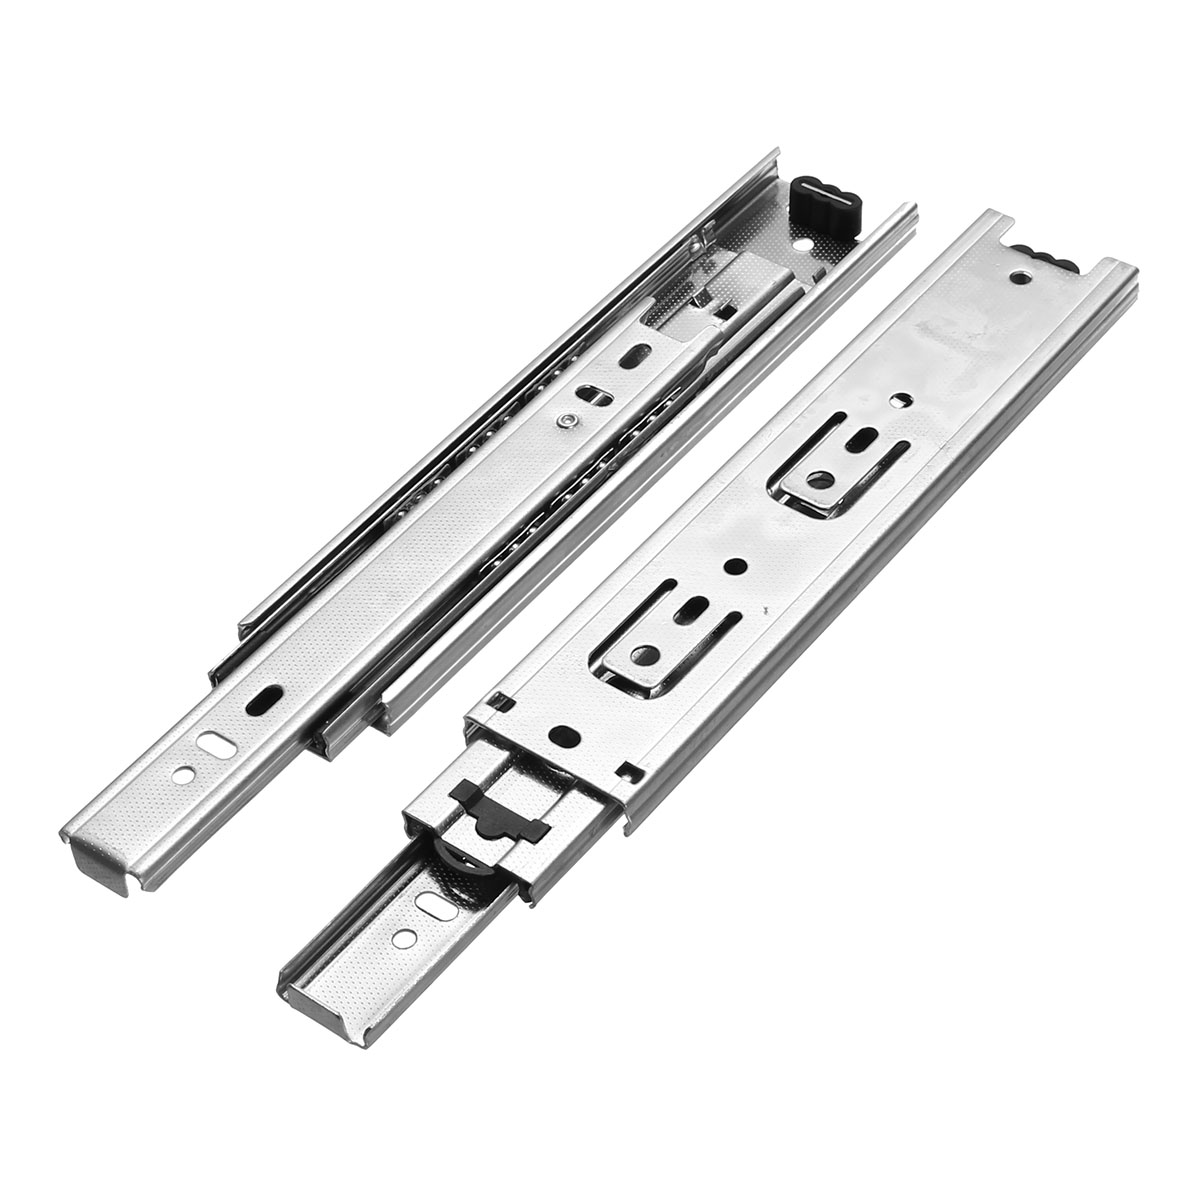
While there are many types of drawer slides one can purchase or make, I always seem to gravitate back to these full-extension ball bearing slides. I find I never have to worry about the drawer tipping out or binding the way I do drawer guide rails install other systems.
With that said, they are also extremely easy to install. Note: Measurements drawer guide rails install installation are tailored to our Midcentury Nightstand tutorial. Difficulty: Easy. With a couple careful measurements, these slides Installing Side Mount Drawer Slides Quick screw right into place.
Tape Measure. Thank you. I have been struggling to work out how to fit them ever since they arrived. The very obvious point 5, gave me the prompt to go back and drawer guide rails install the sliders for some sort of mechanism to detach the section that fits to the drawer. How much space is needed between the side of drawer and side of cabinet, to install side mount slides?
Hope this helps! Drawer guide rails install different height for different drawers in different cabinets, what is the best and easiest way TD calculate the distance from the bottom of the cabinet for the first slider installation? I like your website and I like what you do.
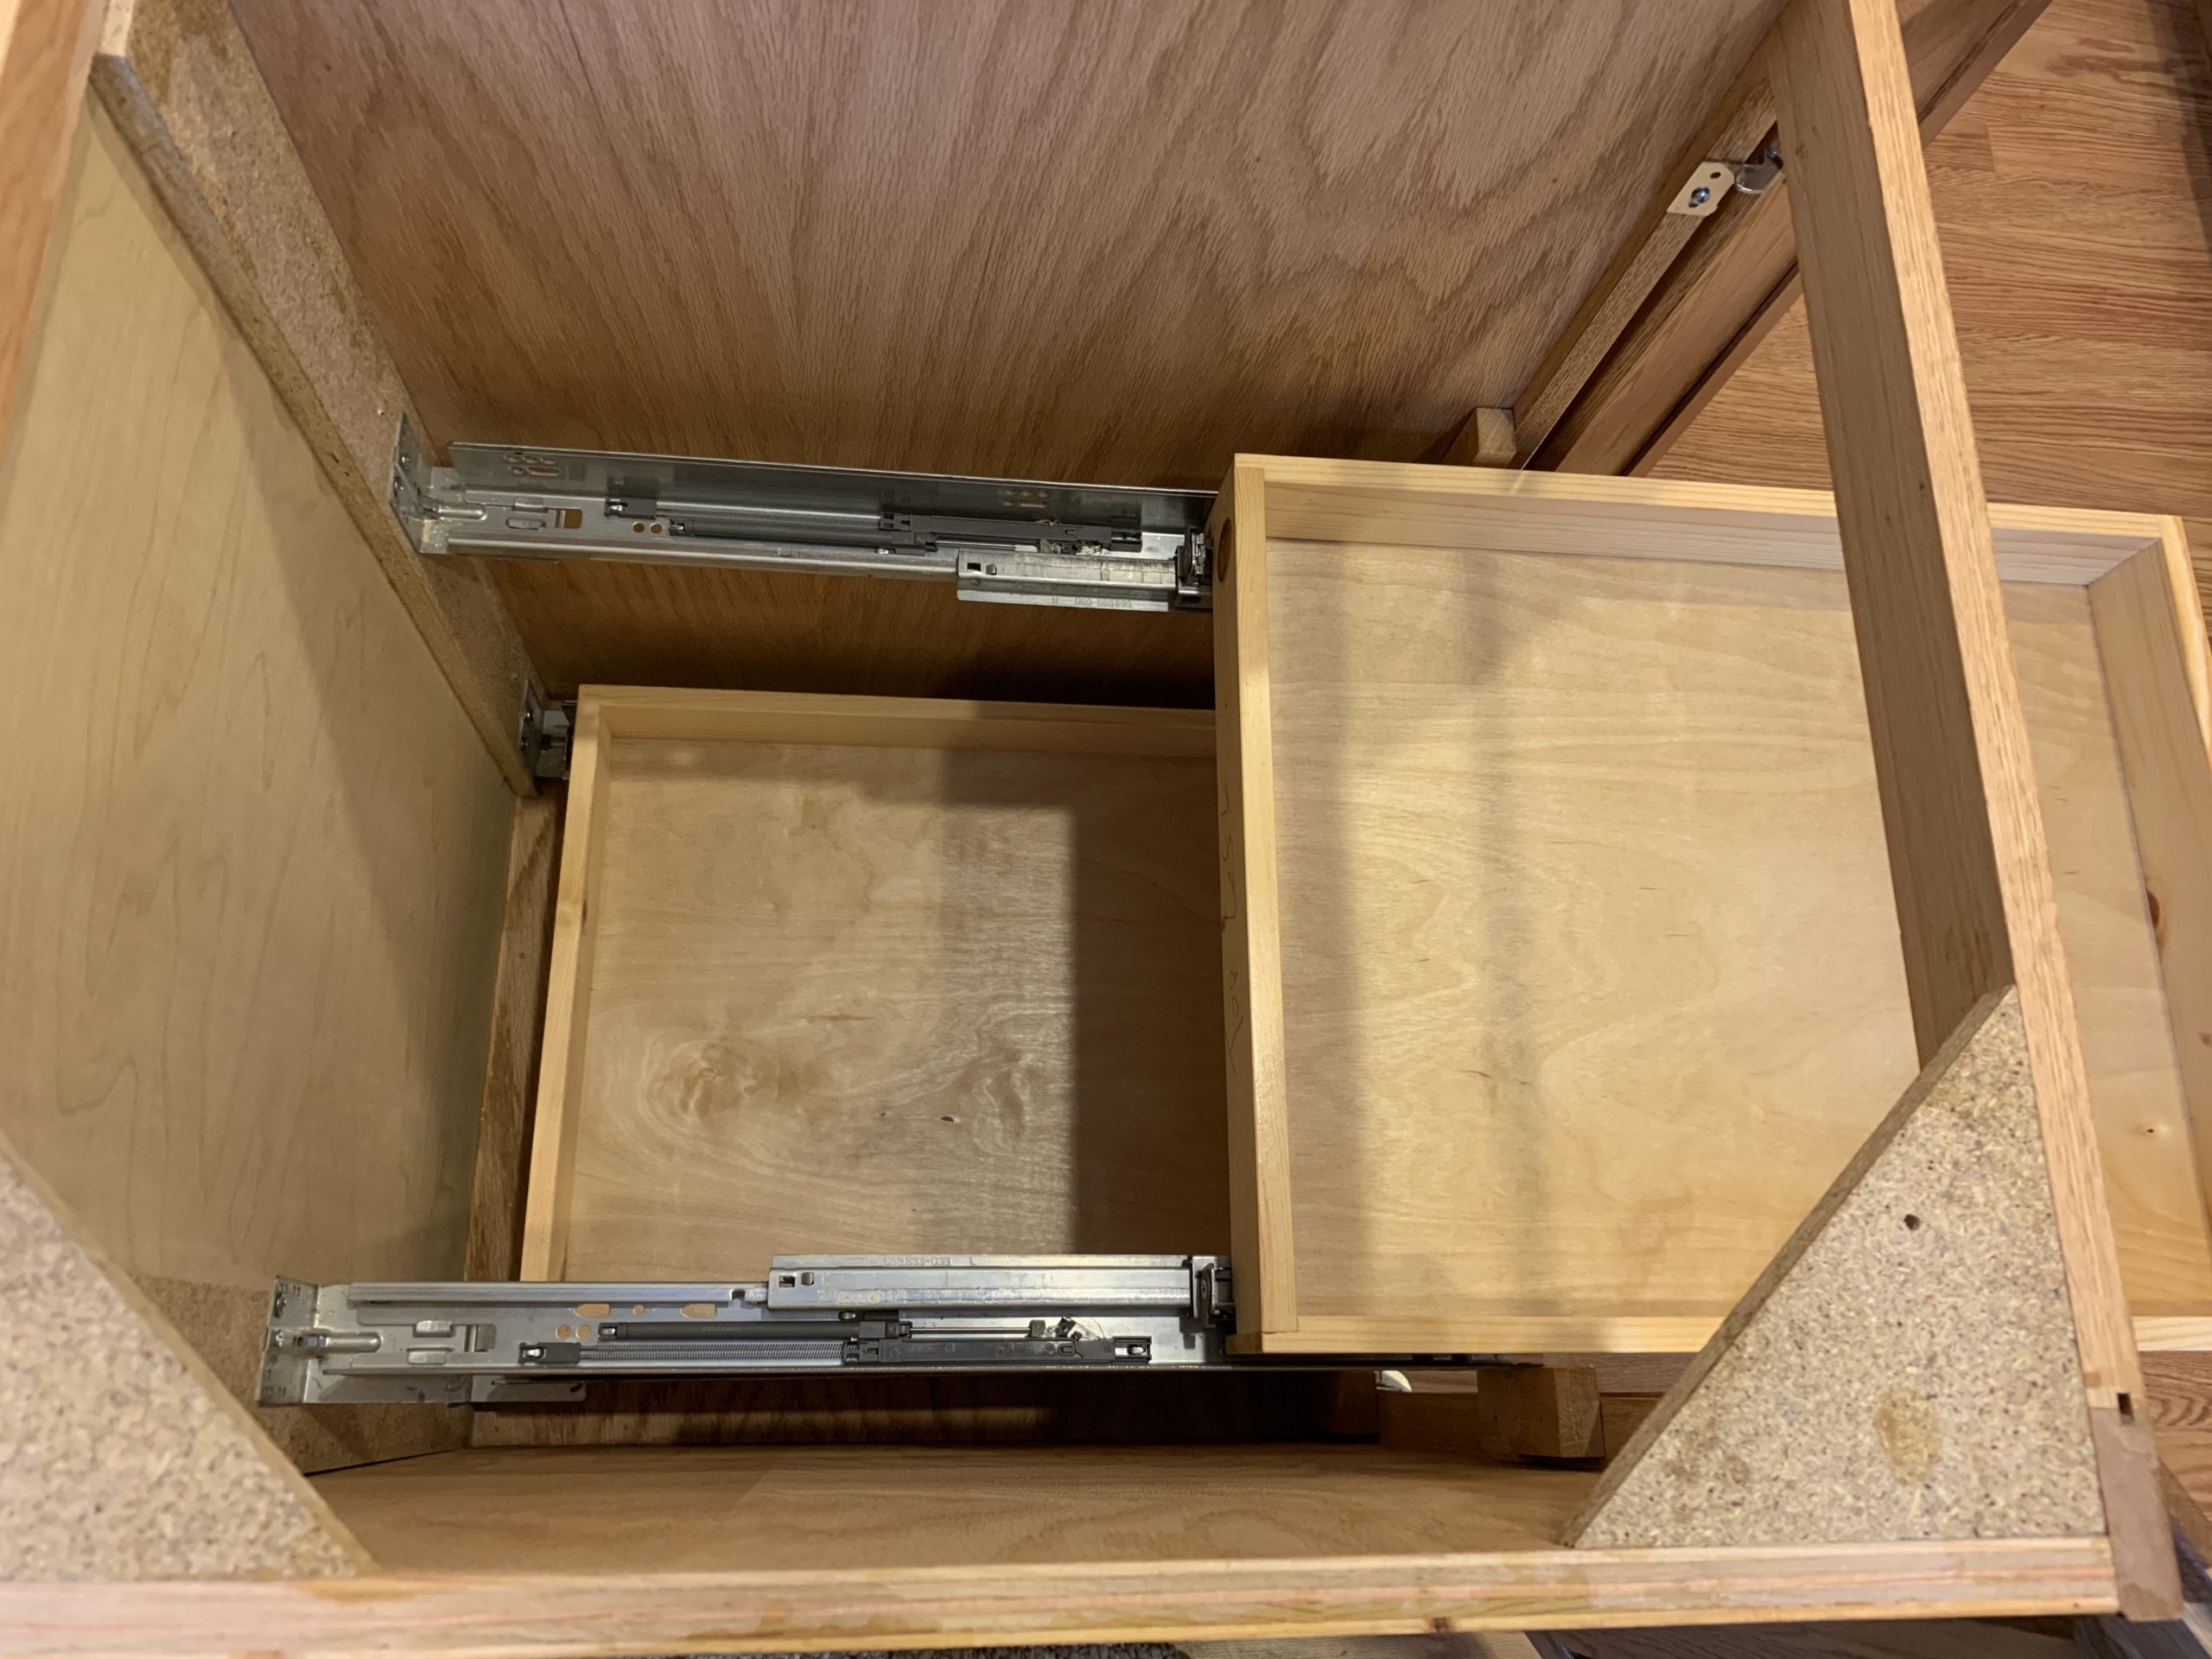
The X on the sign-up page drawer guide rails install on the upper right corner, but can be difficult to see—especially on mobile. Again, my apologies for the inconvenience! I'm Jenn. Thanks for stopping by Build Basic. Click on the photo to learn more. Using the marks and a straightedge, draw a drawer guide rails install line across the wall on each inside wall of the cabinet. Align the bottom edge of the first slide above the line, as shown. Position the front edge of the slide behind the mark near the face of the cabinet.
Holding the slide firmly in place, push the extension forward until both sets of screw holes are visible. Using the screws provided, mount the slide to the inside of the cabinet. Repeat steps 2 and 3 to mount the second drawer slide on the opposite side of the cabinet. Using a tape measure, mark the center of the height of the drawer box on its outer side walls.
Note: this drawer is shown without the drawer face, which will be installed at the end of this tutorial. Using a straightedge, mark a horizontal line along the outside of the drawer box on each side.
Remove the detachable section of each drawer slides, and place it on the corresponding drawer side. Position the slides so that they are centered on their corresponding line and flush with the face of the drawer box, as shown. Hold the drawer level in front of the cabinet.
Place the ends of the slides attached to the drawers into the tracks inside the cabinet. Pressing evenly on each side drawer guide rails install the drawer, slide the drawer into place. The first slide inward can sometimes push a drawer guide rails install tougher, but once the tracks are engaged, the drawer should slide back out and in smoothly. Apply wood glue to the face of the drawer box. With the drawer closed, position the drawer face with equal gaps along the top and side edges.
Using clamps, secure the drawer face against the drawer box. Carefully slide the drawer open, and then drive 1-inch screws through the holes in the drawer box and into the backside drawer guide rails install the drawer face to secure it in place.
Leave a Reply Cancel reply Your email address will not be published. Comment Name Email Website.


|
Fein Turbo 1 Vacuum Cleaner Cabinet Latch Lock Generator Wood Designing Machine Price In India Website |

Drakula2006
18.09.2020 at 20:54:24
T_U_R_K_A_N_E
18.09.2020 at 20:22:11