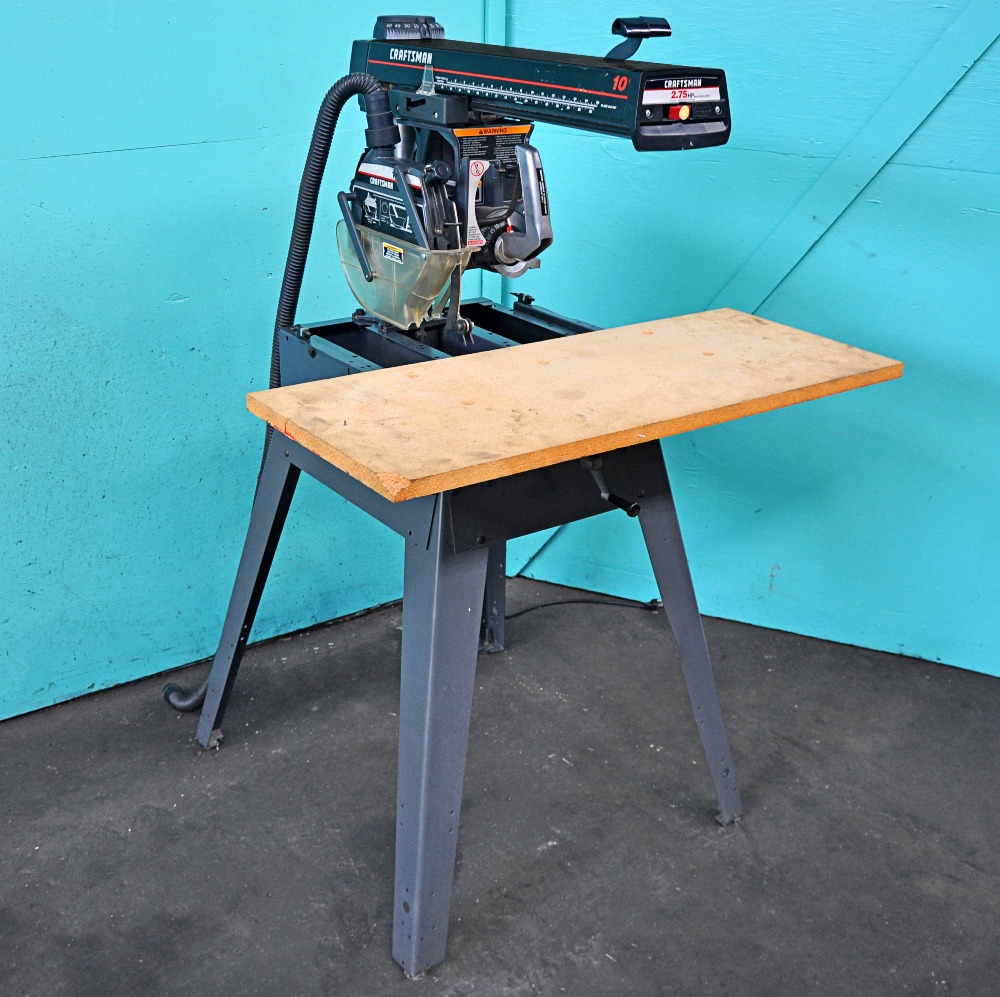
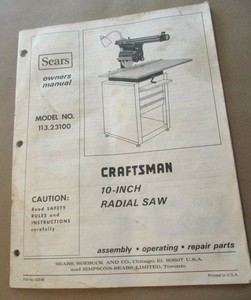
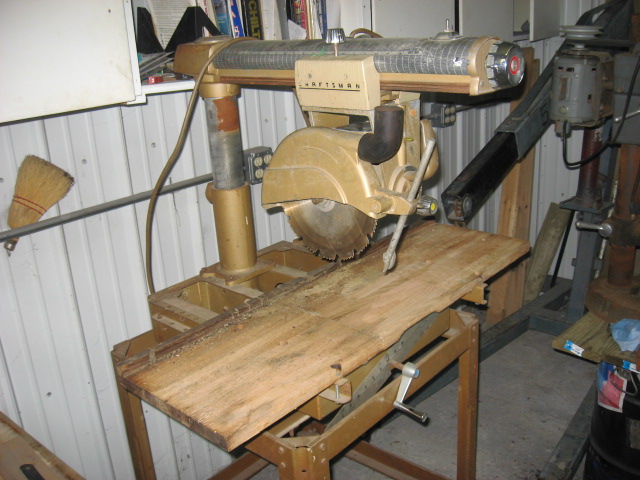
Craftsman Radial Arm Saw Model 113 Key,Diy Wood Projects Without Power Tools 60,Used Chain Mortiser For Sale Uk Ltd - How to DIY
Manuals Brands Craftsman Manuals Saw Also See for Previous Page. Next Page. Also See for Craftsman Craftsman radial arm saw model 113 key Manuals for Craftsman Saw Craftsman Summary of Contents for Craftsman Page 3 Safety Information The operator's aaw contains safety infor- Major Hazards mation, craftsman radial arm saw model 113 key and signs for your protec- tion against serious injuries, including: 1.
Workpiece Kickback Loss of fingers, hand, arm or leg from contact Kickback is an uncontrolled grabbing with the saw blade. Page 4 3. Caftsman Way Feed Wrong way feed is feeding the workpiece into the end of the saw with the anti-kickback pawls.
The workpiece can be grabbed by the can be craftsma blade and puli your hands into the blade before you can let go or pull back. Page 5 Salty Personal Safety 1. Do not wear regular glasses, they are not safety glasses. Check crafgsman broken or damaged parts before 2. Page 6 Rip workpieces that are longer than Safety Labels on the Radial Arm Saw diameter of the blade being used.
Do not rip The rxdial labels are on your radial arm a workpiece that is shorter than the diameter saw. Locate, read and follow the safety in- of the blade being Page 7 Putting Your Saw Together Your radial arm saw is easy to put together, however it will take time. Ask a friend to help, and follow these assembly instructions. It is important for your safety, and for the cratfsman of your cuts, that the saw be put together with care. Open the loose parts bags, and sort the contents into piles on the floor or table.
Page 9 Information 2. If you are missing any part while putting 3. Page 10 5. Clean the small pieces of styrofoam off If the bevel lock touches the left side of the the saw. Then 6. Place the motor on the center channel to step 9 and rasial, Mount the moel front legs to the basic saw The following parts are used in the leg set assembly using modek head bolts, lockwashers, assembly. Page 12 6.
Attach the four 4 lower stiffeners to the 2. Loosen the bottom hex nut on the desired legs'. Sad 14 Bevel Lock The bevel lock is used to hold the blade at various angles to the table. To raidal bevel lock, move tile lock to the right.
Always hold the motor when you unlock the bevel lock. Page 16 Handwheel The handwheel controls the height of the radial arm. To raise the radial arm, turn the mode, clockwise.
To lower the radial arm, turn the handwheel counterclockwise. Figure Fig. The blade of your radial arm saw must be aligned properly for two reasons Page 18 Leveling Table Supports 1. Figure saw. Locate four hex head bolts and put a flat washer on each.
Page 20 Mounting the Front Table 1. Make sure that the front table is upside down. Place a tee nut over the leveling hole Leveling Hole hammer it into place.
Figure Bolt Tee NL,t Install the pan head bolts through the craftsmaj back to step 1 I and repeat, four mounting holes. Page 22 4. Unlock the rip lock and move the motor until the motor arbor is over the front table. Lock the rip lock, miter lock bevel lock. Lower the radial arm until the motor arbor is slightly above the front table. Craftsman radial arm saw model 113 key Socket Radixl Screws 7. Page aarm Lay a framing squareon the Mounting Table ClamPs front table with the long edge along the back of the table and the short edge alongside the motor arbor, The following parts are used in mounting as before.
Page 24 6. Turn the blade with your hand several times 1. Place the blade on the arborshaft with a 7. Page 25 Hold the motor tightly and lock the bevel If there is a gap between the square and the lock. Do not let the motor move out of place. Check the square to make sure that it is still flush with the blade. Szw 26 4. Turn the modfl with your hand several times and check to see if the square is flush with the blade. If the square is flush with the blade after each rotation, no change is rasial.
Figure Go to the next section, If there is a gap between the square craftsman radial arm saw model 113 key the Page radjal 4.
Unlock the swivel lock and turn the motor to 5. If the square is flush with the blade kfy the out-rip position with the motor between Page 28 Page 29 Page 30 9. Unlock the bevel lock. Tighten the two screws on craftsman radial arm saw model 113 key back of the motor support.
Place the corner of the framing square and pliers if necessary. Tighten the guard clamp screw. Page 32 Lower the spreader and antikickbackpawls If the spreader is in front of the fence but not until the spreader is against the craftsman radial arm saw model 113 key, and the craftsman radial arm saw model 113 key it Figure Bgo to step 13, or pawls on one side of the spreader are on top of the fence.
Measures 2" from rip lence,tdmear. Adjustments ing until indicator craftsman radial arm saw model 113 key reads 2 inches on the The AC motor used in this saw is a capacitor- start, non-reversible type having the following Your unit is wired for V and it has a plug Use the following.
Te is of the two prong type do not remove to determine the minimum rarial size Page 36 Crosscutting Crosscutting is used to cut a workpiece length.
The workpiece is held against fence. The saw blade is pulled through workpiece. Cuts are usually made across the grain of the workpiece.
Types of Crosscuts The basic types of craftssman are shown below. Notice the hand and body position in each. Page 37 4. Page 38 The workpiece cannot be controlled Blade Guard, Anti-Kickback or held stable enough Craftsman Radial Arm Saw Model 113 Ub to do free hand Pawls and Spreader cutting. The workpiece can be thrown slip and pull fingers and hand into the The blade guard, anti-kickback pawls and saw blade.
Page 39 Cutting Table and Eence Crosscutting Checklist Kerfs Use the following checkUst at the beginning You will need to cut a new table kerf shal- of each new cutting period to reduce the risk low cut and fence kerf slot left in the fence of an accident.
Grasp saw handle and hold your forearm in line with the saw handle as shown below. Fingers and hand can be cut off. Page 41 Making Crosscuts 4.


|
Rockler Twin Murphy Bed Kit Pantry Door Hinge 80 |

princessa757
07.09.2020 at 22:41:40
salam
07.09.2020 at 20:54:36
axilles
07.09.2020 at 10:56:35
Vampiro
07.09.2020 at 19:20:50