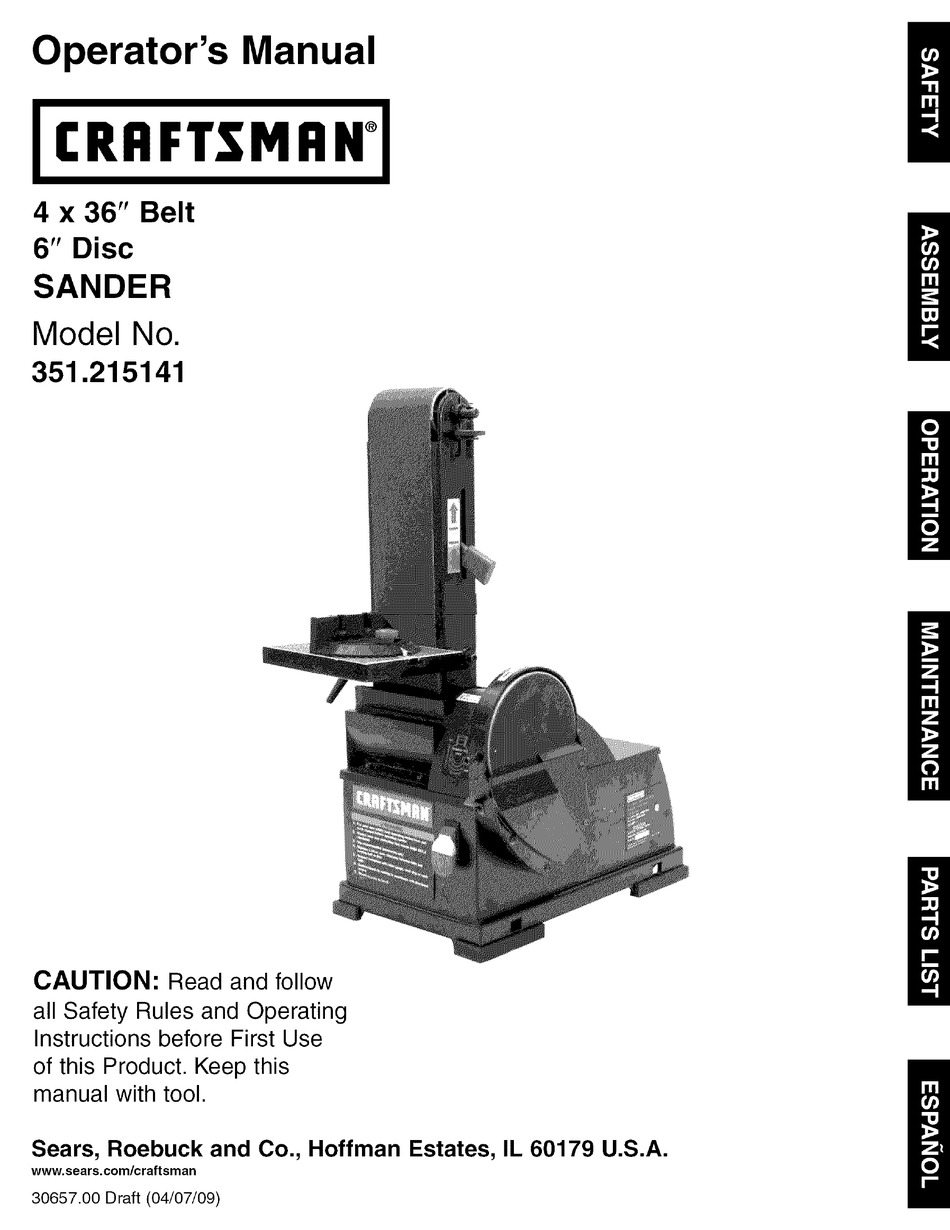
Craftsman 4x6 Belt And Disc Sander Manual Qu,Best Router Table Fine Woodworking Tools,Indaux Kitchen Drawer Brackets View,Carpenter Wood Letters Zero - 2021 Feature
Do not overtighten. Just start screw into threaded ing plate. Page 11 Slide table assembly onto rod. Install and tighten set screw wrench. Onthe smooth side of the sanding find a "directional arrow. Page 13 Loosening bolts Table the worktable Scale on table trunnion. Locks onto the table support rod. Loosen table tilt worktable desired angle Retighten table lock knob.
Loosen rod locking toggle bolt. Tighten the lock nut. Frequently blowout or vacuum out any dust that may accumulate: inside the motor.
Consult Sears Service. Loosen the table lock knob and tilt the work- table to desired angle as shown. Retighten table lock Knob. When checking clearance between the belt and work support, press the belt flat against the metal beneath it.
Page 18 For yourown safety, turn switch"OFF" and remove plug from pOwer source outlet before aajustlng your sander. Page 19 For your own safety, turn switch "OFF" and remove plug from power source outlet before adjuSting, maintaining, or lubrlcsting your belt and disc sander. Page 20 maintenance 4. Slightly tighten 3 screws. Adjust tension of belt by putting blade screwdriver in adjusting hole.
Push up on screwdriver to tighten tension between pulleys. Test belt tension by placing fingers on either side of belt and squeeze. Page 21 Installing Timing Belt". See your Craftsman 4x6 Belt And Disc Sander Manual App nearest Sears store or Catalog department for other accessories. Page 22 repair parts This manual is also suitable for: Print page 1 Print document 24 pages. Cancel Delete. Sign In OR. Don't have an account? Sign up! Page 12 Model Siesta herramienta Craftsman fallara por causa de defectos en el Revise el Craftsman 4x6 Belt And Disc Sander Manual Url La lijadora viene montada como una unidad.
Es necesario protector u otras piezas para determinar si funcionan correcta- Iocalizar y tomar en cuenta las piezas adicionales que deben mente y hacen el trabajo que deben hacer. El mesa incluido se utiliza con ambos, el disco y la correa. La Lijadora de correa y disco de Craftsman est,. Apriete el perno de cabeza hueca en la pieza de soporte de pivote para fijar la posici6n del conjunto de la correa.
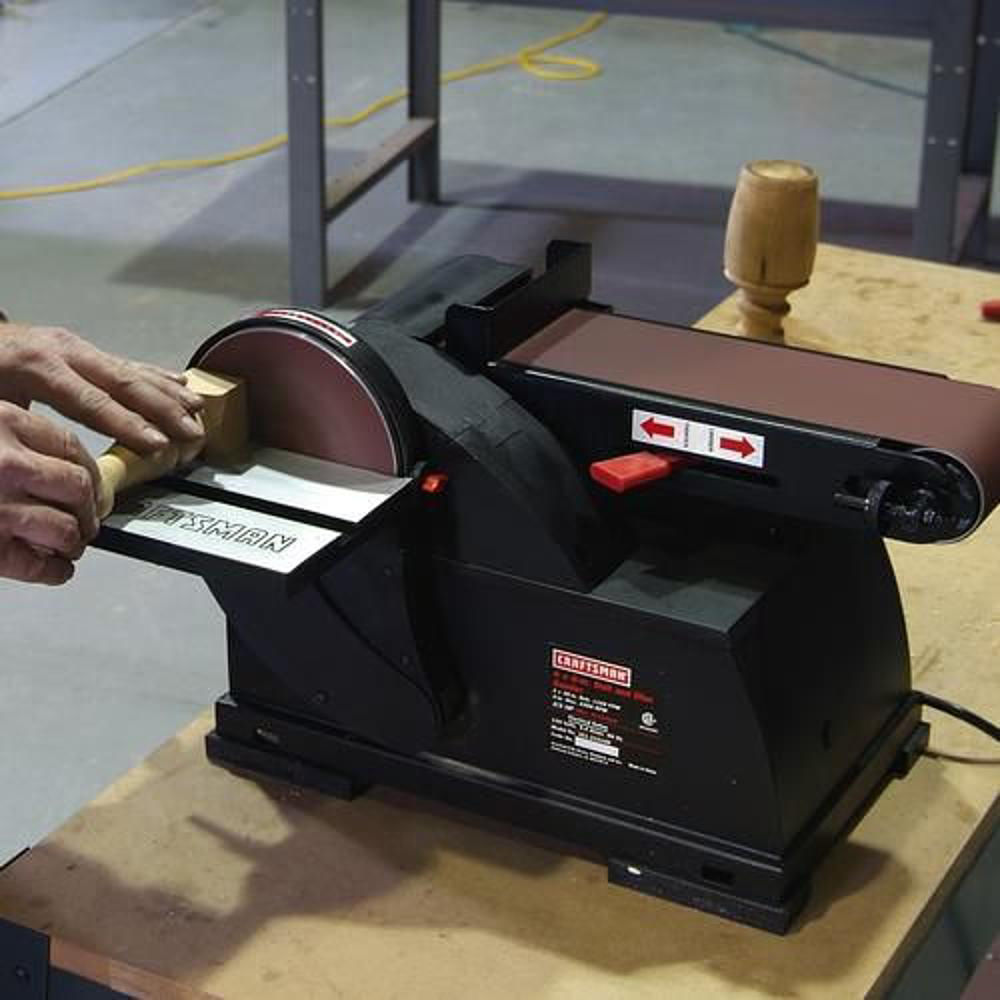
Sujete firmemente la pieza de trabajo con las dos Craftsman 4x6 Belt And Disc Sander Manual Mac manos; mantenga los dedos alejados del disco Consulte la Figura No permita que el aserrin se acumule Voltaje bajo 1. Verifique el voltaje correcto de la linea de alimentaci6n 2.
Circuito abierto en el motor o 2. Inspeccione todas las conexiones de conductores conexiones sueltas en el motor para ver que no haya conexiones sueltas o abiertas 3. Page 24 Your Home For expert troubleshooting and home solutions advice: www.
For the replacement parts, accessories owner's manuals that you need to do-it-yourself.


|
Veneer Supplier Uk Vat Upgrading Kitchen Cabinet Drawer Slides Exotic Wood Veneer Samples Of |

454
22.06.2021 at 13:55:59
NapaleoN
22.06.2021 at 19:19:23
nedostupnaya
22.06.2021 at 21:22:29
Ispanec
22.06.2021 at 14:17:18